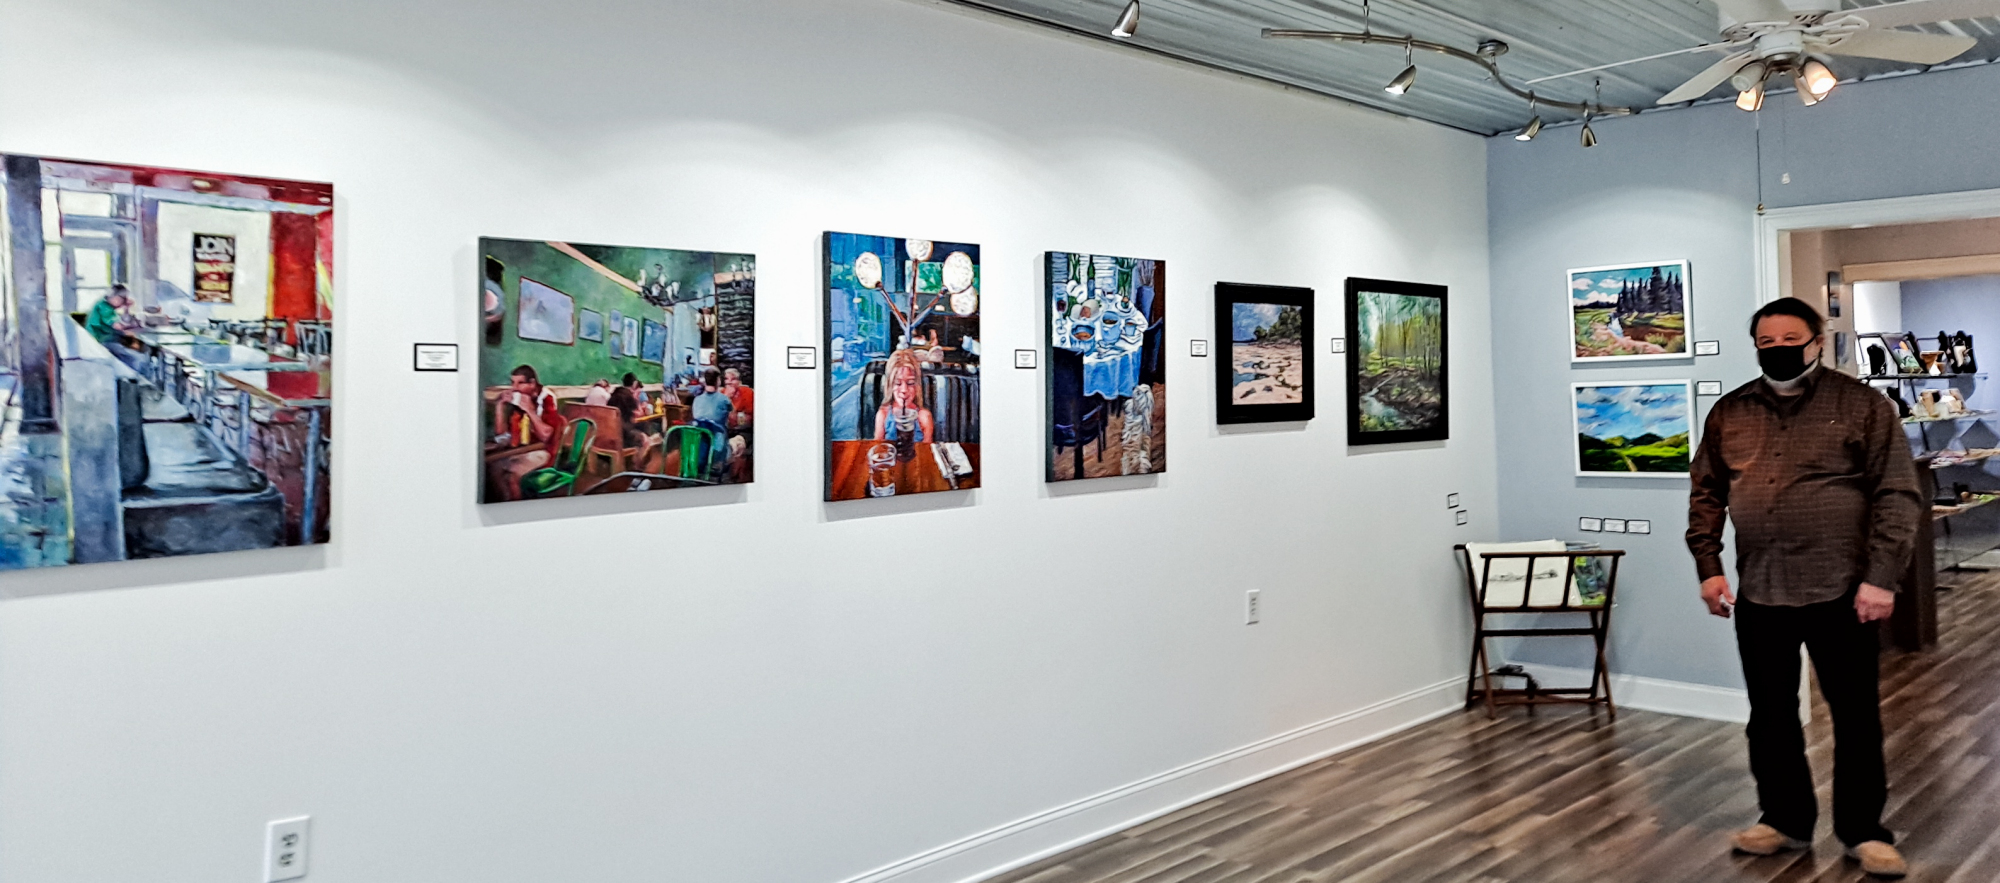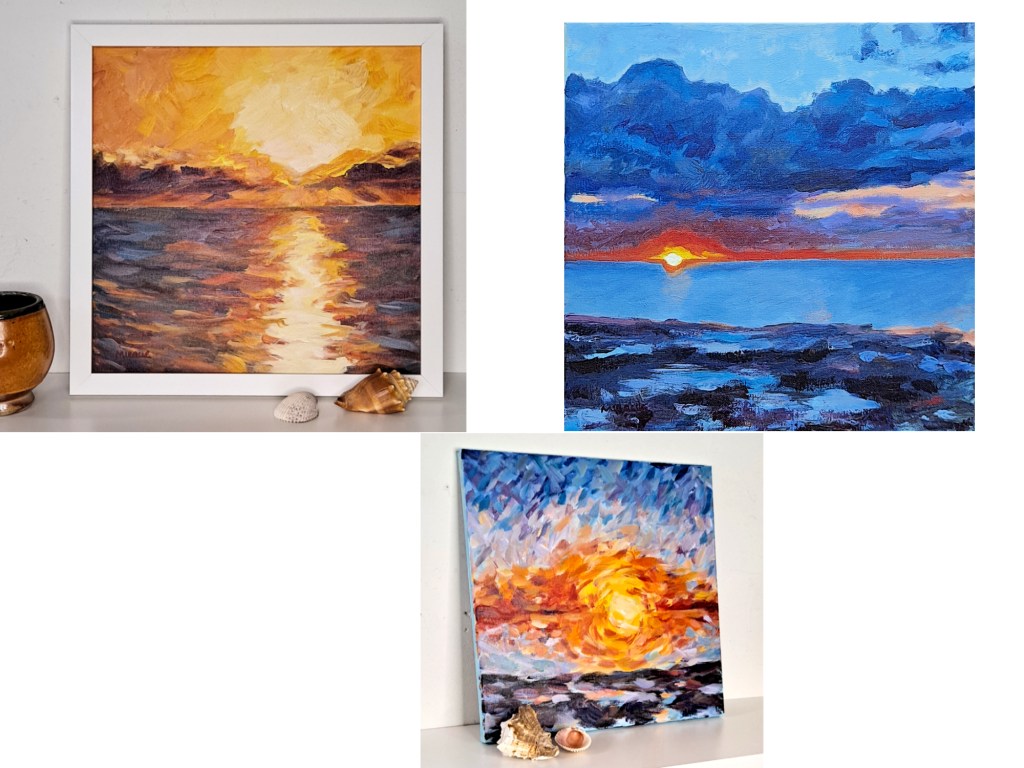
For the past several months, I’ve been experimenting with adding gold and silver leaf to some of my paintings. I don’t know why I decided that this was a path for me, but as with most artists, we get inspired with new ideas and techniques. I posted on here earlier about some glam cat paintings and some others, but the most recent sparkly paintings have been both challenging and rewarding.

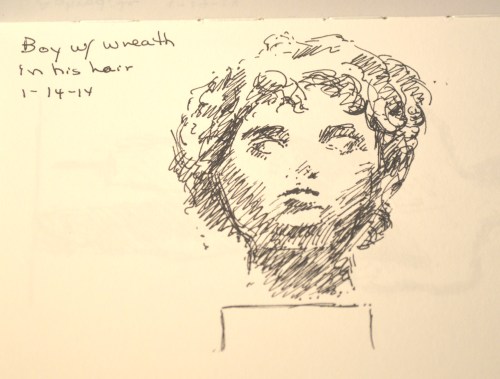
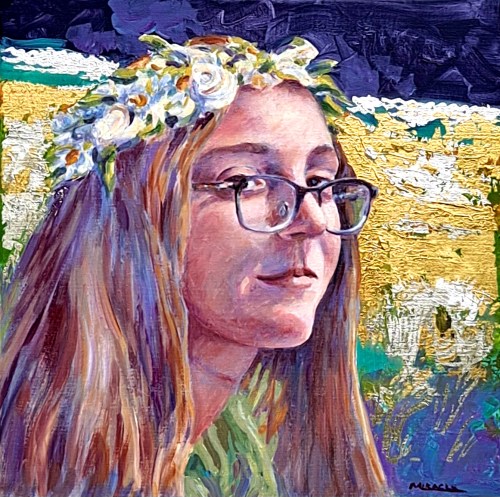
In Leo’s Muse, I began with some ideas rolling around. I took a few dozen photos of my model in different lighting and poses. Then began the difficult part of winnowing down all my options to a few good poses. It may seem like an unnecessary step, but I have found that it helps to do a number of sketches even before I get to the final idea. This allows me to familiarize myself with the model and the lighting until I reach my final idea.
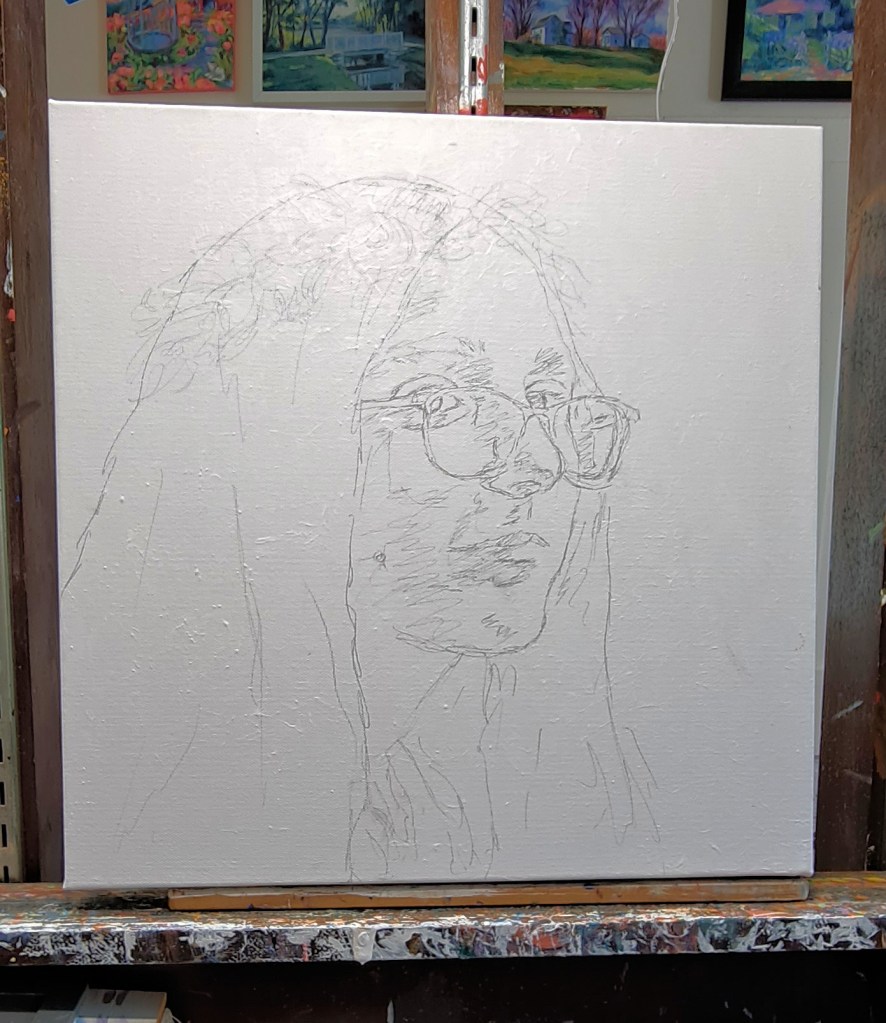
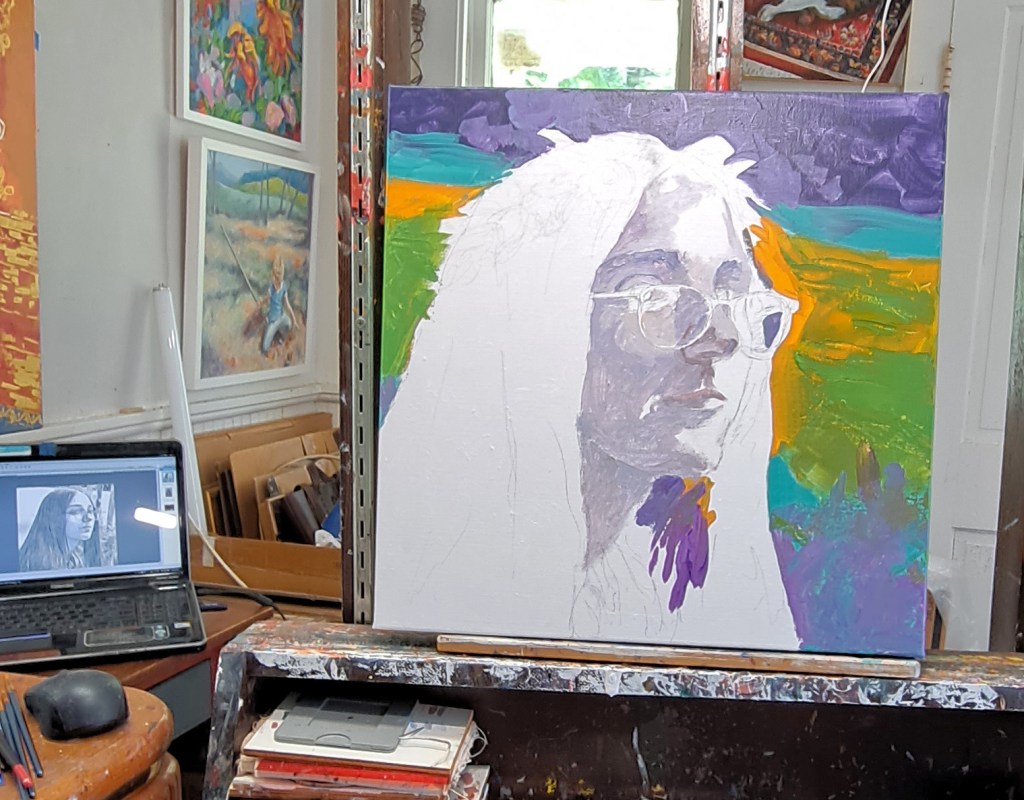
I then sketched the outline of the pose on a prepared canvas (gesso and a couple of coats of acrylic paint.) Then I basically start…somewhere. For a portrait, it will be with the head or body. Then I lay in some loose background colors. In this particular painting, I painted the flesh in grisaille (grey undertones) before I began adding color to the face. After I have the basic face laid in, I just keep working on the painting as I would a normal painting until I reach a point where I am satisfied.

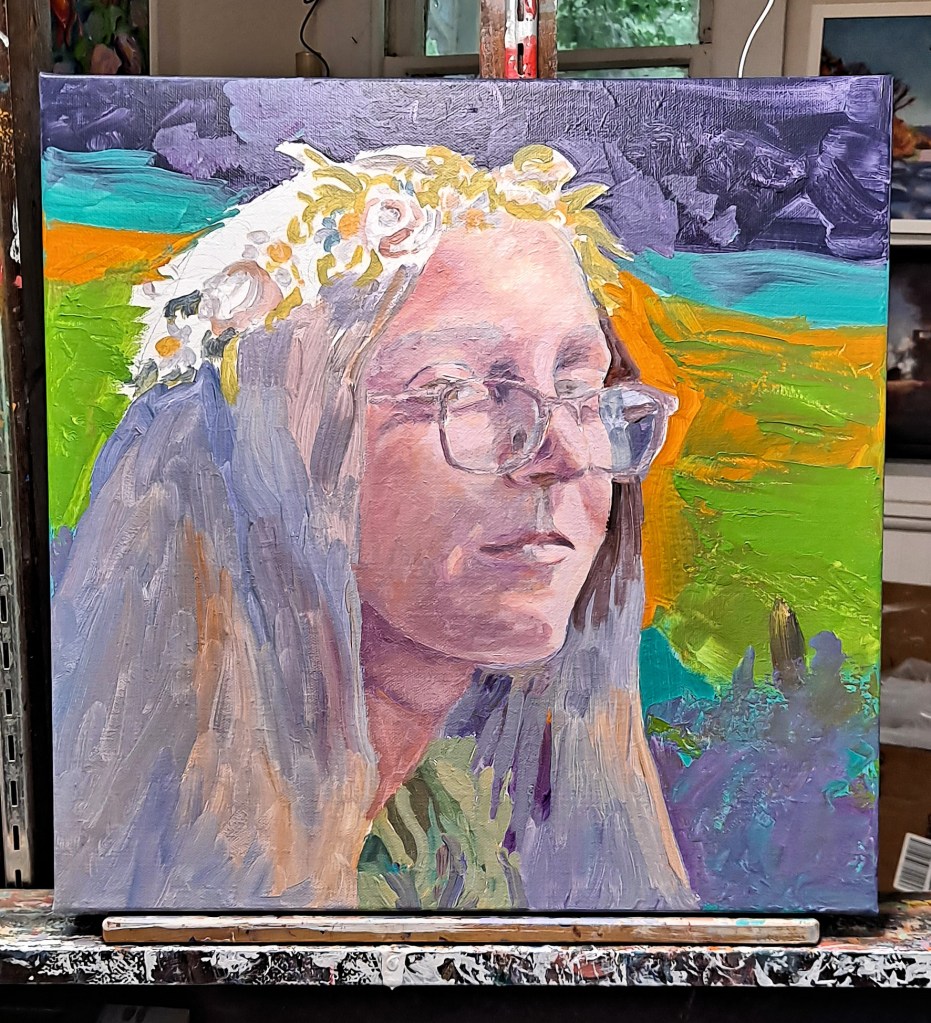
Another challenge with this painting is the added wreath of flowers. That is entirely imaginary as I didn’t really think of it while I was planning the painting. That is often the way of the creative process. Surprises pop up.

The canvas is two inches deep so the painting is carried around the sides.
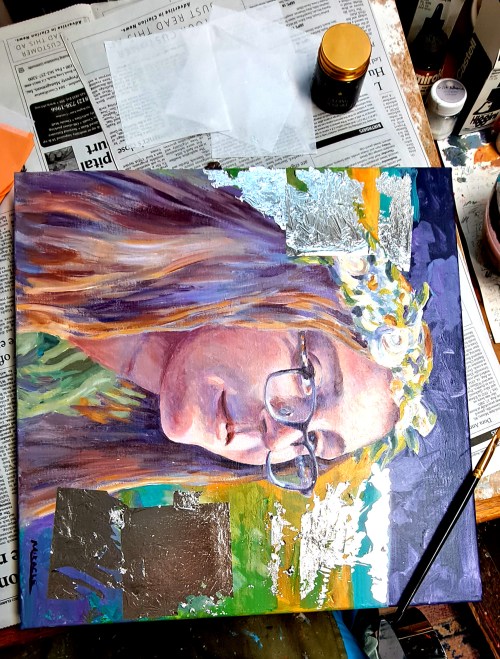
After letting the painting dry for awhile, I then began to add the gold and silver leaf. I was a bit conflicted about this step as I really liked the painting without the added touch. But the design in my head called for it so, what the heck? I took the leap.
If you have never used gold or silver leaf, let me tell you, it is challenging. This is not a paint but actual sheets of real 23K gold and real sterling silver which have to be applied to the painting. The sheets of precious metal are so thin (.003 microns, whatever that is), that I can’t have a breath of air in the studio. No fan. No air conditioner. Hold my own breath while I’m applying the metal. And the little flakes get everywhere! On me, my clothes, other parts of the painting, all around my studio.
A fixative must first be applied to the surface that you wish to apply the metal. Then you have to wait until it has the right amount of tackiness. Then gently apply the metal, transferring from the tissue paper leaves to the painting, then gently press it into the fixative, and then remove the tissue paper all the while praying that the gold will actually adhere to where you have placed it. The fixative is clear as it dries, so that’s another dimension of challenge. Where did you paint it? Ha!
After I’ve let it dry, then I can take a somewhat stiffer clean brush and brush it off the rest of the painting. More challenges with flying gold and silver flakes. If you’ve never tried this before, you might want to experiment with the fake gold until you get the hang of it. When possible, I collect the extra flakes and put them in labeled jars for use on backgrounds or other areas.
After the paintings have had time to “set”, I will spray them with a clear coat of acrylic. This prevents the sterling silver from tarnishing, and the gold from flaking more or rubbing off. Or so I am told. I haven’t used it enough to be absolutely certain but we’ll see.
By the way, the title of the painting, “Leo’s Muse” is actually short for Leonardo’s Muse. The model’s direct gaze and Mona Lisa smile of that other famous lady with the knowing look.