
If you have ever been intimidated by a blank canvas, I recommend using a toned canvas. This is not a new idea, in fact, it’s several hundred years old. I often keep several canvases on hand, both in my studio and when I travel to paint en plein air.
Using a toned canvas not only gets you over the fear of a blank canvas, but it adds a cohesiviness to the overall painting. When you paint, it is often easy to miss little bits of the painting. When you use a toned canvas, you have little bits of color showing through rather than plain white canvas.
My favorite color to use for toning is usually a burnt sienna or a dark brown. Sometimes I’ve used red (very exciting) or green (confusing for landscapes) or even blue or purple. But mostly burnt sienna.
After you sketch your subject onto the canvas and begin to apply paint, you will notice that you are painting from a middle ground, i.e., pushing the dark colors back and applying the light colors to bring forward. Much as using pastel on colored paper. If you paint in thin washes, then sometimes the undertone will come through, but otherwise, it doesn’t seem to affect the color at all.
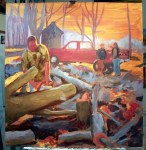
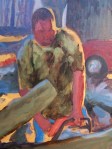
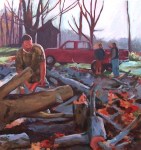
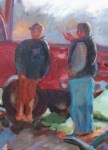
Below is a series of photos of the steps of the painting, Saturday Morning, an oil painting of 38x 40 inches. Check it out. I’ve also included a photo of a preliminary painting, same light and similar subject but from a different direction.
-
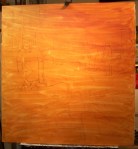
- 1st step of painting on toned canvas

-
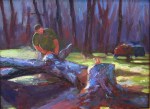
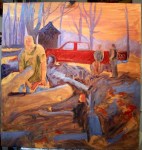
- This is a preliminary painting, 16 x 20, to the large painting.

Pingback: How to paint on a toned canvas | my90acres
Pingback: Painting on a toned surface | my90acres