Monthly Archives: October 2021

October roundup

The pumpkins on the porch are still making a nice display. They’ll end up as food for the chickens next month.

October has been so busy here on the homeplace.  The temperature was in the 80s at the beginning of the month.  Now it has dropped to 50s in the day with dips to the 30s at night.  Might have had a light frost (which I didn’t actually see) but will definitely have one later this week.

The garden has been picked clean.  All of the last peppers, beans, and tomatoes have been gathered.  It’s been mowed, tilled, and a winter wheat cover crop has been planted. This will get tilled under in the spring and helps provide needed body to the soil.  The flower pots are being emptied and cleaned out.  The spiders have been chased from their homes on the porch and all the summer shoes, boots and gardening tools have been rounded up and put away.

Persimmons. The animals love these fruits but I don’t particularly care for them. They’re a bit tart until after the first frost. Persimmon pulp is used in many recipes for cakes, muffins and puddings.
Walnuts. Walnuts. Walnuts. All the trees are bearing heavy crops this year.

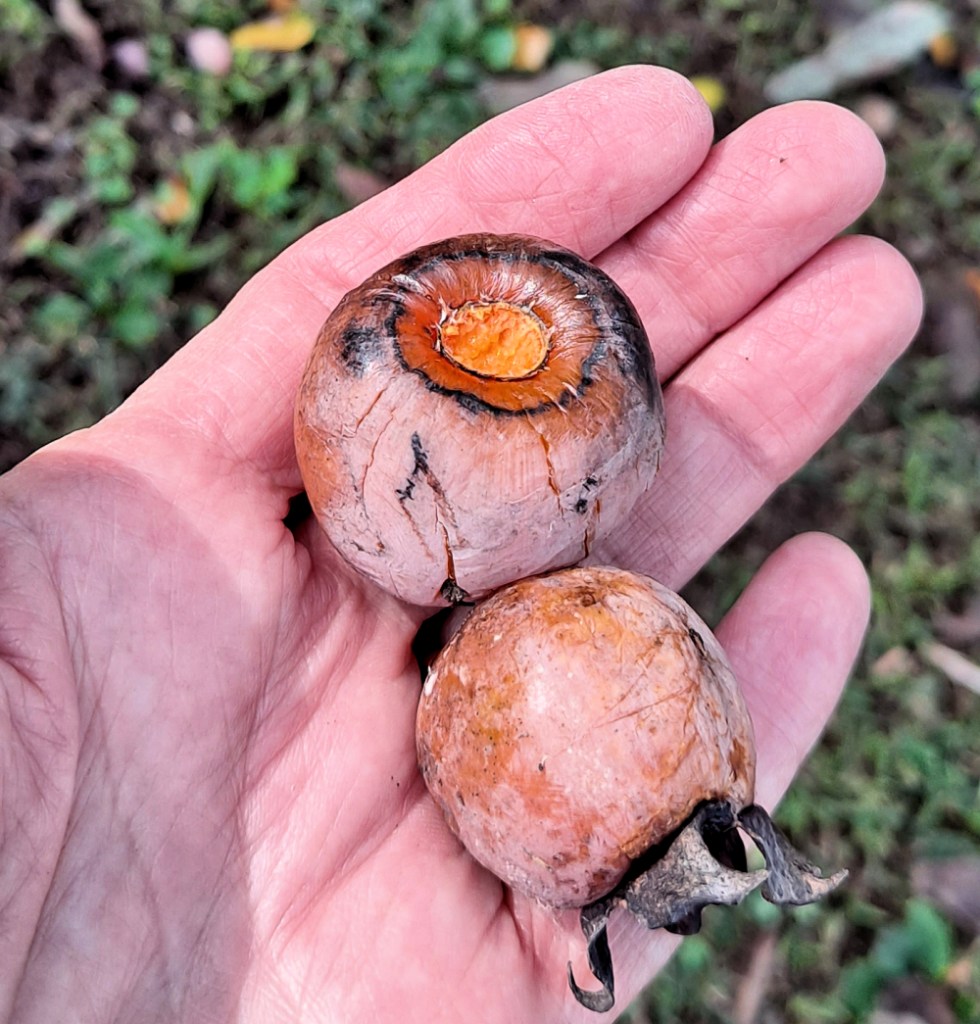
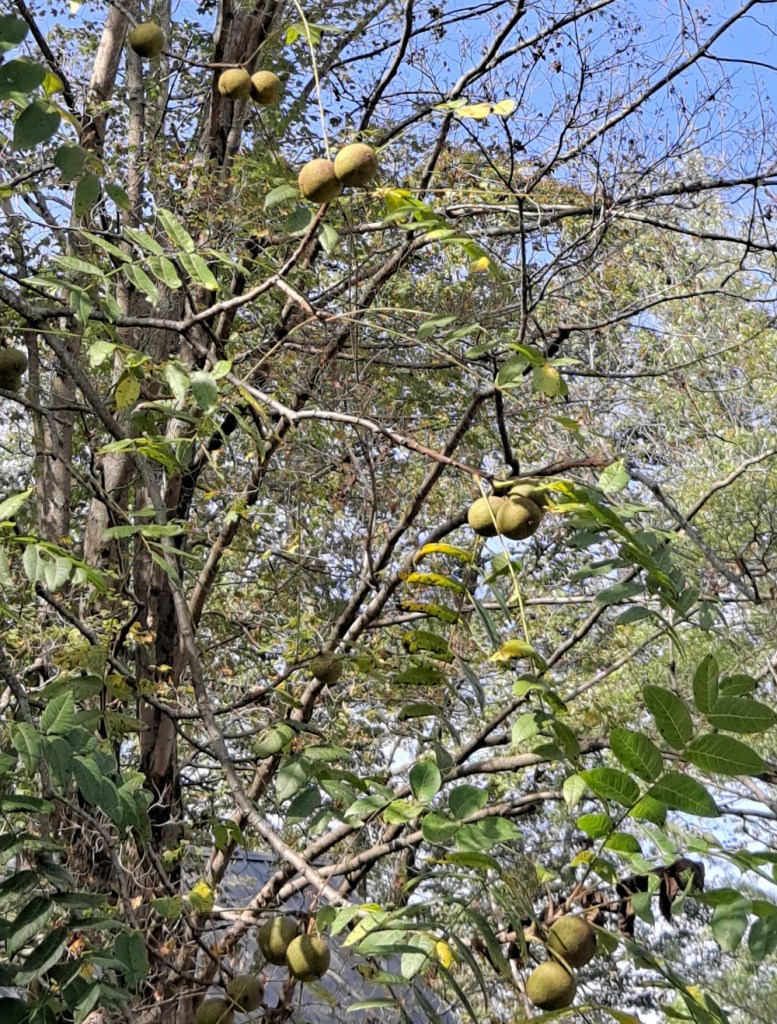
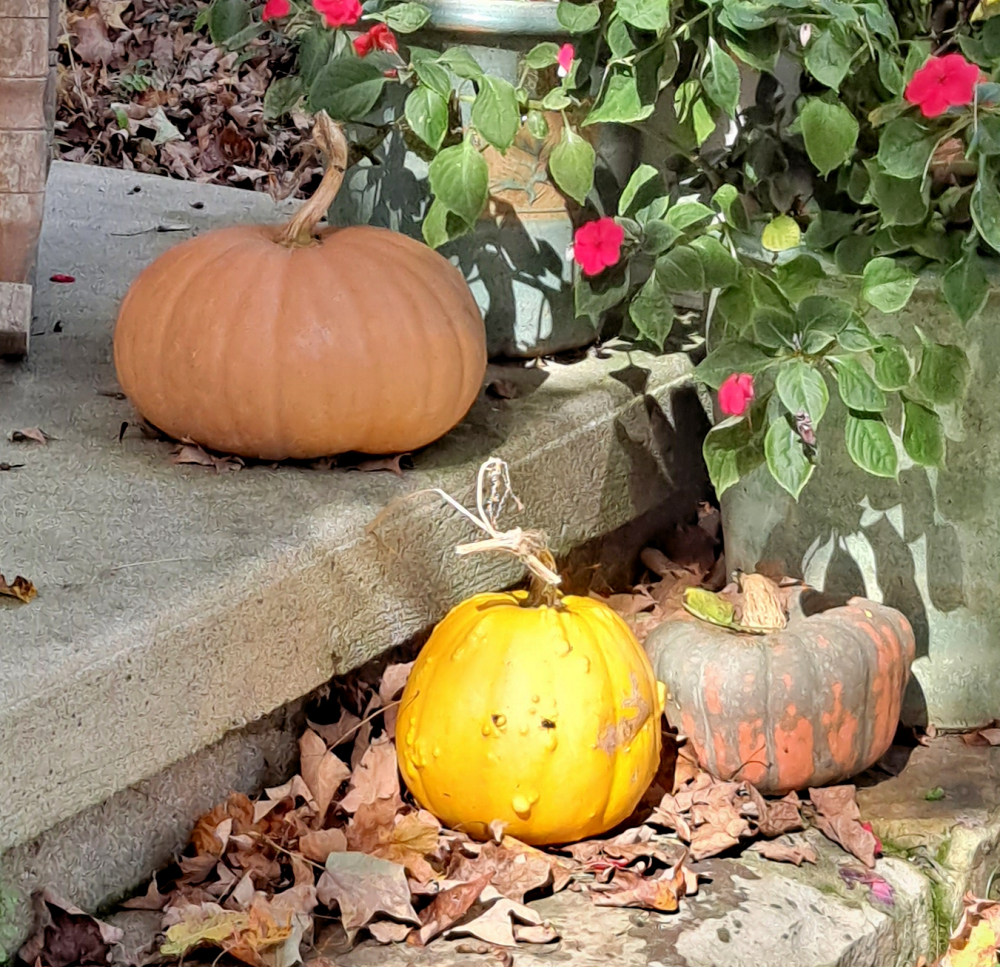
We’ve had a bumper crop all summer with the fruit trees being loaded so much we couldn’t pick them all.  This trend is continuing into the autumn with an abundance of walnuts and persimmons.  You really don’t want to stand under a walnut tree on a windy day.  It sounds like gunfire.  I’ve picked a bucket of redbud seedpods and have scattered them in the woods.  They’re an understory tree so wherever the dogwoods grow, they’ll do fine, too.  And I picked another container of beebalm seed heads.  I’ll scatter those along the drive and edges of the fields.  There is a nice stand of this plant where I sowed the seeds a couple of years ago.

Lilacs blooming in October. Yes, here is proof.

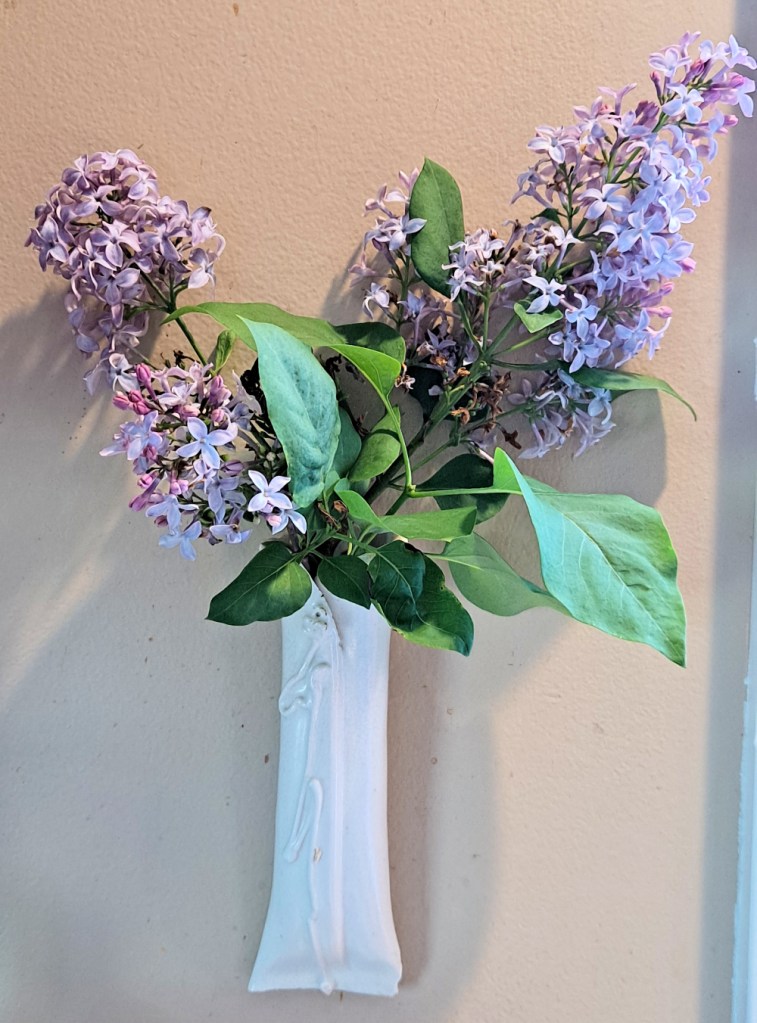
With the warmer weather, some of the plants and bushes have been a bit mixed up.  I noticed that one of my lilacs was blooming.  That was a nice surprise in…er…October.  And the forsythia always seems to get a second autumn bloom.

Doing a little plein air painting up in the woods. The fall colors are just approaching peak.

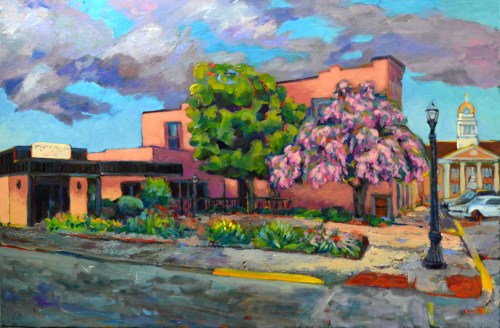
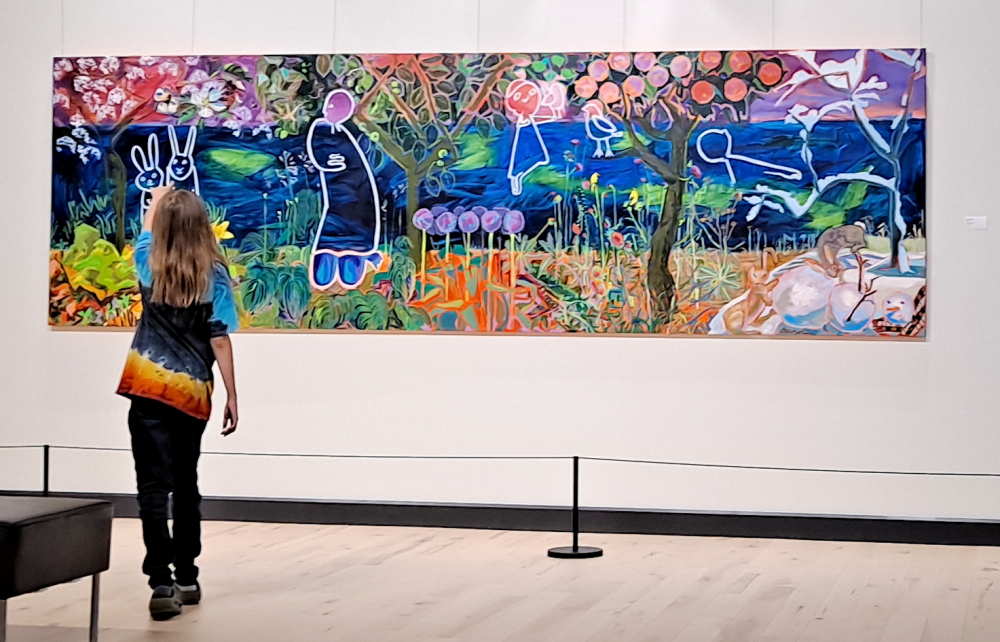
Fall break meant the grandkids got to come out and spend some country time.  A walk in the woods is always fun.  We never see any wildlife (due to the dog running ahead) but we spotted a great variety of mushrooms and other fungi.  I took the granddaughter to see an especially lovely exhibit of paintings by Louisville artist Joyce Garner.

Visiting the Joyce Garner exhibit at the Thyen-Clark cultural center.

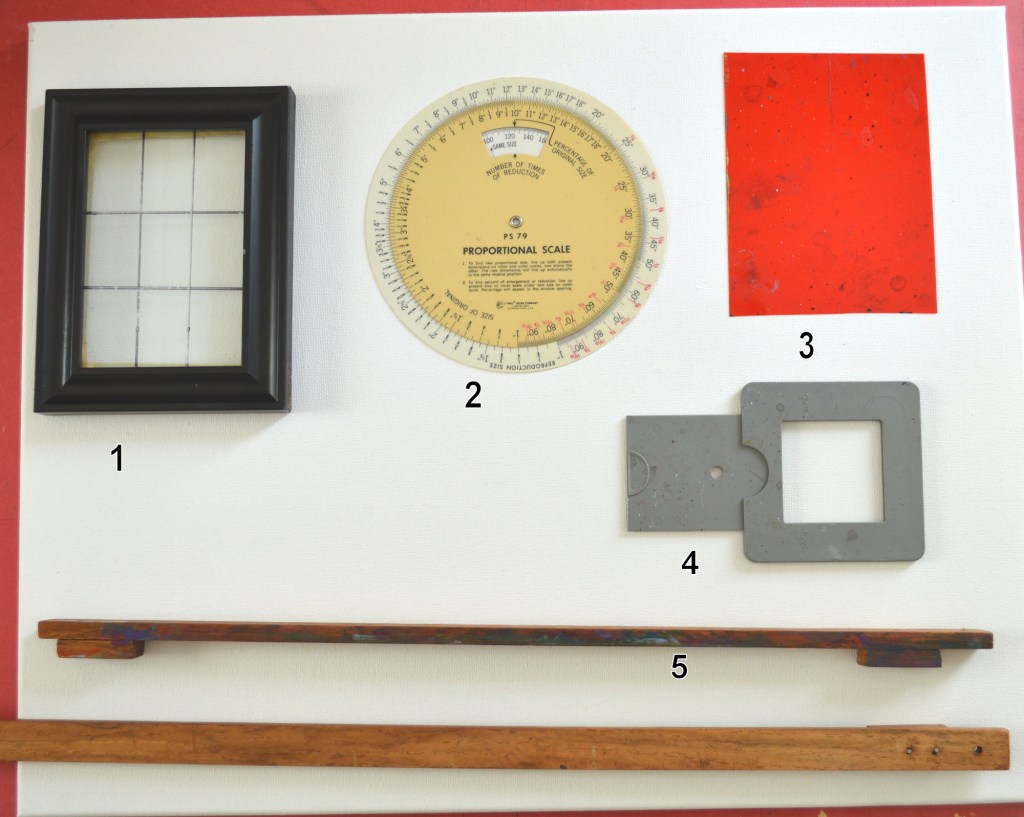
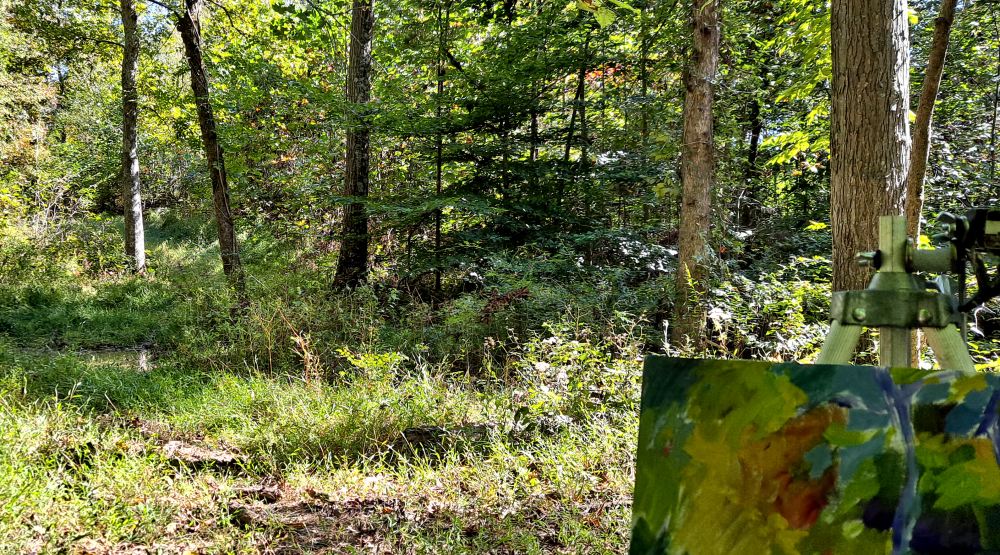
And I was particularly busy doing arty things.  Driving one way to drop off paintings for a show, and the other way to pick up some work.  Often in the same day!  Recorded books make the time go by quicker.

And finally, went to my class reunion.  Who are all these old people?!  It had been postponed from last year due to COVID, but it was nice to reconnect with some old friends.  It’s a lot of hard work so kudos to the committee who tirelessly kept prodding everyone to sign up, and actually show up.  Another long drive accompanied by recorded books.  And some beautiful fall scenery.

On this last day of October, celebrate a little. Go out and beat the drums and howl at the moon.  Or maybe snitch a piece or two of candy from any little people who may live with you.  Or buy an extra bag for yourself.  Happy Halloween!

Useful art tools

Five useful art tools. 1, Composition aid. 2. Proportion scale. 3. Red gel. 4. View catcher. 5 Painting bridges.

It seems hardly a day goes by that I don’t get a catalogue or an e-mail trying to sell me art supplies and gadgets.  Oh, look, newer, better, scientific!  You’ve got to have this latest gizmo!  This will ensure your success and you’ll be the best in your field.

This is true not only for artists, but golfers, automobile enthusiasts, bikers, campers, what have you.  It seems as if the only people getting rich are the ones who keep trying to sell you things. 

But as an artist, I always like the challenge of trying to do things myself.  I guess that’s why I’m in a creative field. Here are five very simple tools that I use in my studio or outside.  Three I made myself and the other two can be purchased for less than ten dollars each.

1. The first tool is a simple composition aid made from a small 4 x 6 frame with the glass taped in.  On the back side, I’ve divided it into nine sections with a permanent marker.  I got the idea from an old drawing (Durer) of an artist who had created a standing frame divided into squares by threads.  He then divided his paper into squares, and then transferred what he saw in each square as he was viewing an object, into the respective square on his paper.  This same technique is used today for blowing up drawings. 

Woodcut of Durer’s perspective drawing tool.

In this case, I take the little frame and hold it up in front of a landscape, and draw with a felt pen on the front side.  This can be used for still lifes, figurative works, street scenes, whatever.  The trick is to keep the frame and my eye at the same level for the few minutes that I need to sketch on the glass.  Then I transfer the image to my paper or canvas.  Sometimes it’s amazing how different the actual drawing looks from the way my eye wanted to read it.  I’ve used this technique in teaching third graders up to adults.  Now, of course, you can buy a similar ready-made frame but these were not available when I first made mine.

Proportion Scale with several 20 x 16 equivalents marked by red arrows.

2. Proportion scale.  I’ve had this little plastic tool for so many years that I forgot where I bought it.  It is so easy to use for both reducing and increasing sizes proportionally.  Just line up the numbers of say, a 20 x 16 and then everything else on the scale will be proportional to that, 10 x 8, 5 x 4, 40 x 32, 80 x 64 and everything in between.  Or maybe you have a canvas of a certain size but you need to make adjustments in your drawing to fit; the proportion scale can help you do this.  Less than $10 online.

3. Red gel sheet.  I used to have access to colored gels (used for lights) when I worked in the theatre business.  These scraps are useful, particularly this red gel.  Hold it up in front of a green landscape, and it immediately grays everything out so you’re only left with values.  Commercial products are available now but you can probably get gel scraps from your local theatre or playhouse for free. See previous post here.

4.  The View Catcher has been around for a long time.  Made of grey plastic, the little slide opens the window to a variety of sizes from square to rectangles.  Marks on the plastic indicate the scale of the window (8 x 10, 11 x 14, etc.)  Less than $10.  We used to use old film slide windows but no one knows what those are anymore. 

5.  Painting bridges.  When I painted a lot of watercolor, particularly architectural images, it was helpful to have a steady hand when drawing the lines.  I made these two bridges from some wood scraps.  They kept my hand off the paper and from smearing the paint or ink.  Also, they were very helpful for guiding my pen when drawing lines.  My cost was nothing but now you can buy plastic ones for about $35.  I like free.

I hope these useful art tools will inspire you in your quest to be more creative.  And don’t be afraid to make something of your own invention, too.

Commissioned artwork

A recent commission. The customer wanted to feature a bit of the courthouse square, change the season so the weeping cherry tree was in blossom, and tidy up the flowers. It’s still in my style but I didn’t mind making these adjustments. Acrylic on canvas, 24 x 36.

If you have been an artist for any length of time, you have probably been asked to create something especially for someone.  Maybe a friend or a relative, someone special.  It is always difficult to decide if that is really what you want to do.  Here are some concerns for you to think about.

1.  What is a commission?  This is basically when someone asks you to create something special for them.  Frankly, commissioned artwork was the norm until a few hundred years ago.  Pope Julius II commissioned Michelangelo to paint the Sistine Chapel.  At that time, the artist was primarily a sculptor and didn’t want to do the job but was persuaded  one way or another. That turned out well.

2.  Know your style and what you are comfortable doing.  If you have been an artist for any length of time, eventually someone will ask you to make something for them that just doesn’t fit your comfort zone.  Maybe they want you to copy another artist, or perhaps paint an abstract painting when you paint only in a realistic style.

To be totally honest, I was asked early on in my career to copy another artist’s painting and just was not comfortable with it.  Although I eventually I complied (it was a relative), it never sat well with me and I haven’t done it since.  Be true to yourself.

3.  Don’t compromise.  This hooks in with the paragraph above.  Know your style and stick with it.  If the client wants something different, you may just have to pass on the job. It always helps if you can steer them towards someone else who can help them.

4. Take notes.  I have several notebooks which I have filled over the years with notes for commissions.  Obviously, the client’s contact information, but more details about what they want.  You might even have a list of questions before you meet.  For instance, size, materials, deadlines are obvious.  Less obvious are what they want in the commission and what they don’t. 

5.  Come to an agreement.  If you really want a formal agreement, you may need to draw up a contract.  I don’t usually do this but it is a good way to cover yourself should any misunderstandings occur later.  Are they agreeing to your style?  Will you submit sketches or mockups?  When do they want the final? 

6.  Arriving at a price and getting a down payment.  You should do a little research ahead of your meeting or perhaps you will have to get back with the client later.  Remember to include your materials, time, driving time or shipping.  Condition for submitting the final product.  Don’t forget your overhead. And don’t be afraid to ask what you deserve.  Do some research for your area and medium.  What are other artists charging for similar commissions with a similar level of skills and background?

7.  Ask about a deadline.  Is the commission for a special event or doesn’t the client really care when you complete it?  I really like to get the commissions done and off my plate.  If there is a deadline, do you have time to meet it?  Is it around the holidays when everyone else is clamoring for work that must be done yesterday? 

8.  A commission is work for hire.  Get comfortable with that idea or don’t accept the commission.  Maybe you’ll be excited by the first few commissions you have, but perhaps by the 100th, you’ll be so tired of doing them.  Raise your prices!  I did house portraits for many years until I became annoyed with them interfering with the work I was really interested it.  After awhile, I kept raising my prices until I finally just had to quit doing them. 

9.  Do your best.  If you have agreed to accept a commission, then you owe it to your client to do your best.  Maybe you’re getting a little tired of work for hire, but get this one out of the way.  Then decide if you still want to keep doing them.  But remember that your reputation is on the line and a disgruntled client can be a real pain.  If you can’t make it right, maybe you can refund their money and aim them in the direction of an artist who can better suit their needs.

10.  Ask your client for input.  Most people who commission an artwork are thrilled with the prospect of having something made especially for them.  Ask for their input and a written recommendation. Develop a thick skin in case they have some criticisms.  It might prickle at first, but you can always learn something from a good critique.

To see a step-by-step demonstration of how I created this painting, go to the Artworks tab or click here.