
Although I was truly sick of winter, we had a late snowstorm in March which was really one of the prettiest snows we’d had. So, on my early drive to work, I took some hit and miss photos to see if I could capture the beauty. These were just random shots, not carefully aimed.
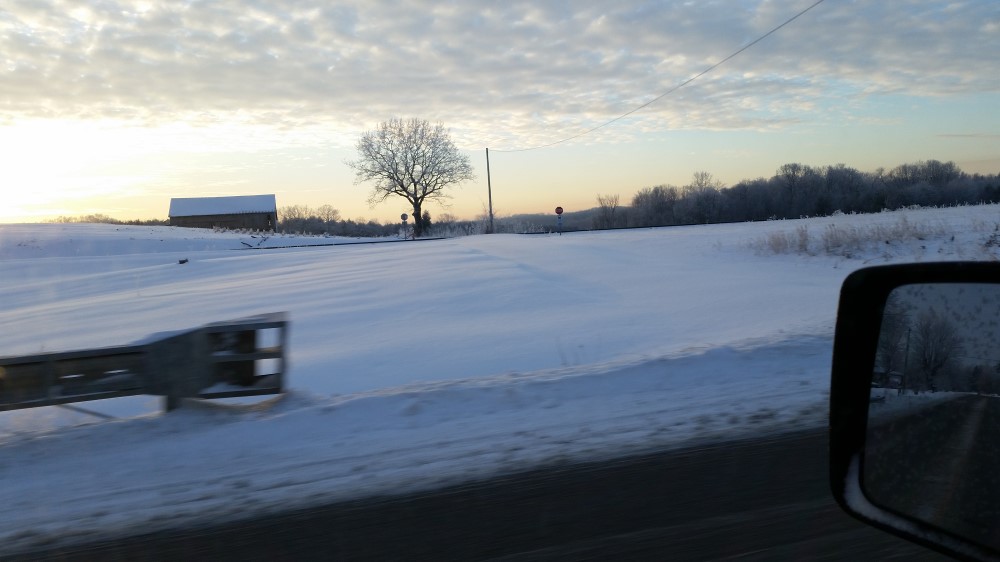
Raw photo, winter in Mentor
I liked this one which represents the bone-chilling cold of early morning. In this case, I was trying to aim for COLD!
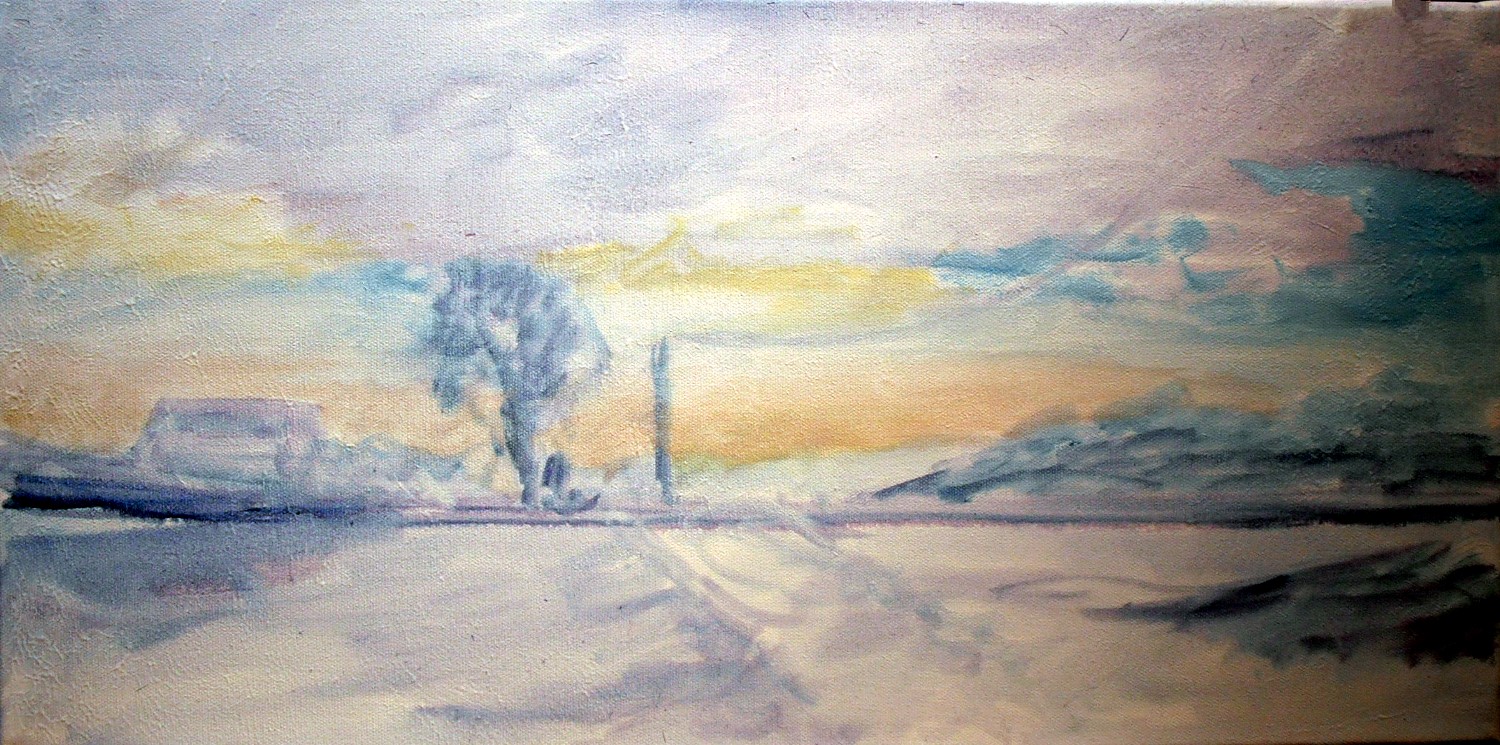
I started on this 12 x 24 canvas with just a simple wash of blue/grey.

Winter in Mentor, first step
Then added some warmer colors to capture the sunrise.
Winter in Mentor, second step
Working on adding depth by deepening the darks, adding shapes, details.
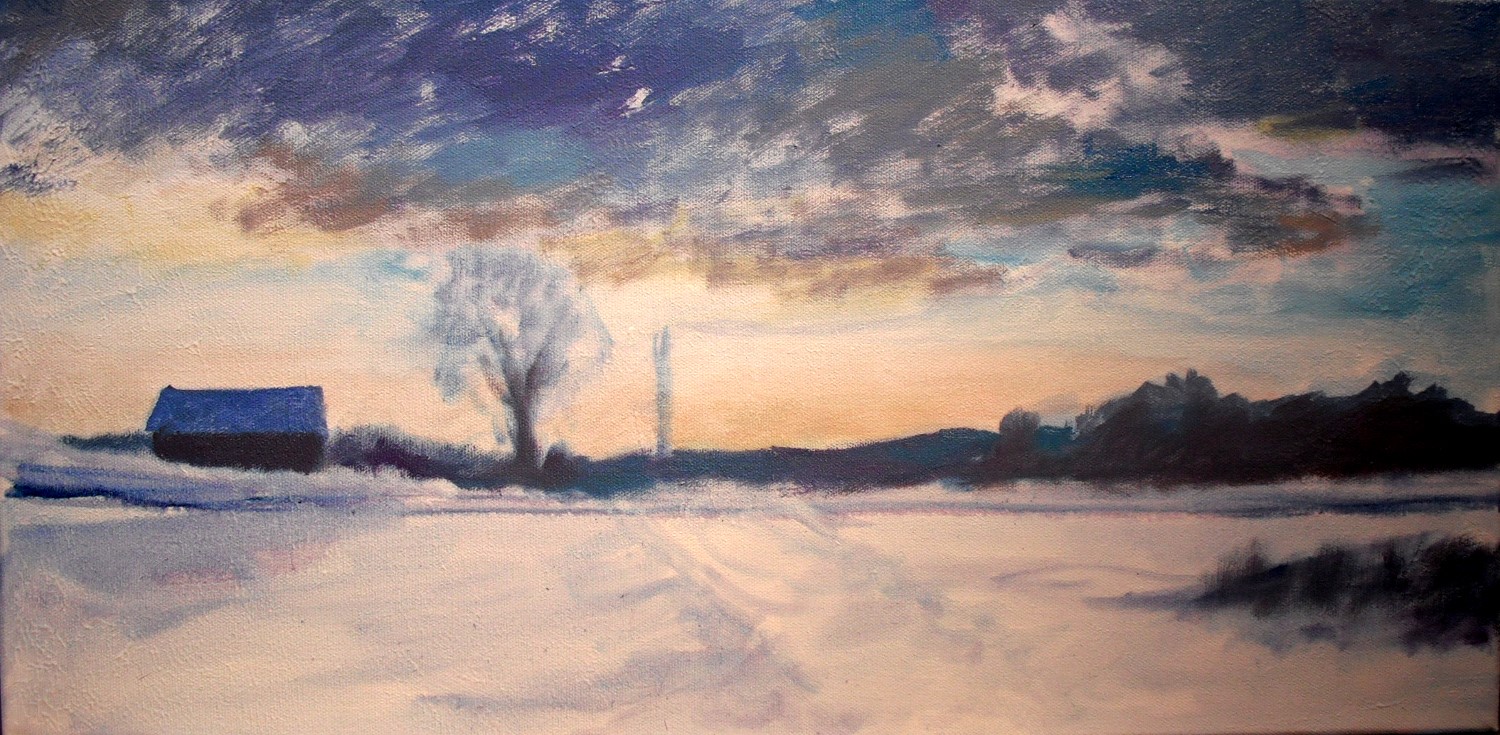
Winter in Mentor, Step 3
Final painting. I think this truly depicts the cold. Lots of cool shadows, a brush of warmer tints from the sunrise. Notice the details that I’ve actually left out, such as, the electrical wires, some additional trees, brush.
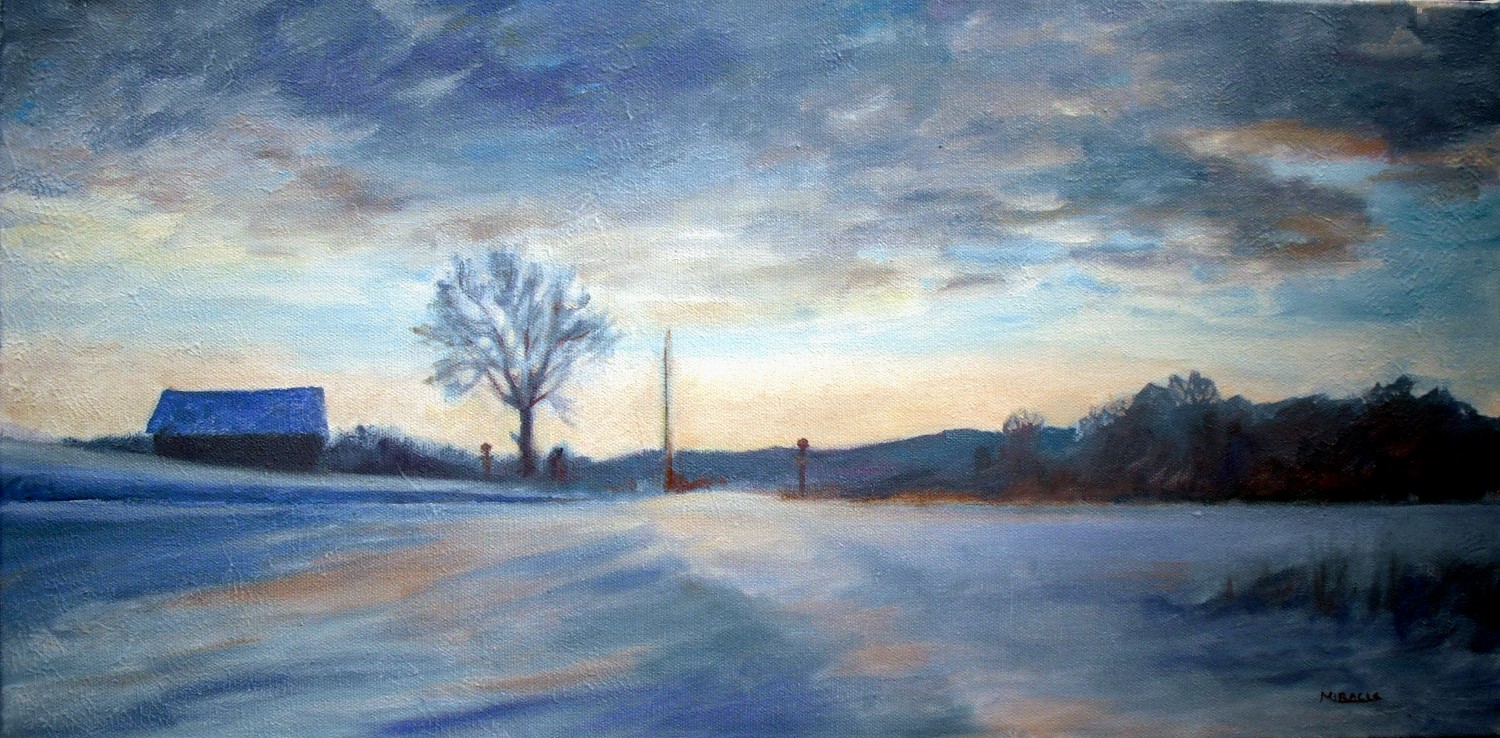
Winter in Mentor, Final, 12 x 24, oil on Canvas, Kit Miracle

Pingback: How to convey a feeling in painting | my90acres