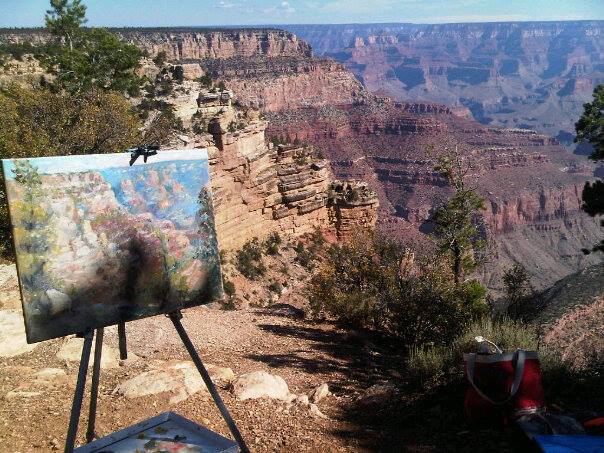
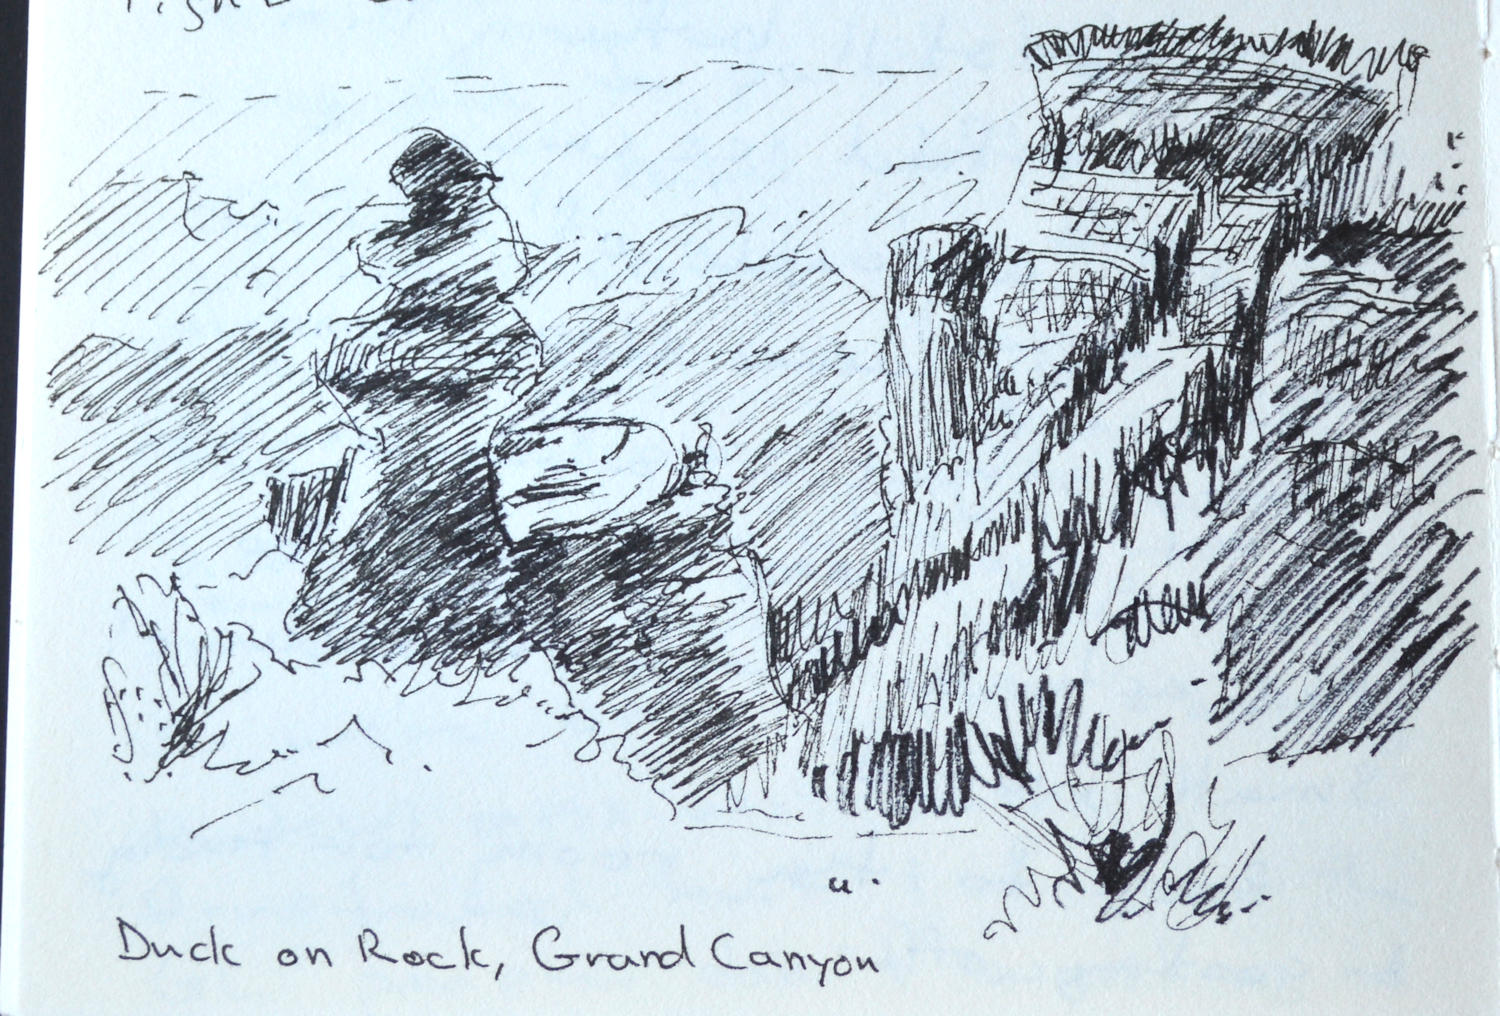
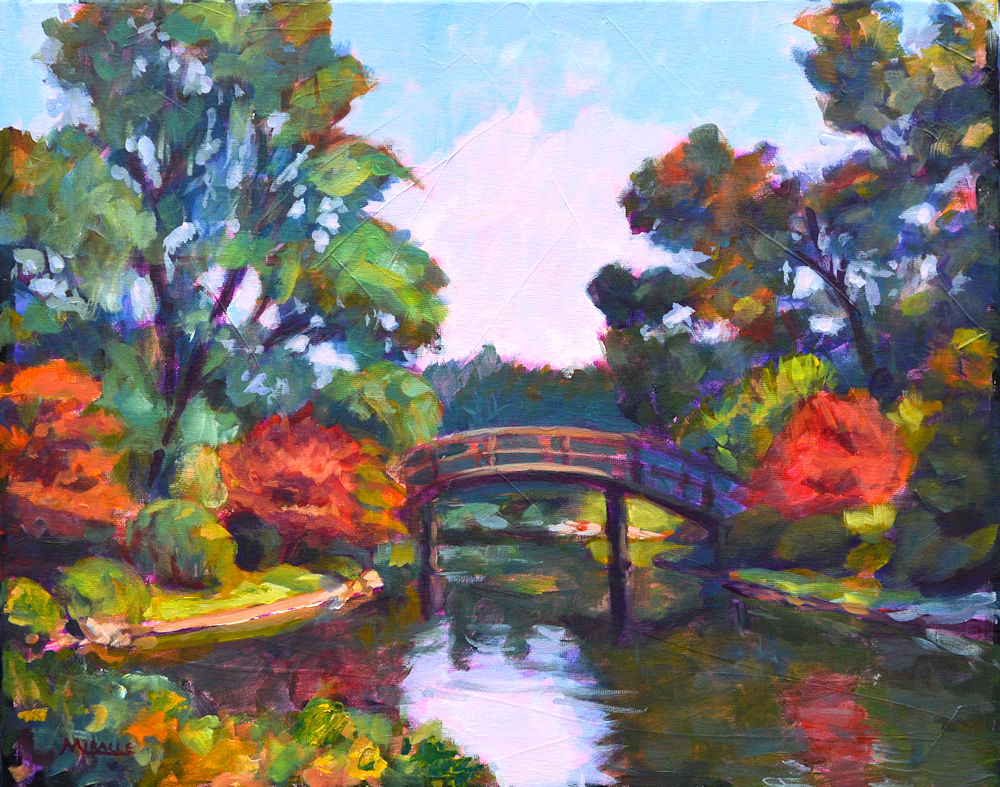
Duck on a Rock, Grand Canyon, plein air sketch, 12 x 16 Kit Miracle
Part I
Ten states (plus three of them twice). Indiana, Illinois, Arkansas, Texas, New Mexico, Arizona, Utah, Colorado, Kansas, Missouri, and back through Illinois and Indiana. Lots of different terrain and climates.
4,435 miles. Not really too bad.
4 National Parks – Carlsbad Caverns, Grand Canyon, Zion, and Arches. Plus, you can’t be in the area without stopping at Roswell to see the alien museum. It’s not exactly on the way to anywhere. Even their streetlights are painted like aliens.
16 days – we left a day early and returned a day early.
Whew!
Earlier this month we drove down to Texas to pick up our granddaughter for the summer. Then we went of a big adventure.
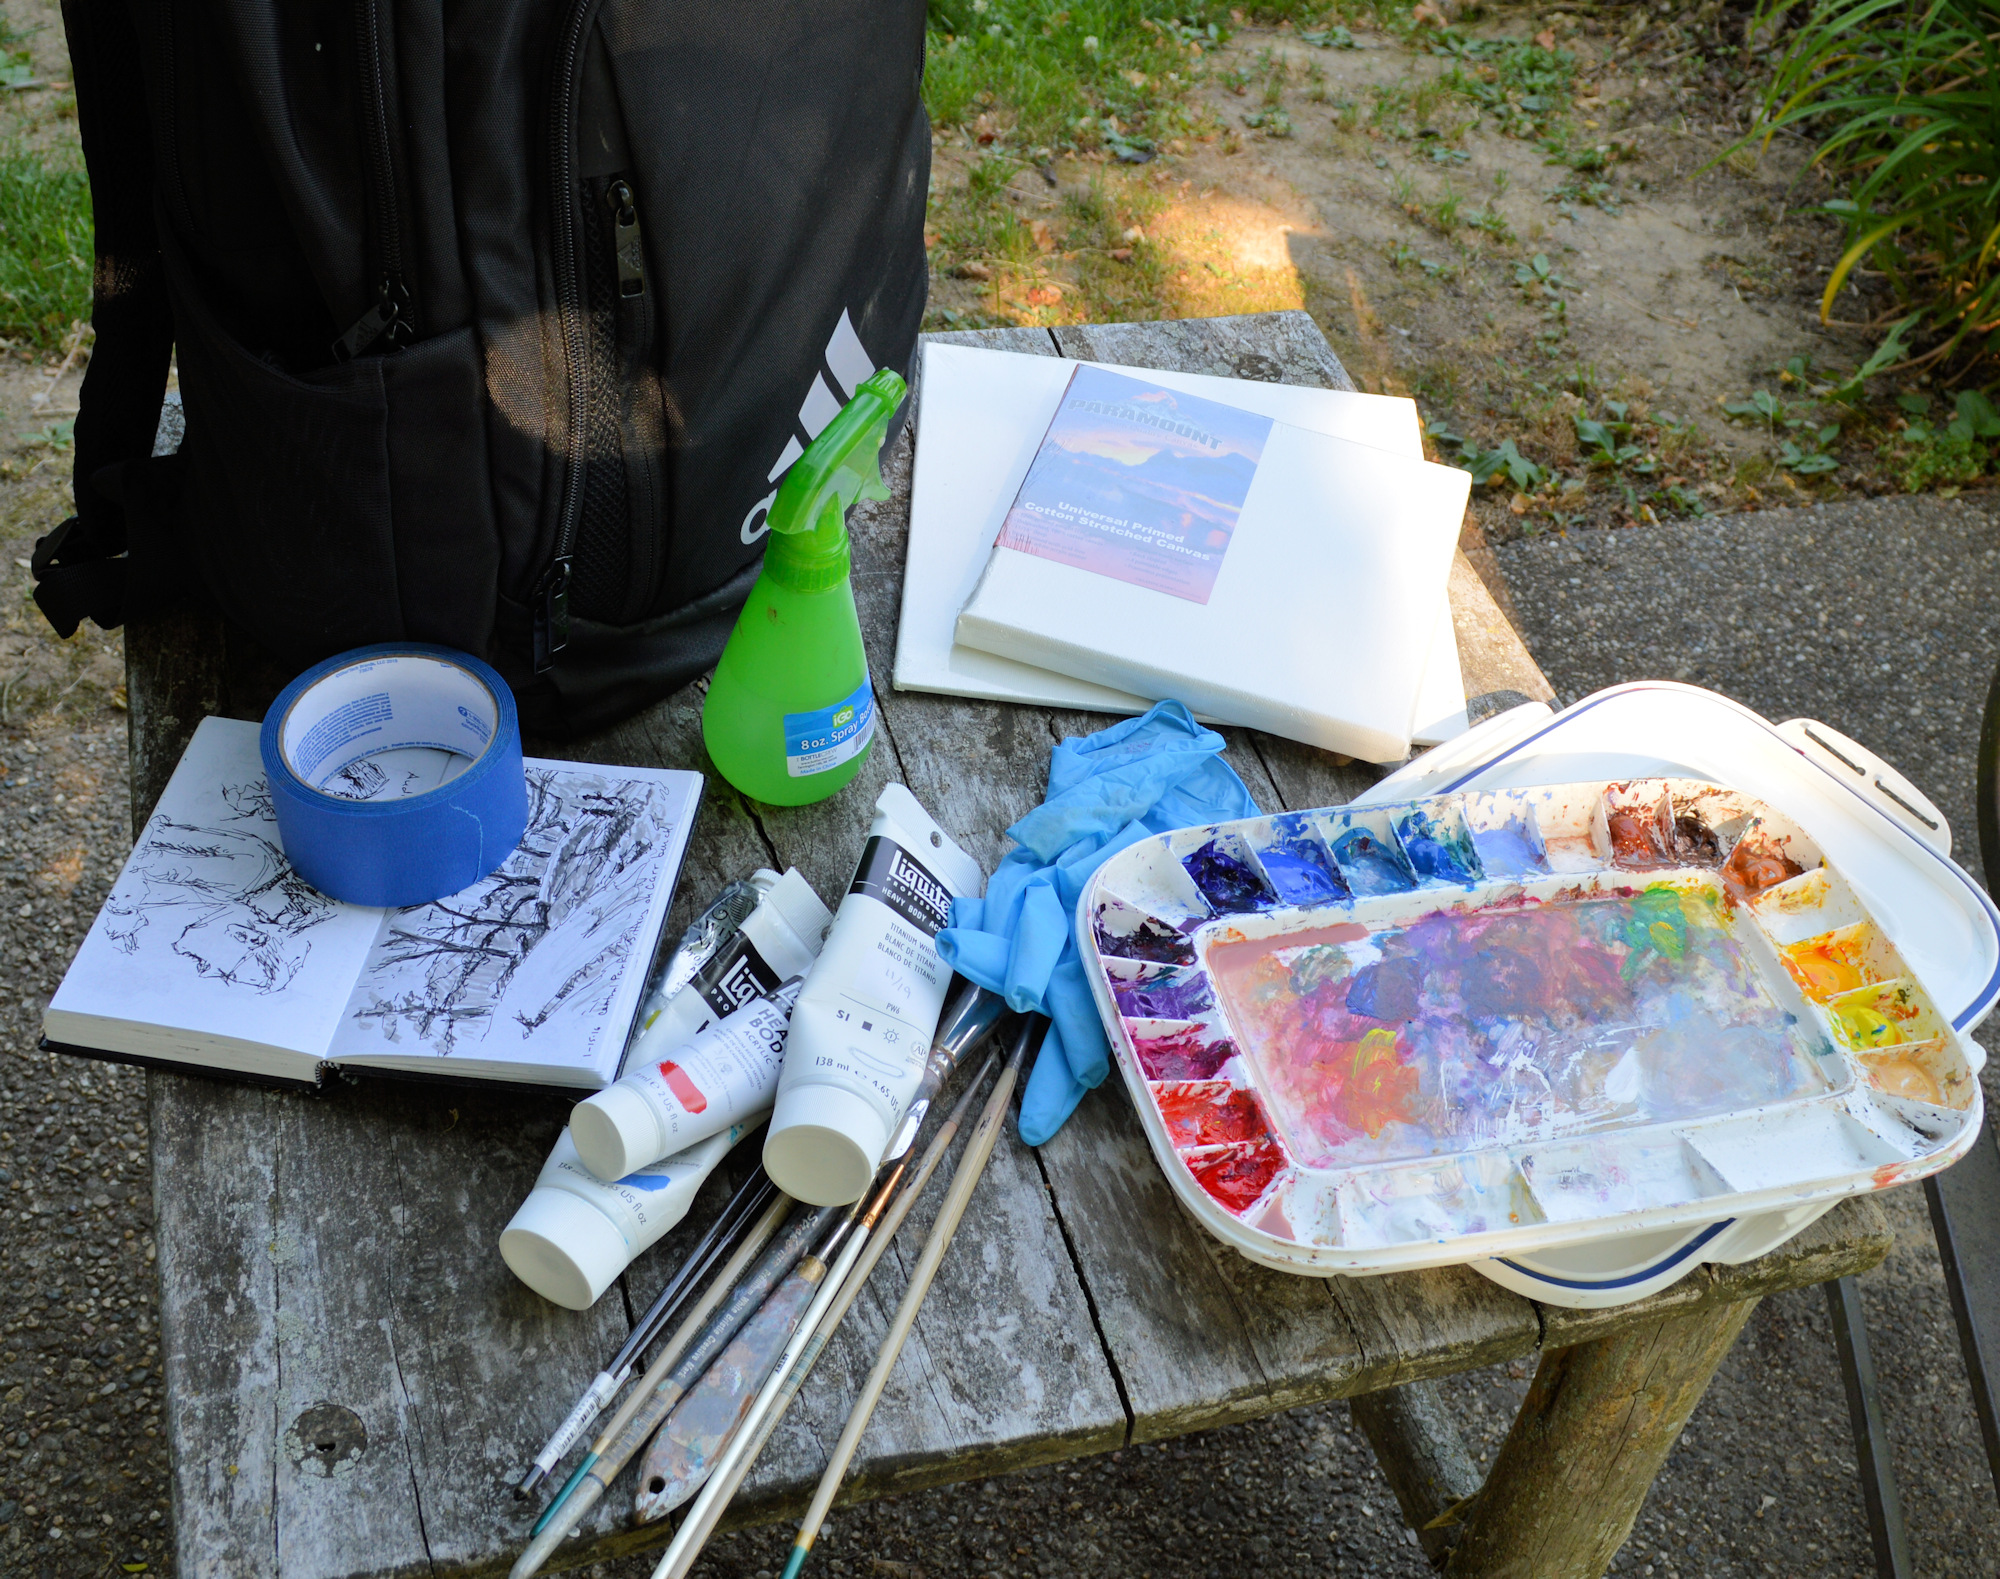
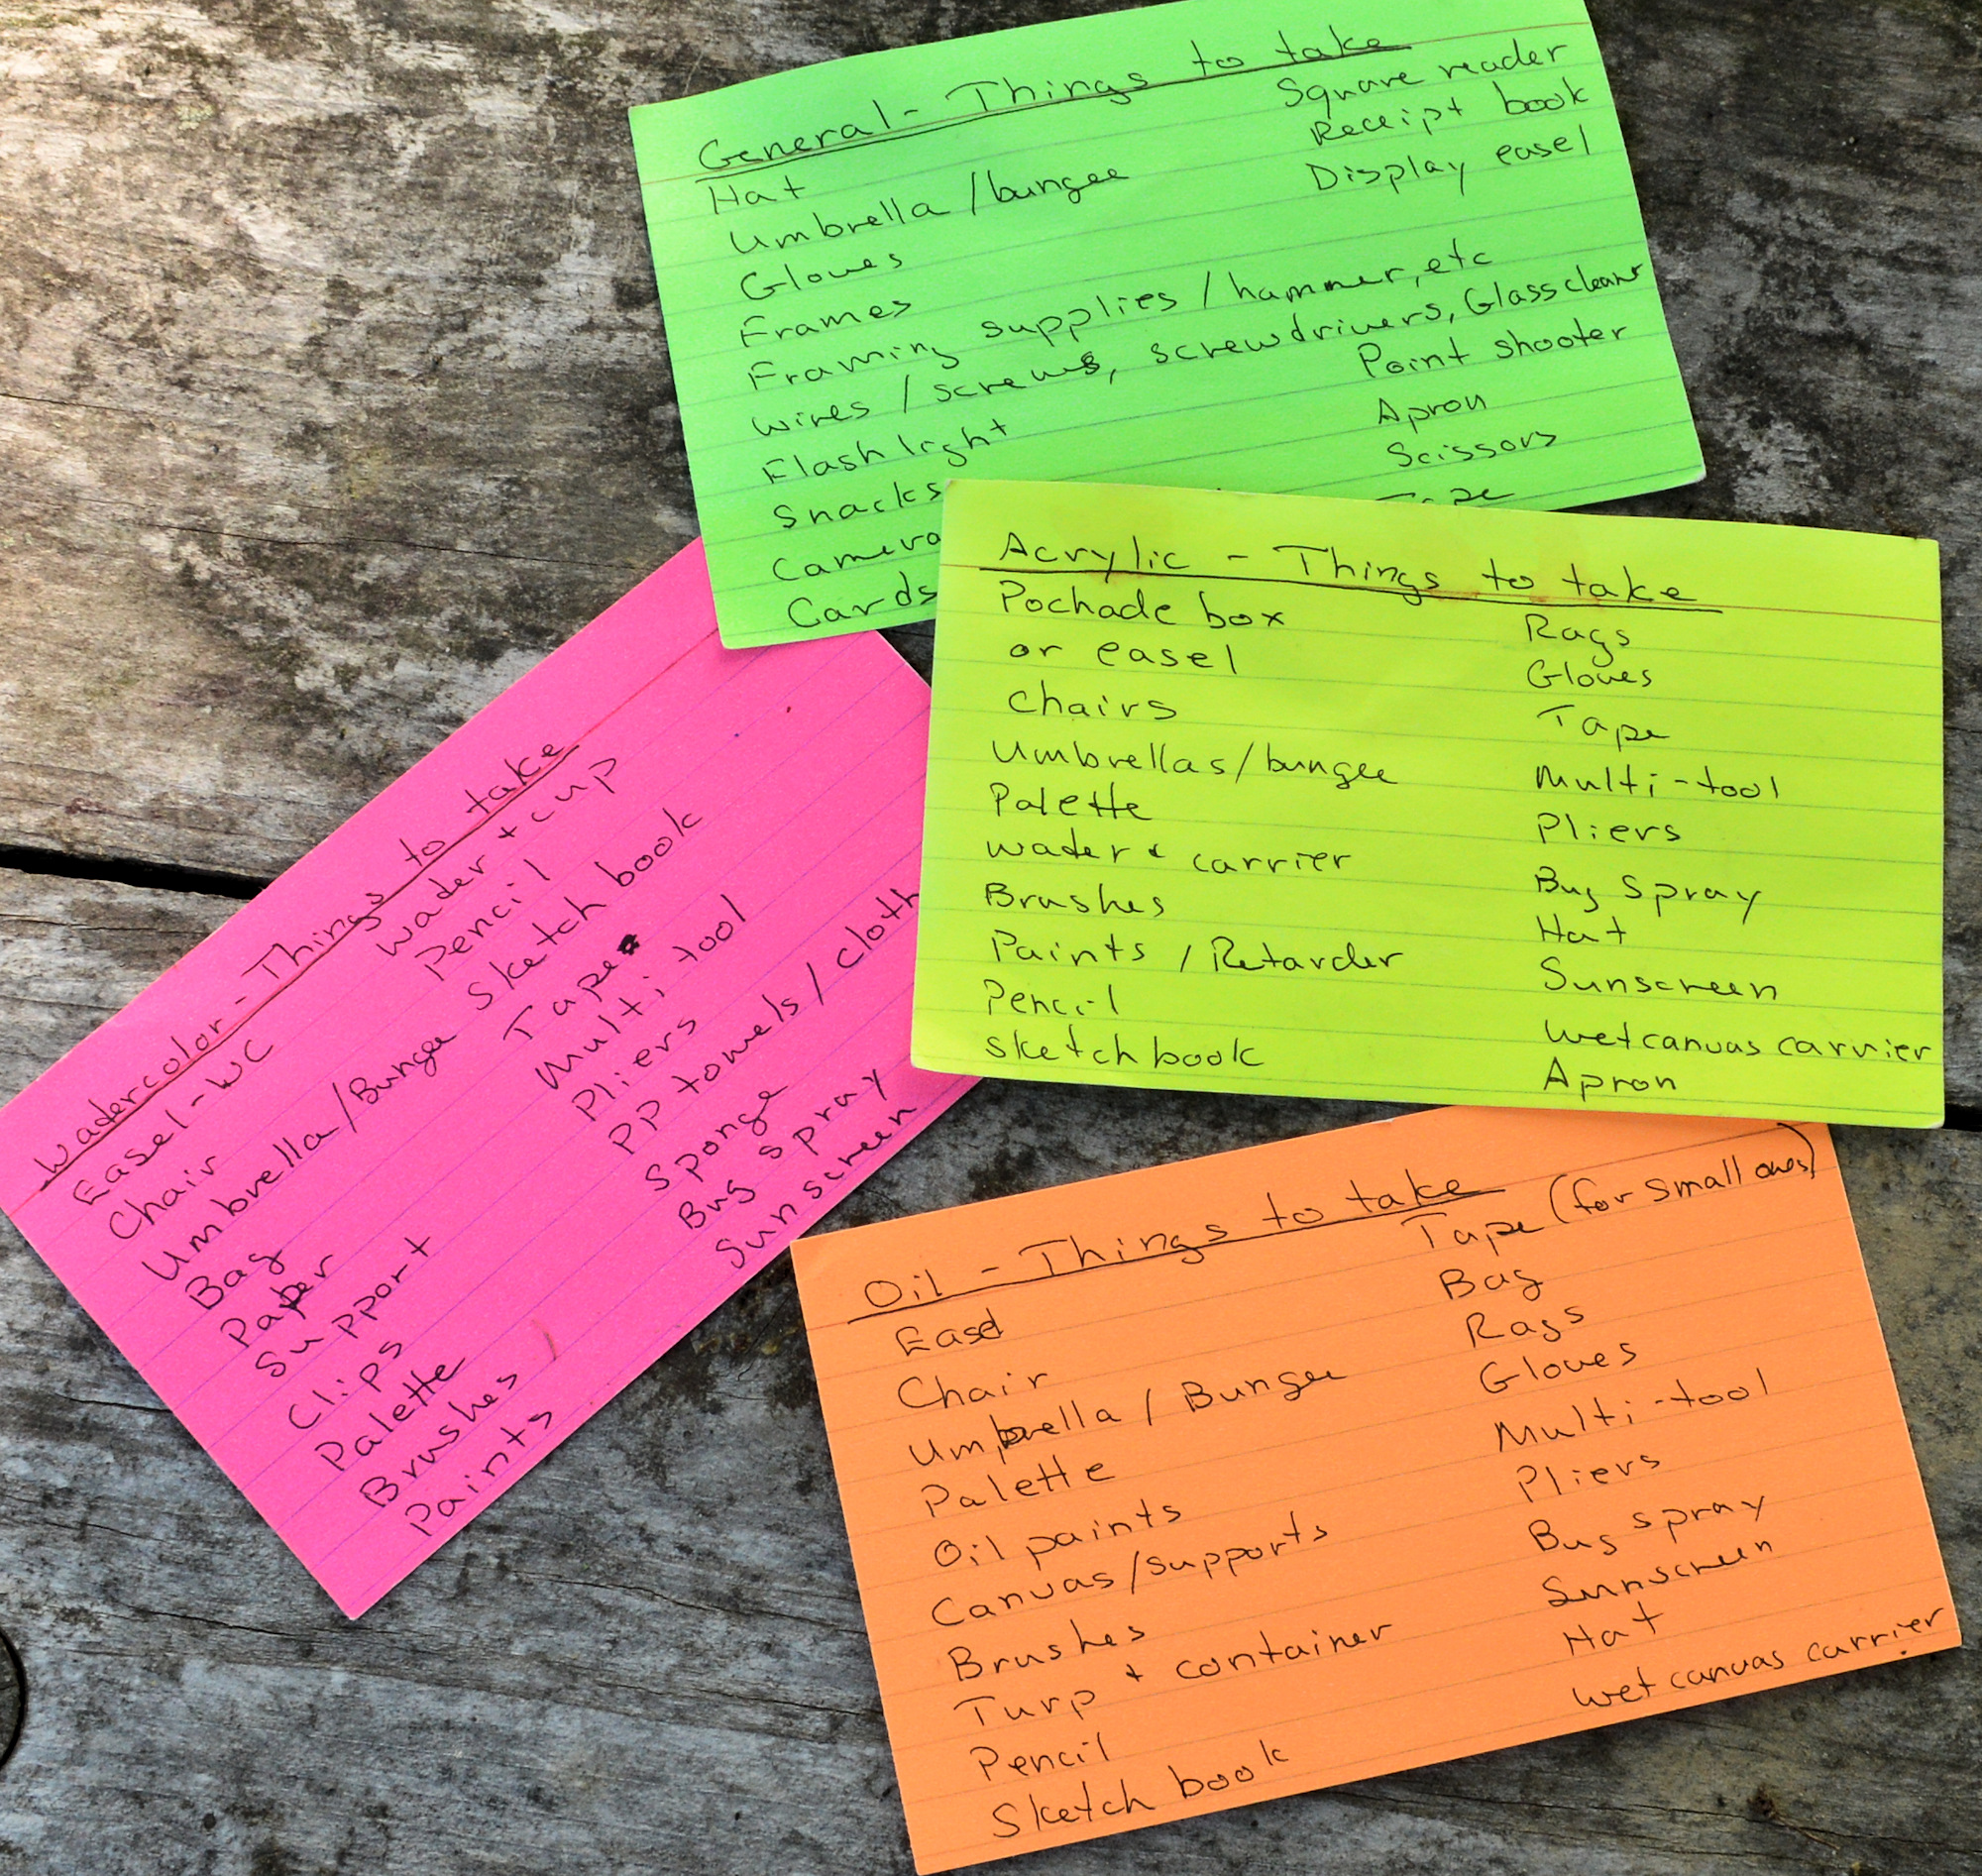
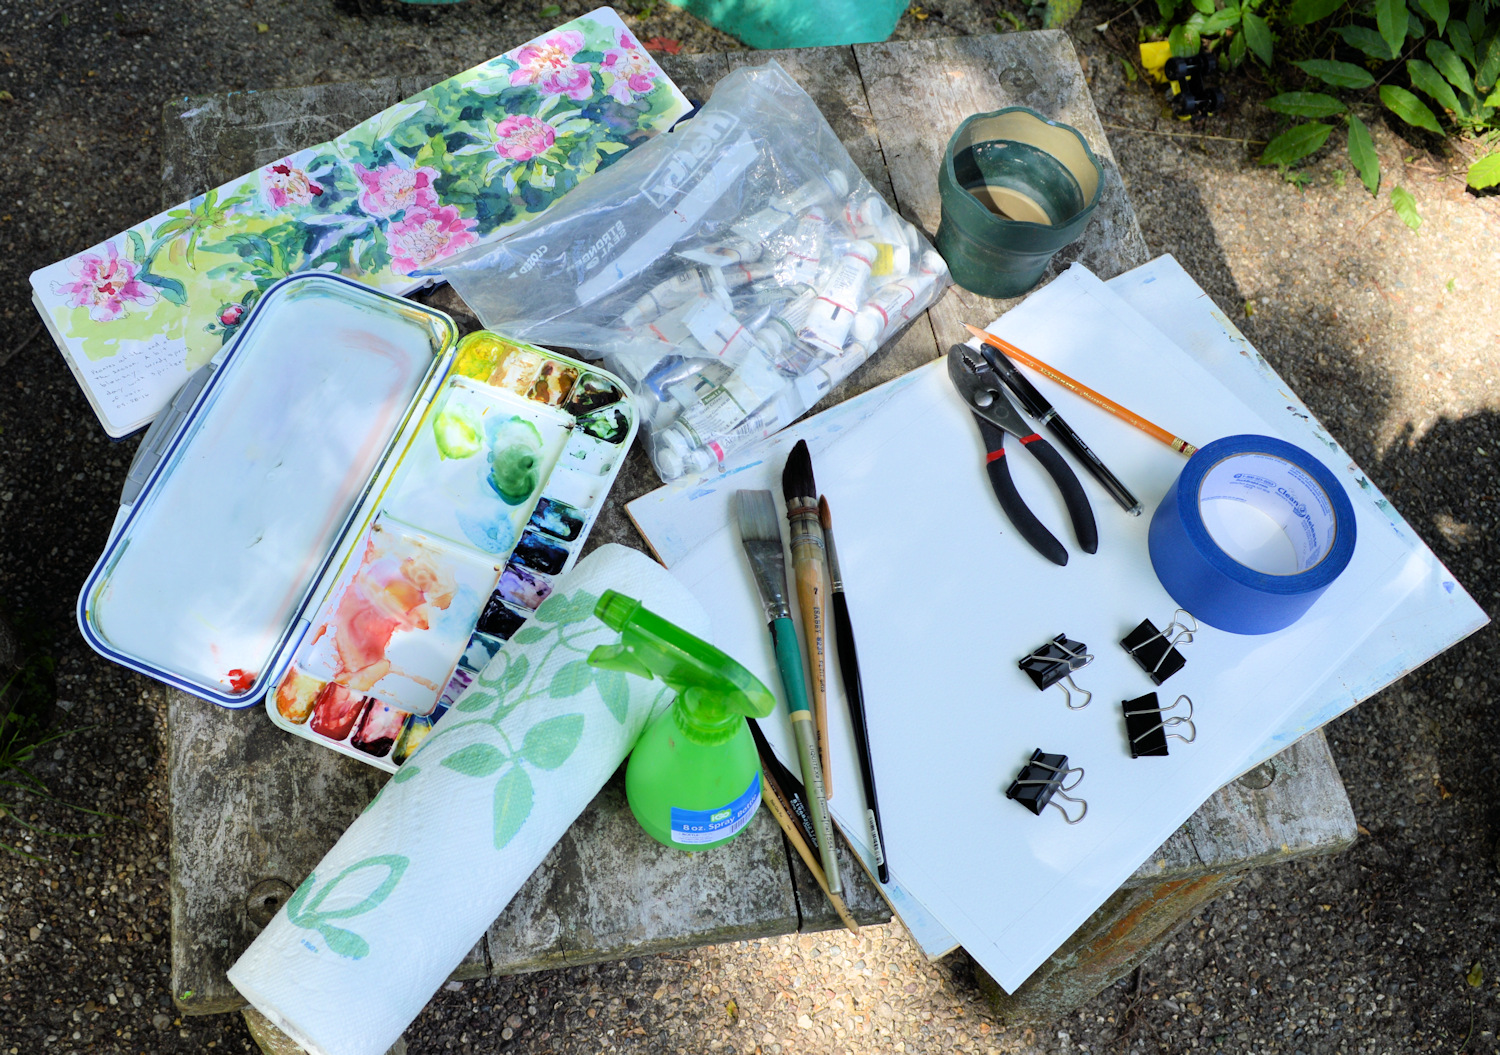
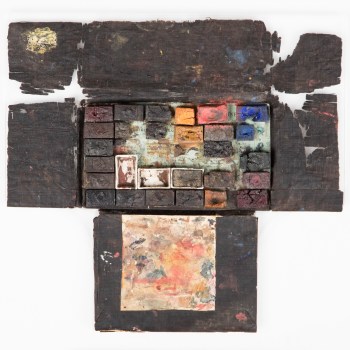
I like to keep a journal of my travels with notes and musings, small sketches, mileage, and even sometimes the label from that chocolate shop in Paris which I never can remember. These travel journals are always fun to revisit later, long after my memories have faded and gotten fuzzy. They instantly transport me back to the place and time, allowing me to experience the trip all over again. They’re, of course, nothing so monumental as the Lewis and Clark journals, but they work for me.
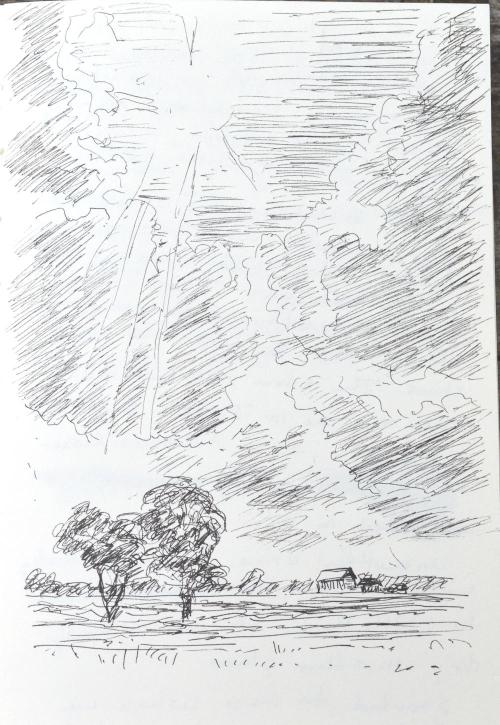
Sun breaking through the clouds over Arkansas, sketch, Kit Miracle
After months of planning and preparation, making reservations at the big stops (didn’t realize it was the Grand Canyon’s 100th anniversary until afterwards), we lit out on June 2nd, a day earlier than planned. We were concerned about the flooding in the Midwest and decided to skirt along the Mississippi to Arkansas and then take the southwestern route to Texas.

Flooded Arkansas River in Little Rock, sketch Kit Miracle
Fortunately, the only flooding we saw on the way out was the Arkansas River in Little Rock but that didn’t affect the drive.
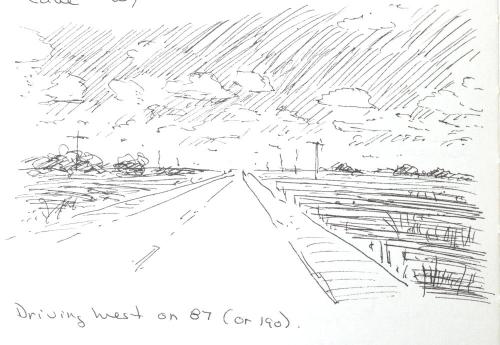
Driving west on 87, sketch, Kit Miracle
After we picked up the granddaughter, we headed west through the Texas hill country (beautiful), to the flatter and dryer areas of west Texas. Just a delight to be on the road again, away from the daily maintenance of the homestead.

Longhorns resting in shade (from memory), sketch, Kit Miracle
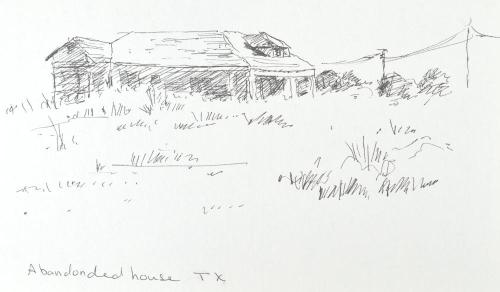
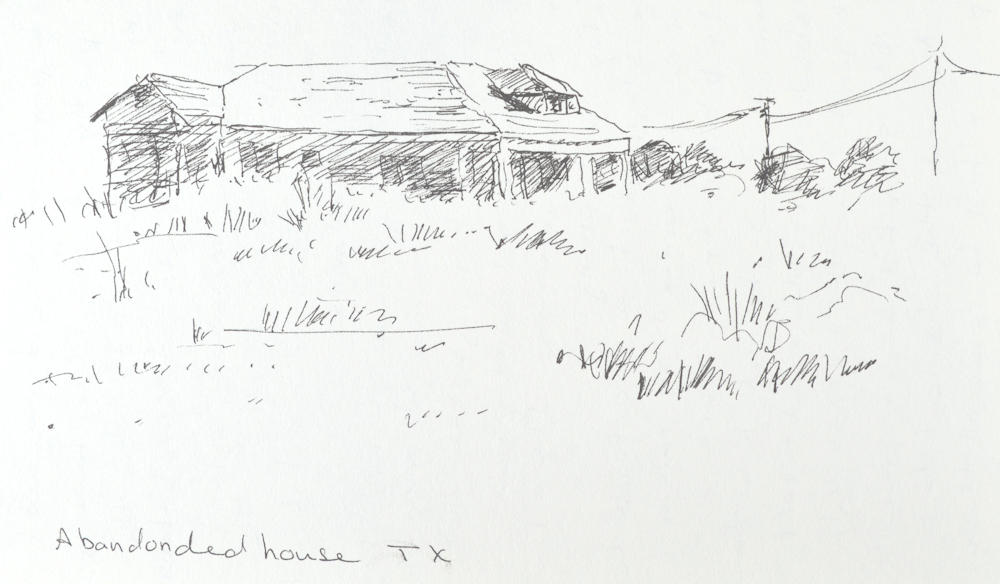
Abandoned House, Texas sketch, Kit Miracle
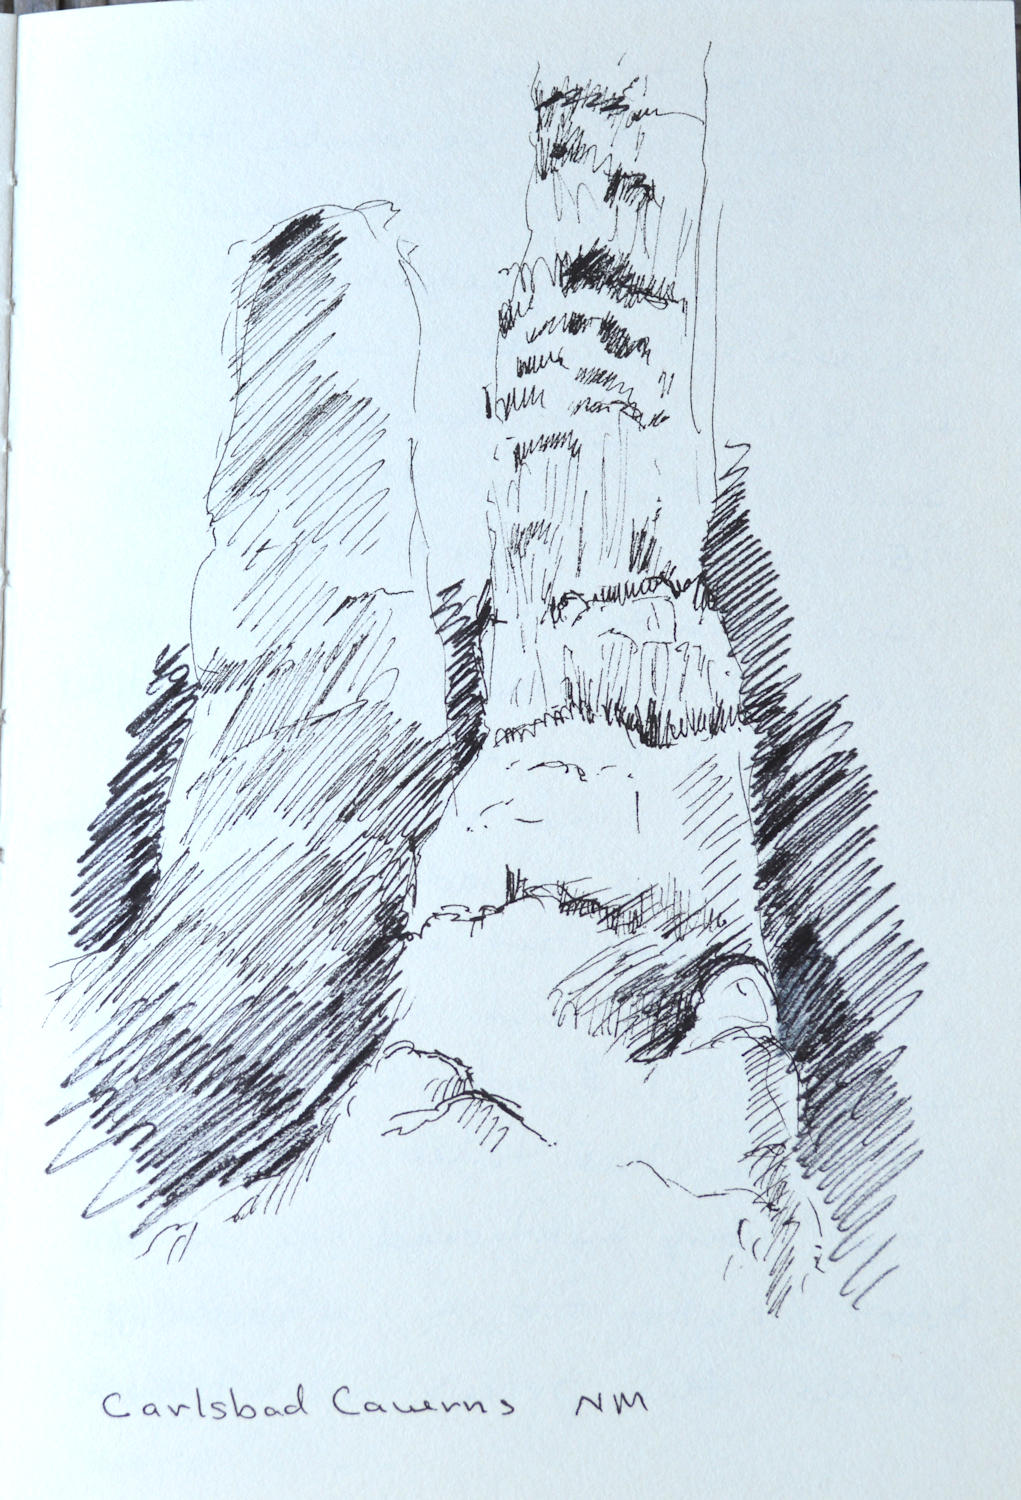
We negotiated miles of roadwork through the oil fields of west Texas and New Mexico to land at our first national park, Carlsbad Caverns. My husband and granddaughter had never been in a cave, and even though I have, this was a truly fascinating experience. The vistas outside were gorgeous, and inside the cave was even more so. We elected to take the elevator down (700+ feet) rather than walk. The National Park Service has done such a wonderful job of making this site accessible and interesting. We took a self-guided tour of the great room which still took an hour and a half. Although many other areas remained to be viewed, that was enough for us. We didn’t stay for the bat exodus at sundown either. Just too tired and road-weary and ready for a meal and bed.
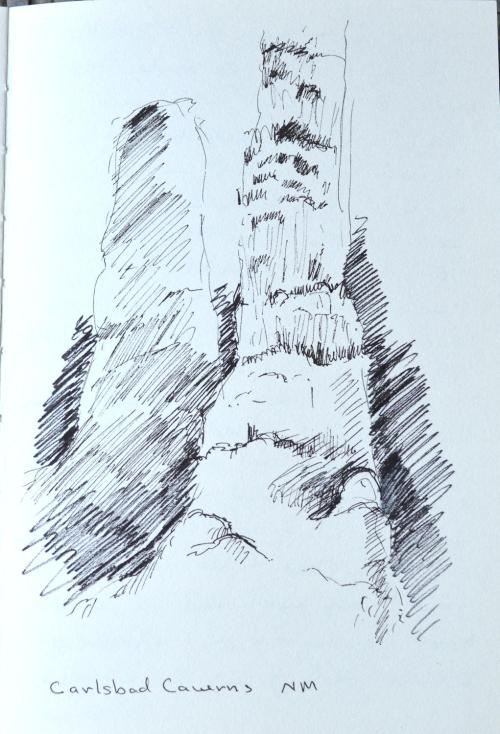
Carlsbad Caverns, New Mexico, sketch, Kit Miracle
Carlsbad is probably typical of any town in the oil field area with lots of traffic, overpriced rooms, and not much scenery. As we were waiting at a restaurant for dinner, we spoke with a lady who was a local who said it was always this way during boom times. People renting a room in their homes for $1200 or more. And getting it.

Sample sketchbook – journal with alien streetlight, sketch, Kit Miracle
Our stop the next morning heading north was Roswell, NM. You have to stop if you’re in the area as it’s not exactly on the way to anywhere. We visited the alien museum built in a former movie house. It was pretty much as I expected. A mix of history, facts and lots of speculation. (I hesitate to use the term cheesy but you get the idea.) Of course, had to buy the T-shirts and trinkets as I don’t expect to get down this way again. The whole town has gone alien nuts; even the streetlamps are painted as aliens. The annual UFO festival this year is July 5-7, 2019. I expect it will be a sight.

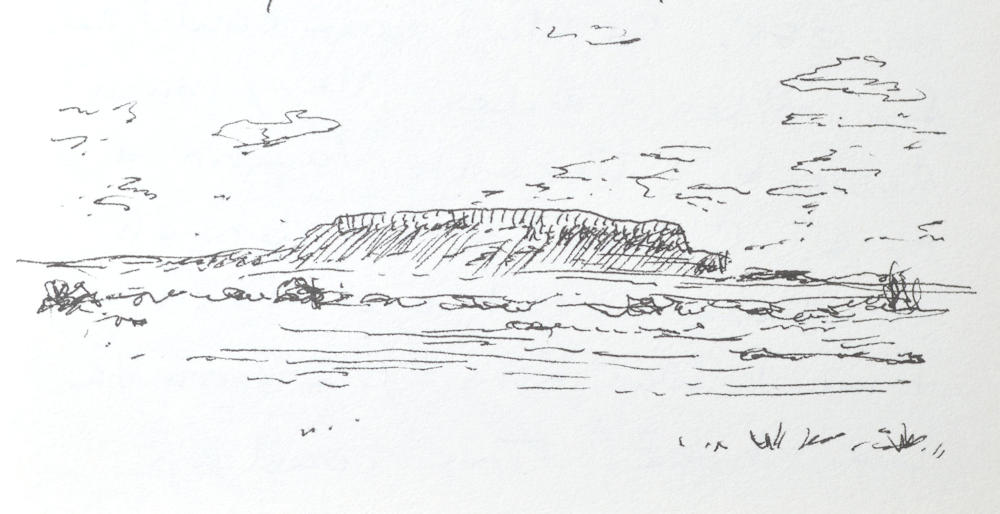
Butte, New Mexico, sketch, Kit Miracle
We continued on down the road towards Gallup where we spent the night. My granddaughter’s major requirement for a hotel was a pool (she’s nine). After a quick stop in the morning at Walmart, we stocked up on food for our stay at the Grand Canyon.
The further west we drove, the more interesting the landscape became with the big mountain in Flagstaff calling us (Humphrey’s Peak). It still had snow on the top. After a roadside picnic lunch (sure got tired of fast food in a hurry), we headed north to the east entrance of the GC National Park. I’d been there before but the others had not so I couldn’t wait to introduce them to “my” canyon.
We drove through sparsely populated reservation territories. Some beautiful scenery but appeared to be struggling.
Finally, we arrived at the East entrance of the Grand Canyon. I want to insert here that every park employee that I have met has been terrific. They’ve always been so polite and helpful. This is true for every park we have visited. And I also want to emphasize that our National Parks are one of the greatest assets the American people have. People from all over the world travel to see our lands and it makes me just want to bust with pride.

Duck on Rock, Grand Canyon, sketch, Kit Miracle
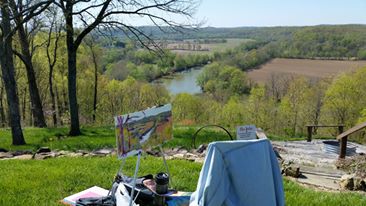
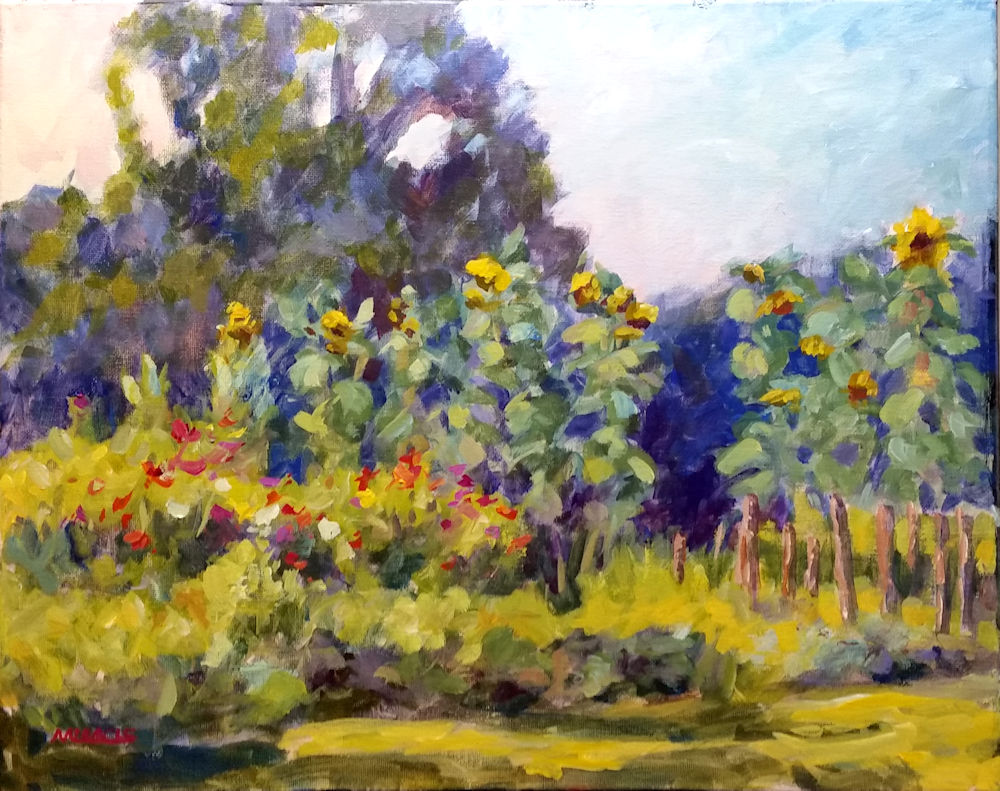
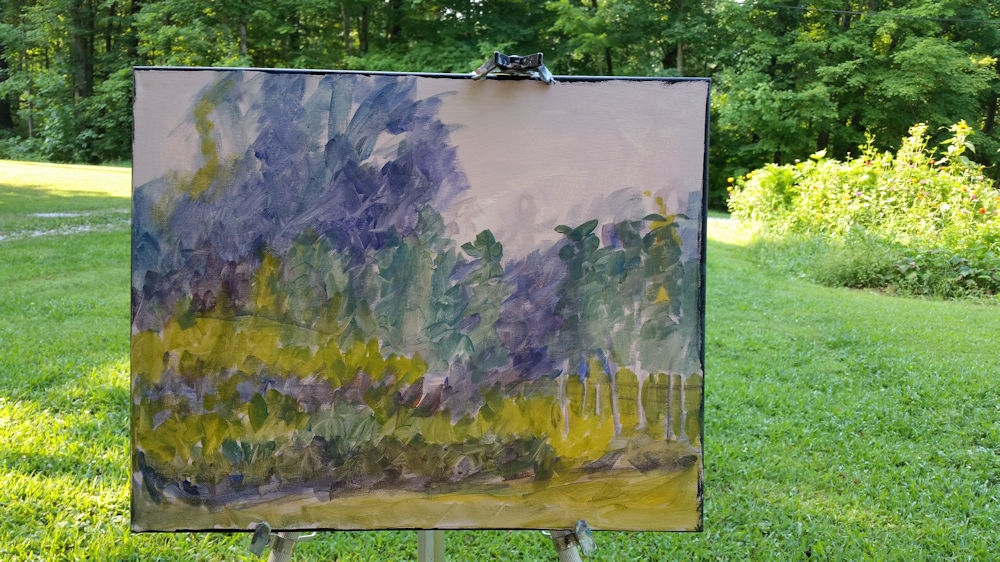
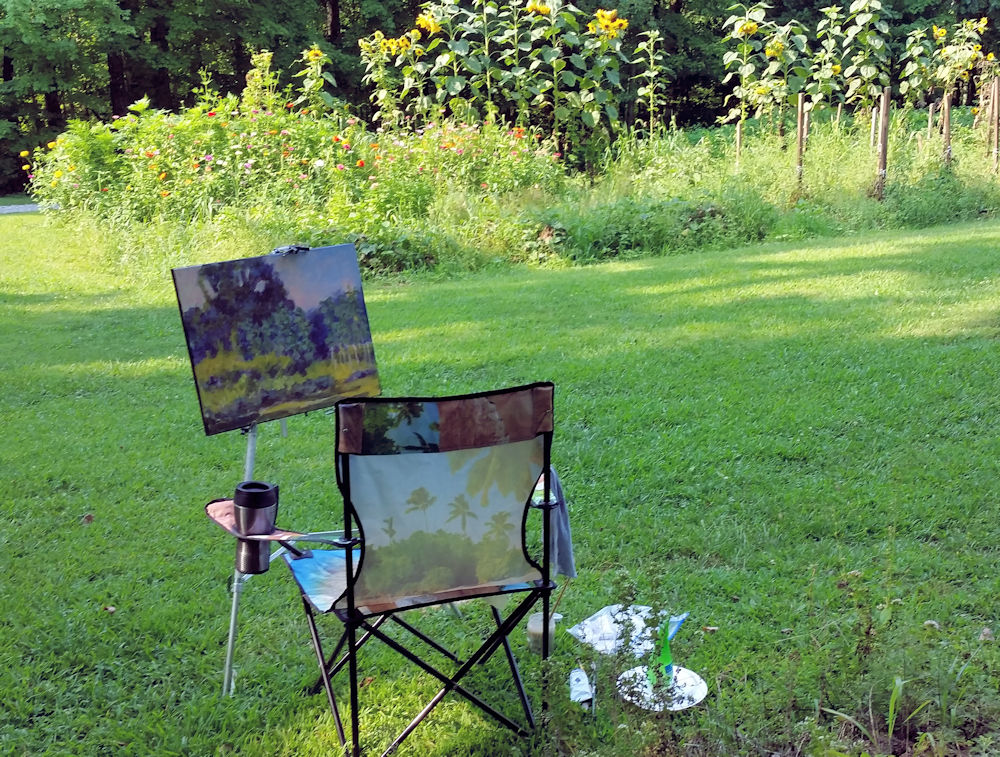
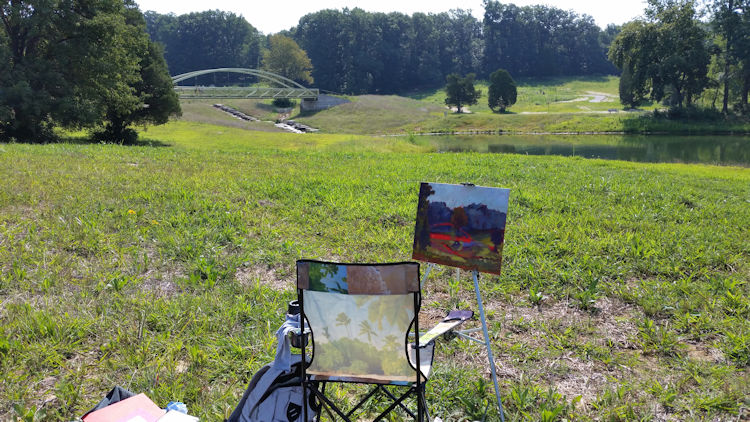
My granddaughter and I got up early and went out plein air painting. Well, I painted and she checked out the rocks and vegetation. The first day was very windy, but after that, it eased up. My husband was really affected by altitude sickness but we all had a great time.
Next week I’ll post Part II of the remainder of the trip, parks and scenery

Hopi House, Grand Canyon Village, sketch, Kit Miracle