
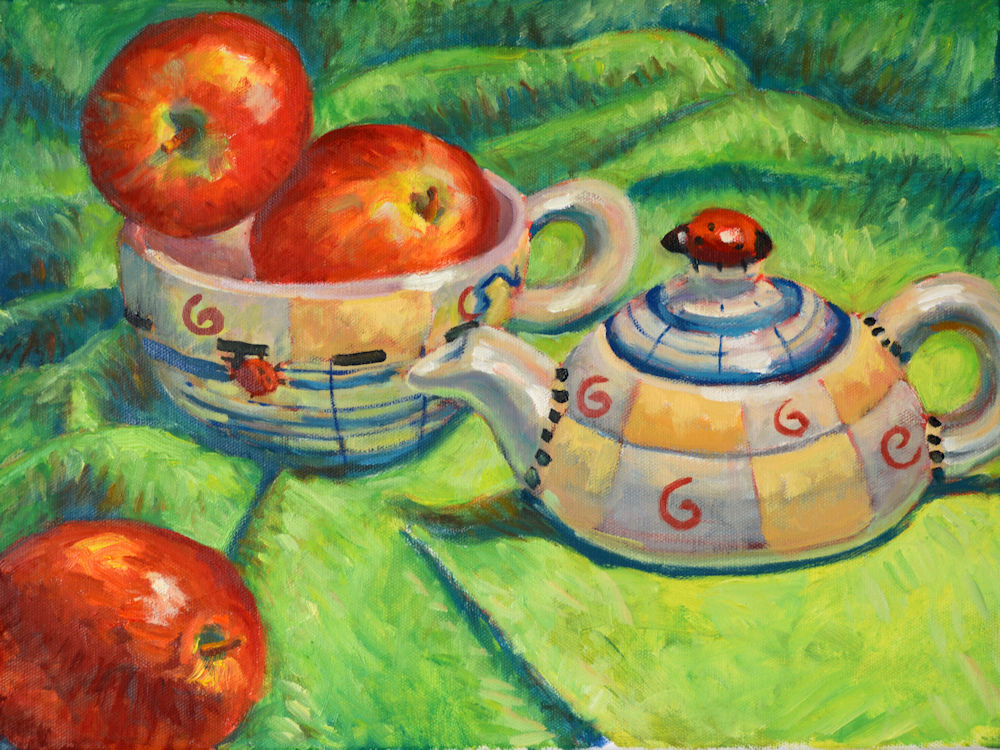
Ladybug Teapot, oil on canvas, 12 x 16, Kit Miracle
Sometimes the most difficult part of painting a still life is selecting the objects, then the arrangement. I played with this one quite a bit before I arrived at an interesting composition.
I was looking through my prop cupboard and spotted this cute ladybug teapot. It’s actually a teapot/cup combination. I’m not quite sure where I picked this up. There is a receipt in the top that says Canada but I’m sure that I just got it at a resale shop. Maybe even in Canada when I was there a few years ago. Anyway, I love the whimsical style and colors. I decided to pair this with some bright green fabric and red apples. It’s almost Christmasy in colors but really, this could go any time of year.

Ladybug Teapot still life set up
After I arrived at a pleasing set up, adjusted the lighting many times, this was the final arrangement.

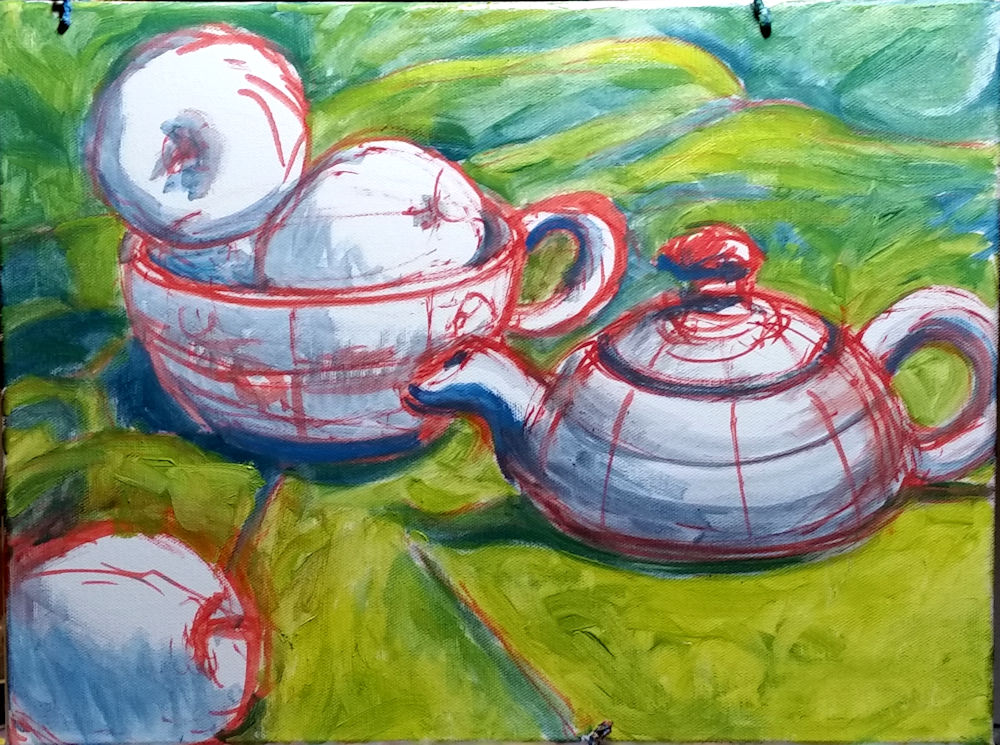
Ladybug Teapot, step 1, original sketch on canvas with shadows blocked in
I began with a rough sketch in oil directly on the canvas. Then I blocked in some shadows just to give the objects volume.
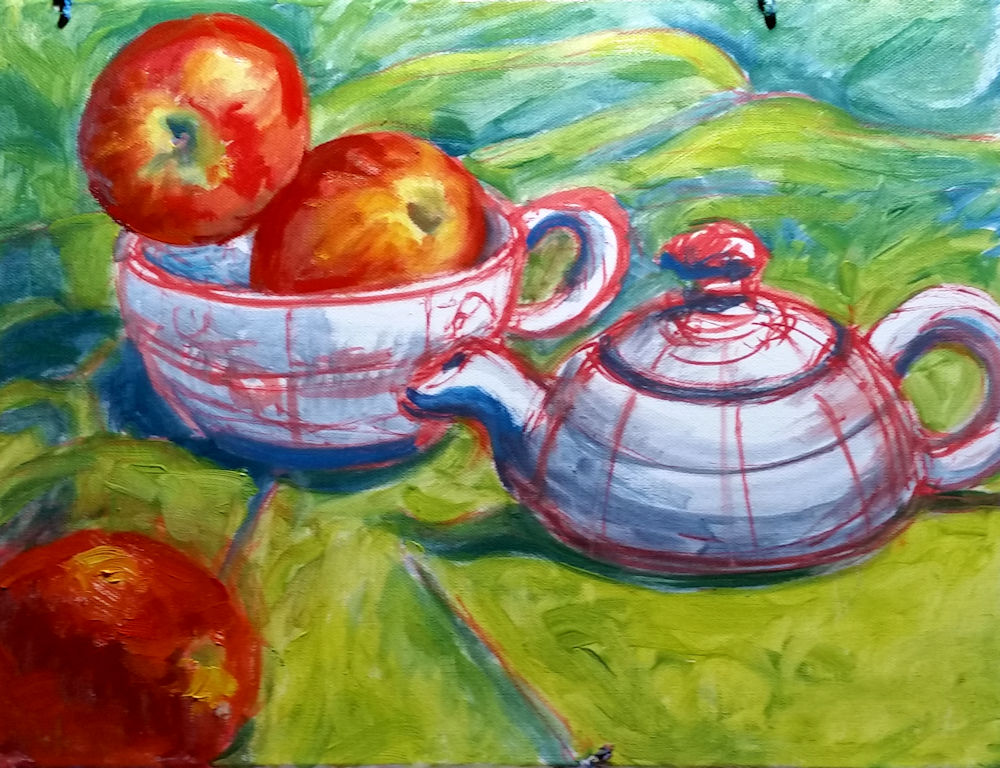
Ladybug Teapot Step 2, blocking in the background
Then I blocked in the background which made the objects stand out. Each artist works differently, but this method seems to work for me.
Ladybug Teapot, step 3, adding apples
The next step was to work on the apples, then work on the patterns of the teapot and cup.
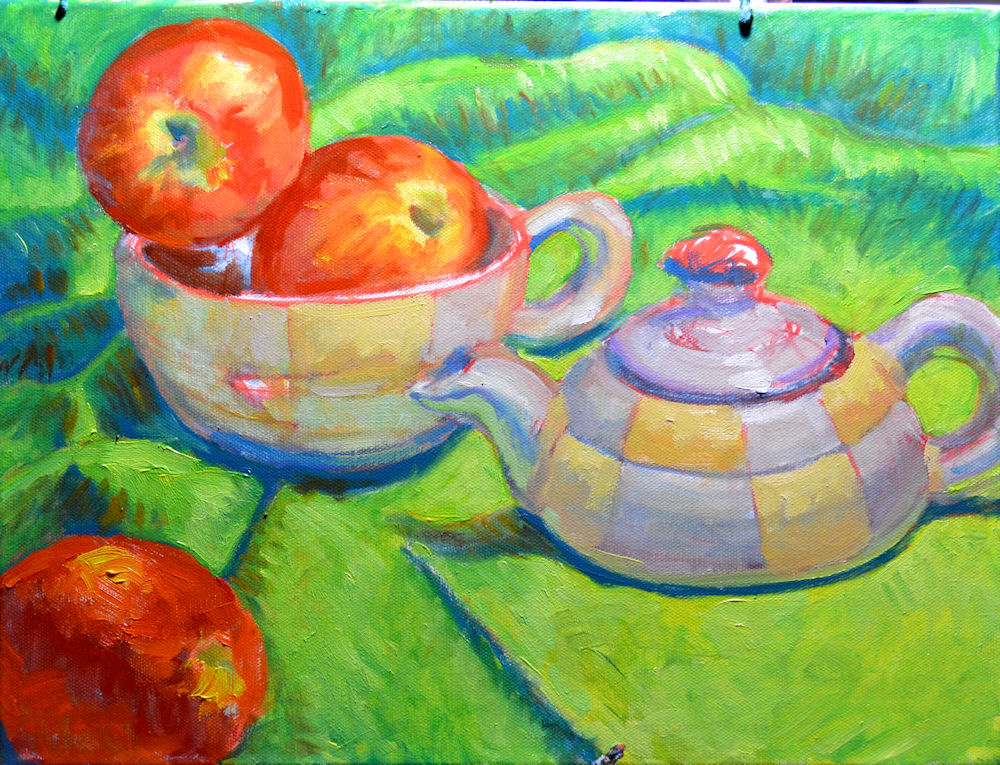
Ladybug Teapot, step 4, adding dimensional brush strokes to background fabric
I wasn’t pleased with the background so I decided to add some texture with the dimensional brush strokes.
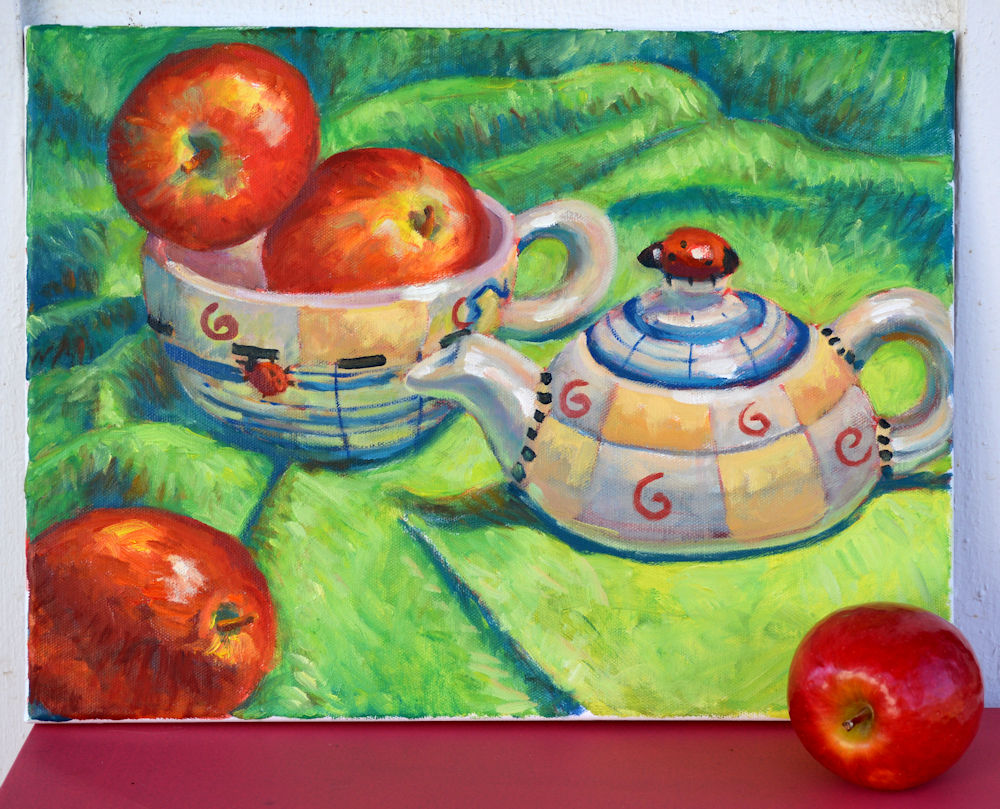
Ladybug Teapot with apple
The final step is often the hardest with tweaking shadows and contrasts, and adding details. Overall, I think the painting works and is very playful.
