First of all I will admit that I am not an expert in acrylic painting. Yes, I’ve painted watercolors for over 30 years and have tackled oil painting for about ten years. But I’m pretty new to acrylic painting.
I got into acrylics painting artwork last year when I had some commissions which needed to be completed quickly. Mainly I was looking for something durable but which dries more quickly than oils. And after my last foray at a multi-day plein air event last month where I seemed to get Titanium white all over everything, I thought acrylics might be a good idea to try.
I have a beautiful little pochade box which I purchased last year but have never used so this was to be my designated acrylic box. (For now.) I loaded it up yesterday morning and drove out to a place down the road that I’ve been eyeing for a future painting site. It was so peaceful and I arrived just before the sun arose. I will say that the hardest part was attaching the quick release to my tripod, but after several attempts, I finally got it. Not too thrilled as it wiggled a bit but otherwise it worked. Then I unfortunately sat on my only plastic water container and smashed it. Humph! Artist ingenuity jumped up and I cut the bottom off a bottle of water. Worked perfectly.
The next test was the new mini Stay Wet palette that I added too much water to the sponge. The paper palette wrinkled a bit but I could work with it. Lesson here: try new equipment at home before you hit the road.
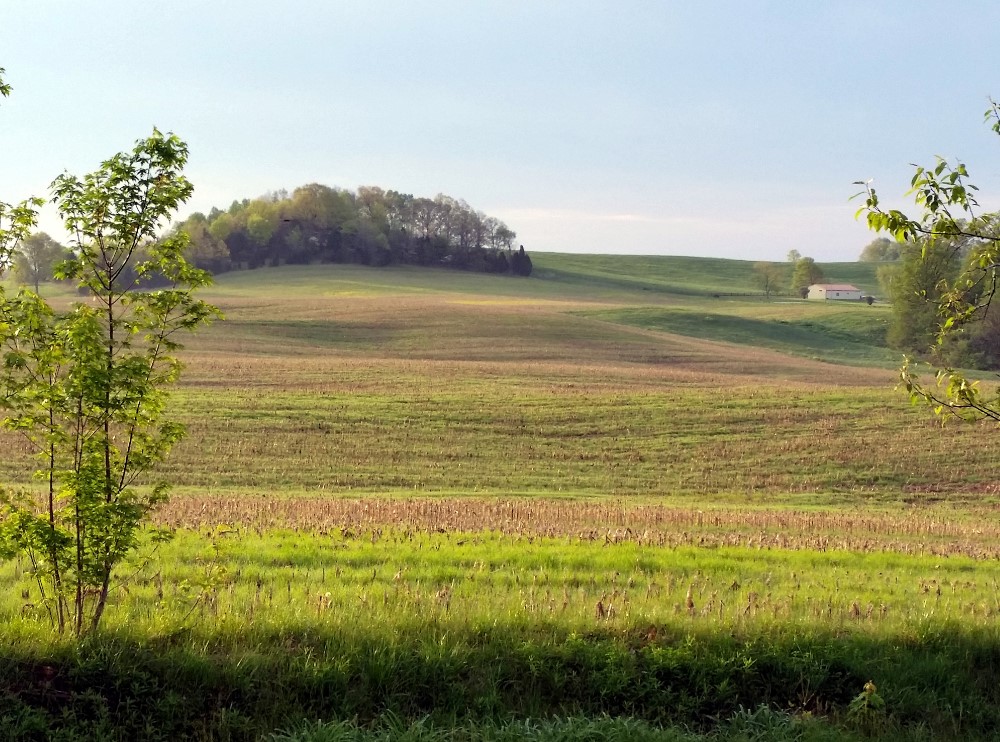
Here’s a photo of the beautiful rolling fields that I was trying to capture. I find that I really only have two hours to make a go of a painting before I lose the light but this was enough.
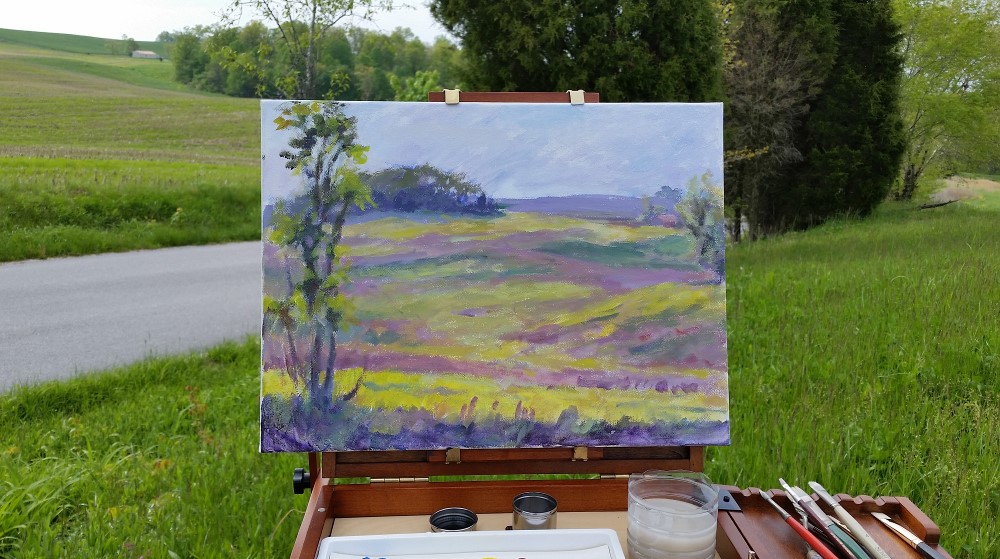
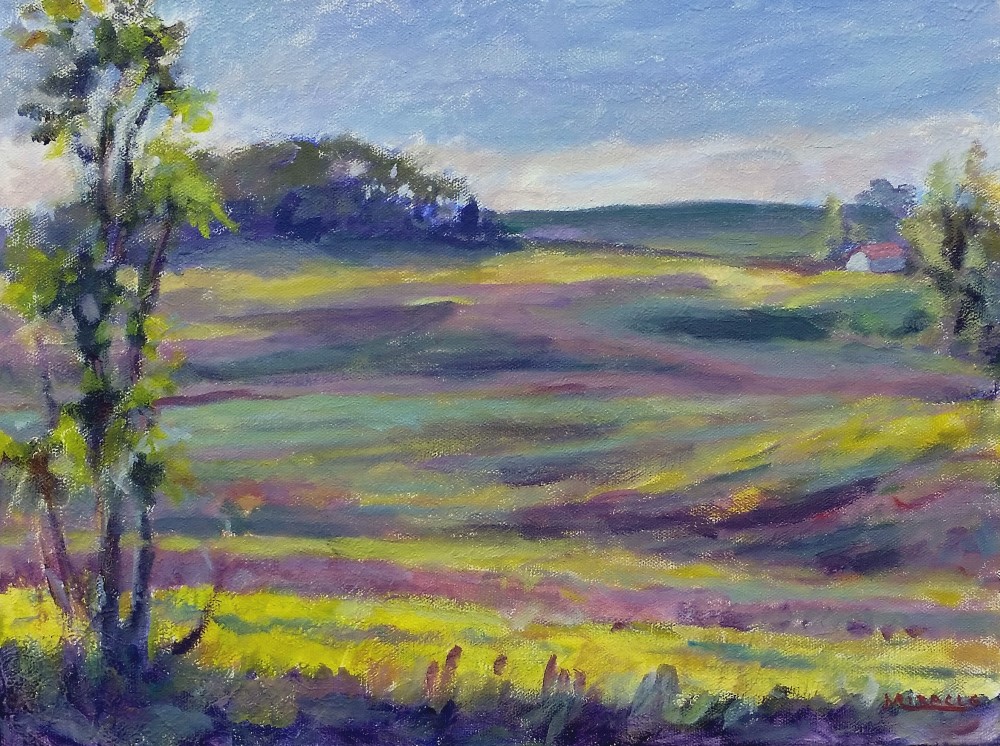
And here’s a photo of the field painting at the time I packed up.
When I got back home, I wasn’t quite satisfied with the colors or composition of the painting so decided to work on it some more. You can see where I lowered the clouds to emphasize the dawn. Then I pushed back some hills and brought forth some of the sunny highlights.  I’m not totally satisfied with the overall painting but I usually have to live with them for a while. It doesn’t seem to have the personality of the scene I was trying to capture but barring that, isn’t too bad. What do you think? Which one do you like best.
So, lessons learned from my first acrylic plein air painting adventure.
- Test out new equipment first before you take it into the field.
- Be adaptable.
- Acrylics are nice in that they dry much quicker than oils but are more opaque than watercolors.
- And….don’t sit on your water container!