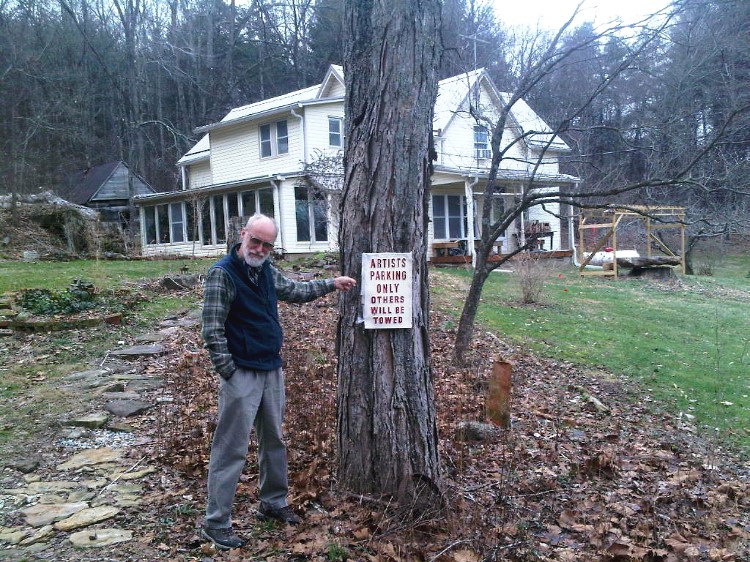
Bill Whorrall – Artist Parking Only
Recently, I went up to visit my friend Bill Whorrall. Up – to me – means north. He lives a few counties over up in Martin County, a place nearly as rural as mine. Hills, rivers, woods, rock outcroppings and a good variety of interesting people.I’ve been acquainted with Bill for several years but have only gotten to really know him the past few years. He and his lovely wife (or as he describes her “the long-suffering Karen) live on a nice little homestead farm snuggled back into the hills overlooking their large garden and orchards, where they have their studios (she works in clay). So I had a little extra time over the holidays and wanted to kick around a few ideas with Bill. It was one of the most interesting days I’ve had in a long long time.
Bill is well-known in the region but those who don’t know him well often think of him as an opinionated, outspoken crank and contrarian. He is. He is also one of the most innately creative people I know and is passionate about his work and many other things. He has a wonderful attraction for the ironic. Bill is a photographer, artist, sculptor, writer, poet, and one of the best art teachers in the country. That last is not an exaggeration. He was recently nominated for a nationally-known art teachers’ award although he would never tell you about it. He is very humble about his accomplishments. His students, both children and adults adore him. He is able to get his students to tap areas of creativity they didn’t even know they had.
After several hours talking about art and the state of the world, and a substantial lunch prepared by the lovely Karen, Bill voiced his frustration about updating his website. His web designer had disappeared. This is one of the few areas that Bill isn’t experienced in so I offered to come back and help him. I suggested that with his many creative talents that a blog would be a perfect venue for him. Currently, in addition to all his other work, he makes and prints his Billzines. These are wonderful handmade, hand-printed magazines that are only mailed to a few select recipients. I am happy to say that I am on that very short list now.
So I returned to Bill’s house the following week and help him set up a blog. It is called, of course, http://www.billzine.com He is now posting his own thoughts and rants, books, photography, ideas for art teachers, poetry and writing. Please take a few moments to visit his blog and website. www.billwhorrall.com I think you will be amazed at what he has accomplished in less than THREE WEEKS! Sheesh!
Another thing I should mention. Bill just turned 70 and will retire from teaching this year. Fortunately, he has agreed to teach for us at the arts center. Boy, are we lucky. Oh, yeah. One more thing. Bill is now legally blind. Please don’t feel sorry for him as he doesn’t feel sorry for himself. He can see somewhat and works at his computer with a big magnifying glass. He still paints and writes and photographs. As he said himself, even if he goes completely blind, he will still find some way to create. And he will.

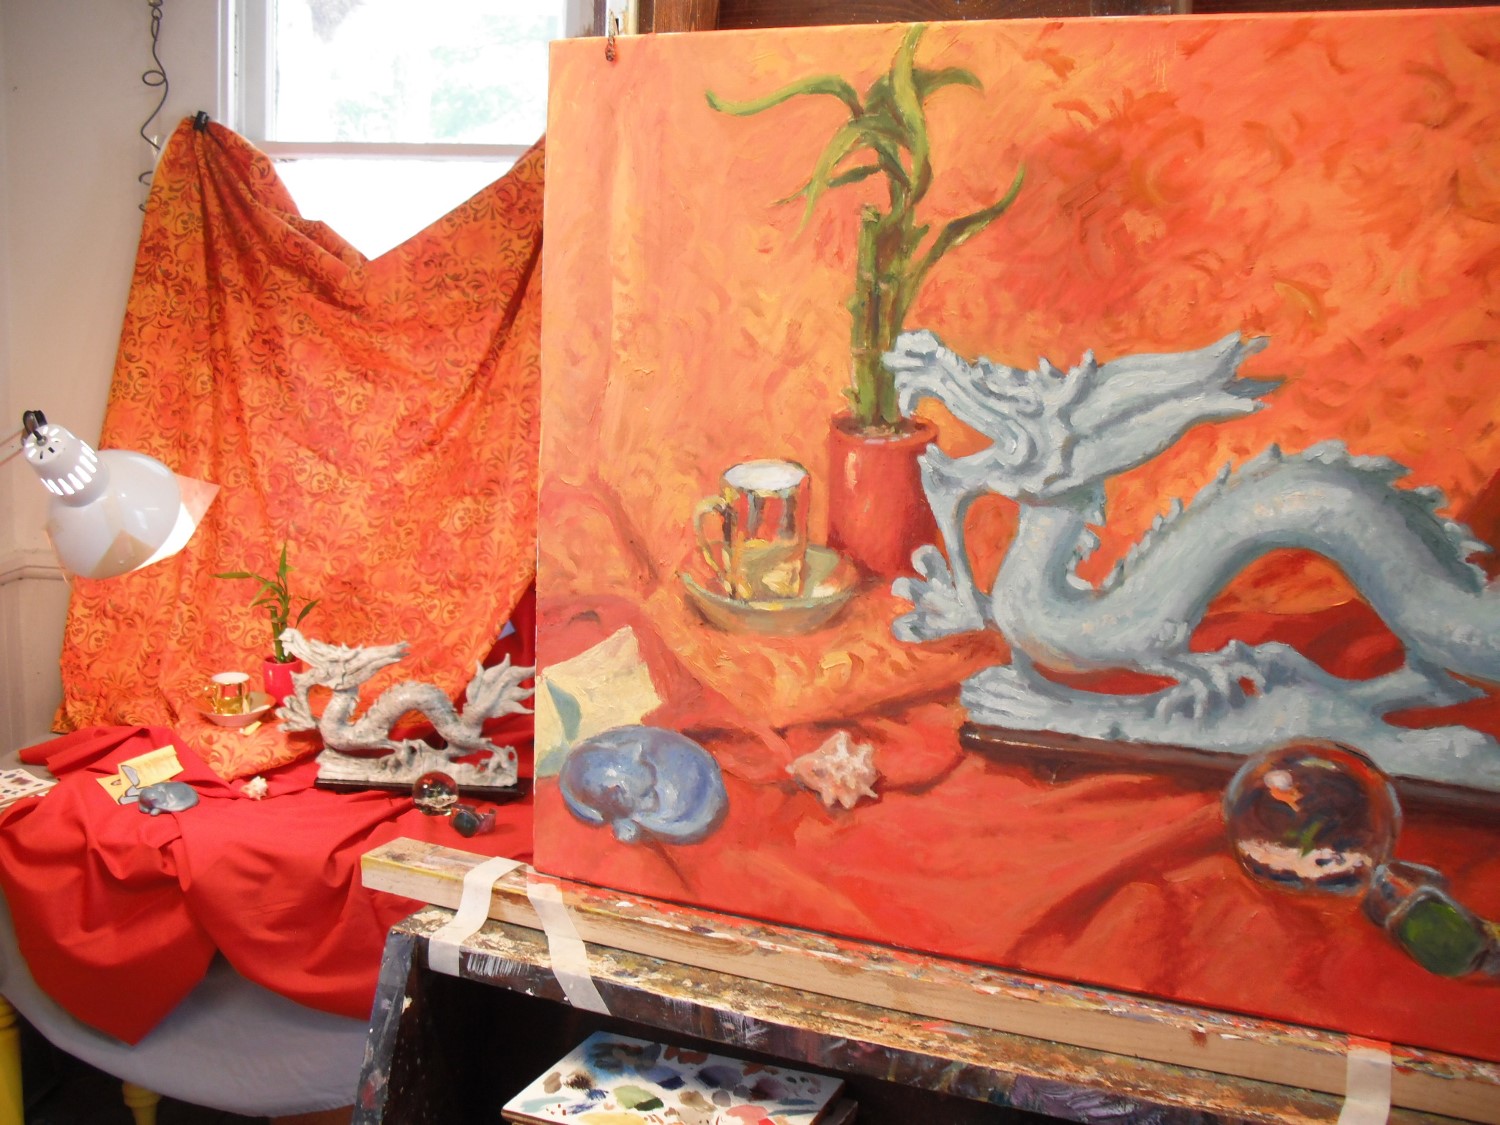
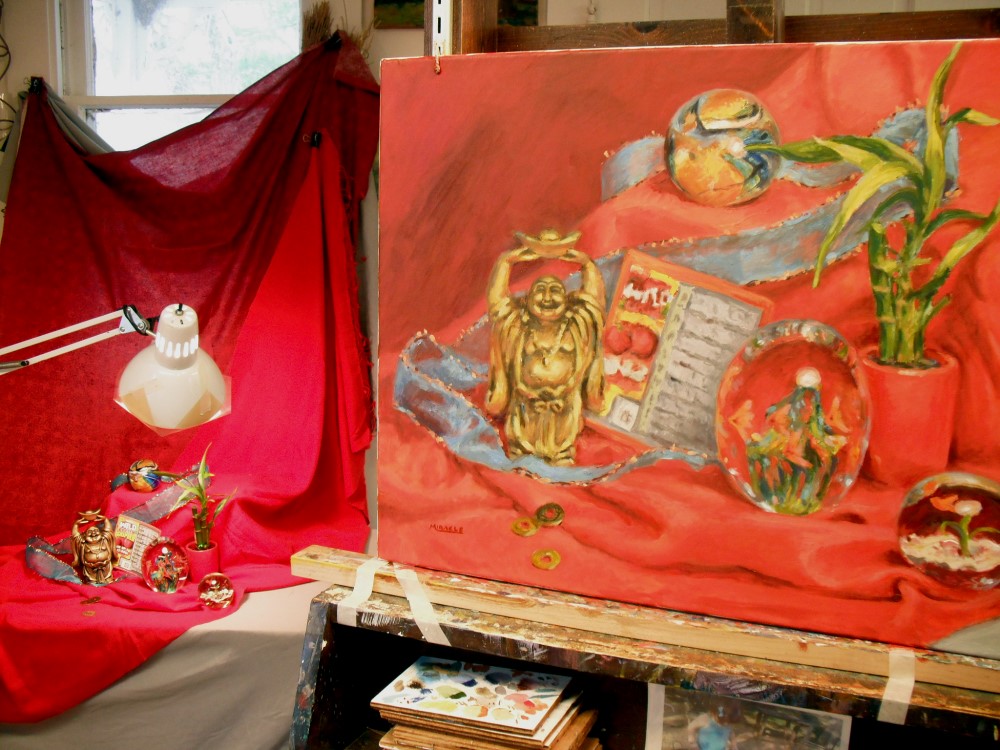
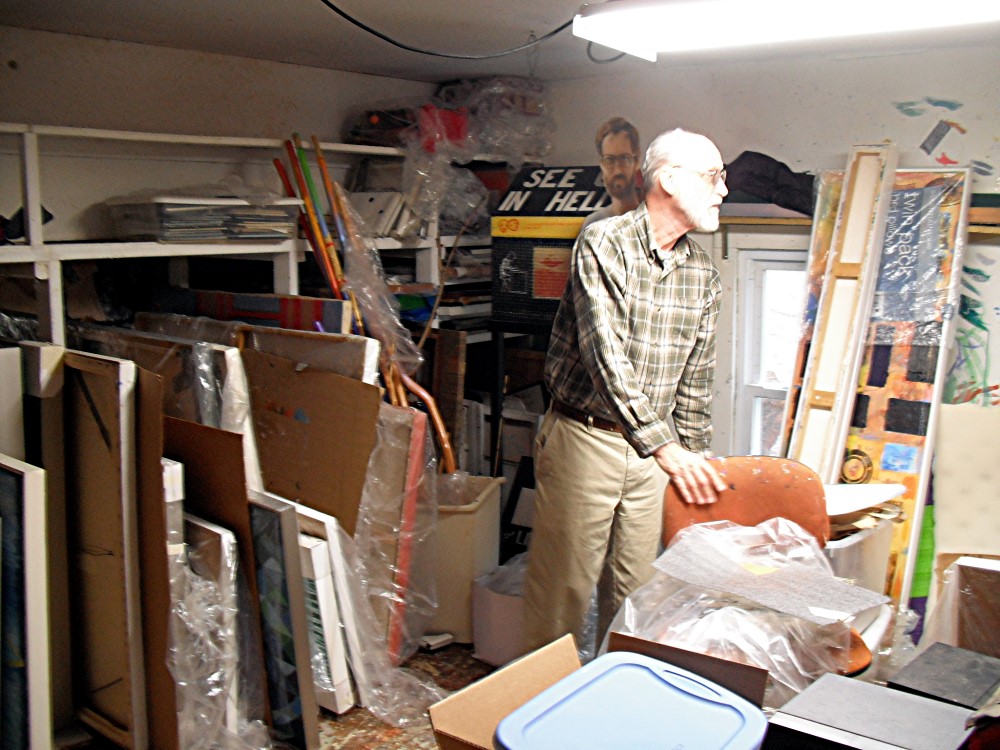
Bill Whorrall in his studio