
Did you receive any artwork for the holidays and are a bit confused about how best to mat and frame them? This post specifically addresses matting works on paper. This includes watercolors, pastels, drawings, etc.
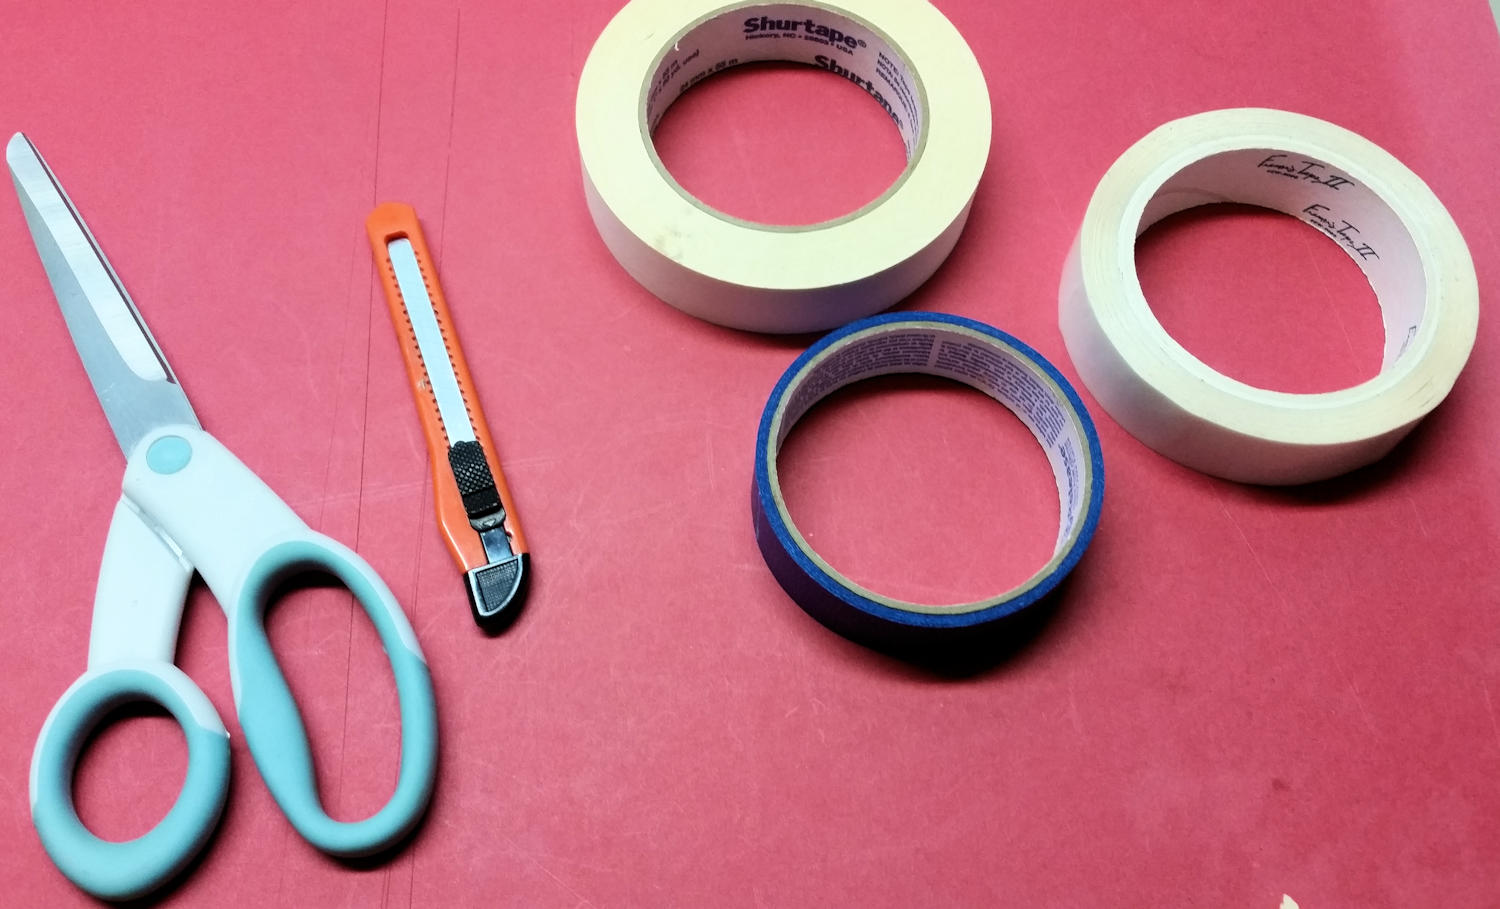
These are the simple matting tools that I use for fixing a painting to a mat. (Cutting a mat requires different and specialized mat cutting tools, not addressed here.)
The first point to remember is don’t do anything that could damage your artwork or that can’t be undone. Do not use scotch tape or other such adhesive products as these can bleed into your art.
Works on paper are typically framed under glass to protect them from moisture, air pollution and other environmental conditions which could harm the art. They are usually framed with a mat so they are not pressed right up against the glass. Some exceptions are if the framer uses spacers to keep the artwork from touching the glass but I am not going to address that option today.
Mats can be purchased at art supply and craft stores and even online. These will usually be standard sizes unless you cut your own or have the store cut one for you. (This is one of the benefits of using standard sizes. Check out this link to an earlier post.) Since I use standard sizes for my smaller work, I purchase museum-grade mats in volume from an online retailer.
The key with matting a work on paper is that it should only be hinged at the top of the artwork. This will allow it to “float” in the frame. Paper is sensitive to humidity and needs to be able to expand and contract. If you stick it down on all sides, the art will buckle at times. Certainly not the look you want, I’m sure.

A small painting with a ready-cut mat and backing. The painting has a border around it to allow some flexibility in situating it within the mat.

Small work hinged. I have hinged it all the way across the top.
In this small snowman painting, you can see that I’ve hinged the mat all the way across at the top. I use my thumbnail to press down on the framer’s tape. To remove the tape, apply a little heat from a hair dryer.
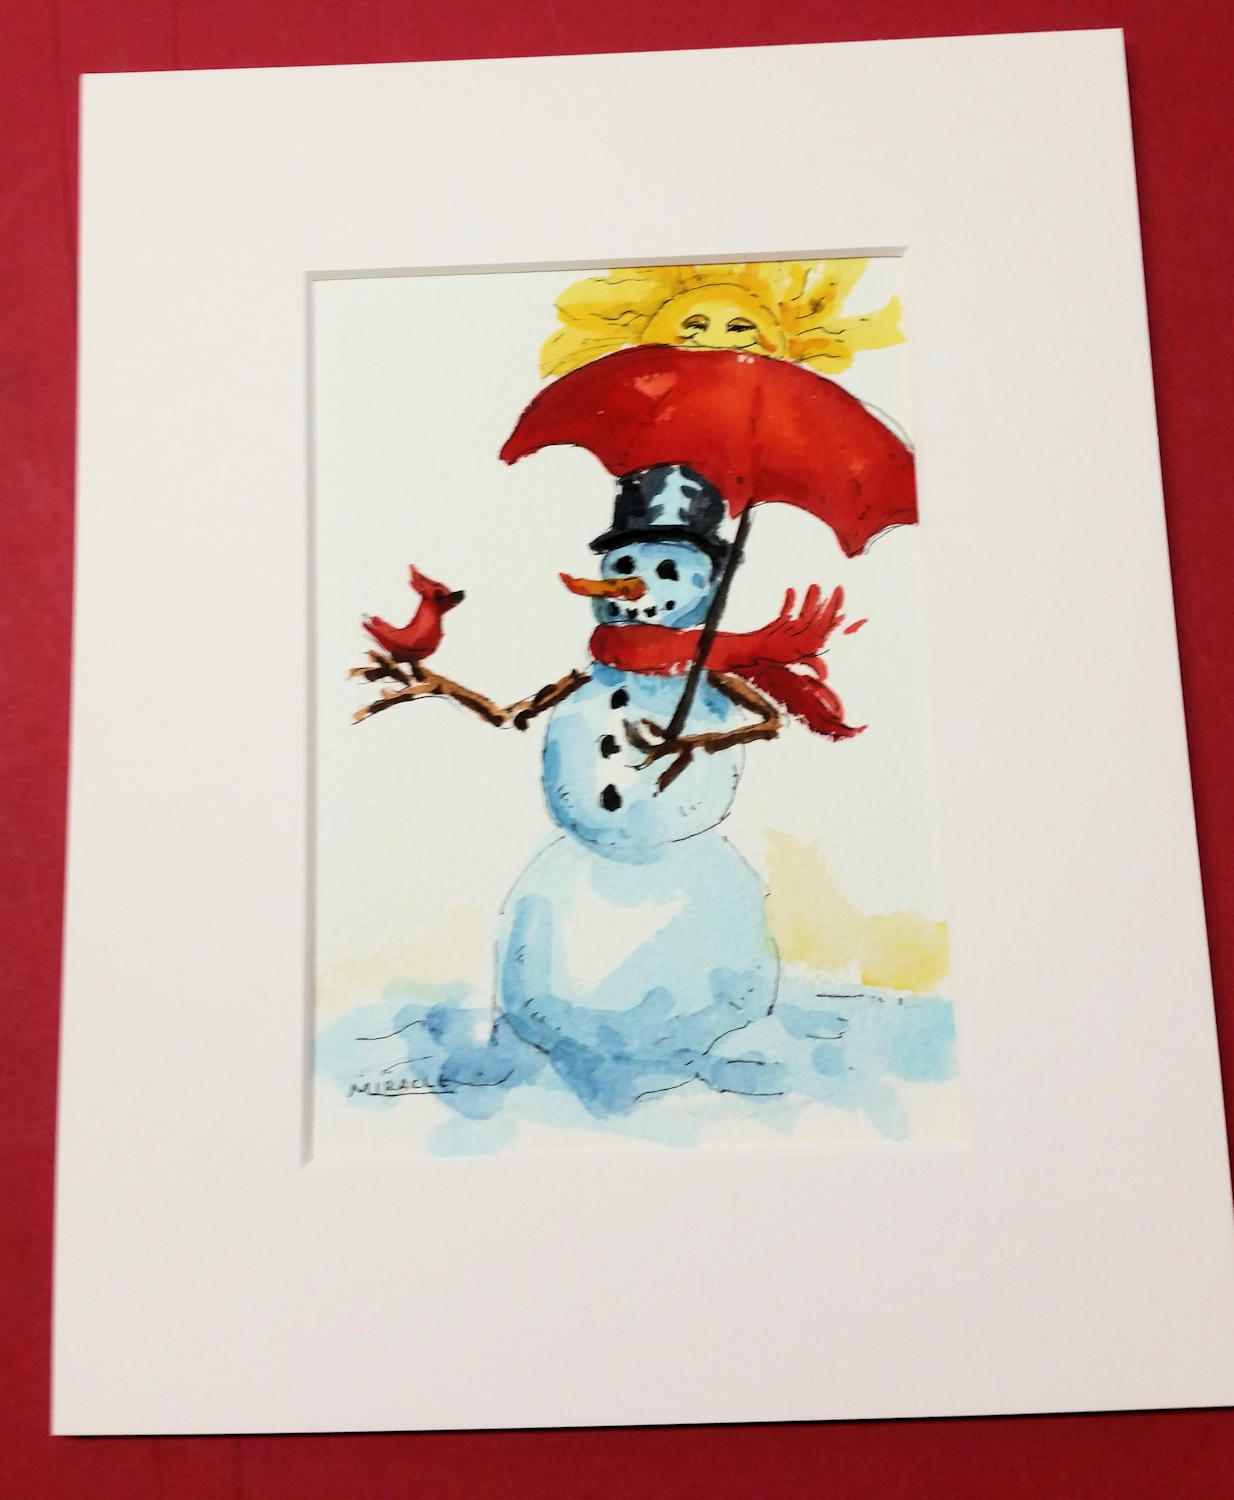
Snowman, final matting
The second example is a larger painting with an individually cut mat. Here I have created hinges with vertical strips, then horizontal strips holding the vertical strips. To help keep the artwork in place while I’m working on it, I use a couple of pieces of removable painter’s tape. Remember to remove it after you place the hinges.
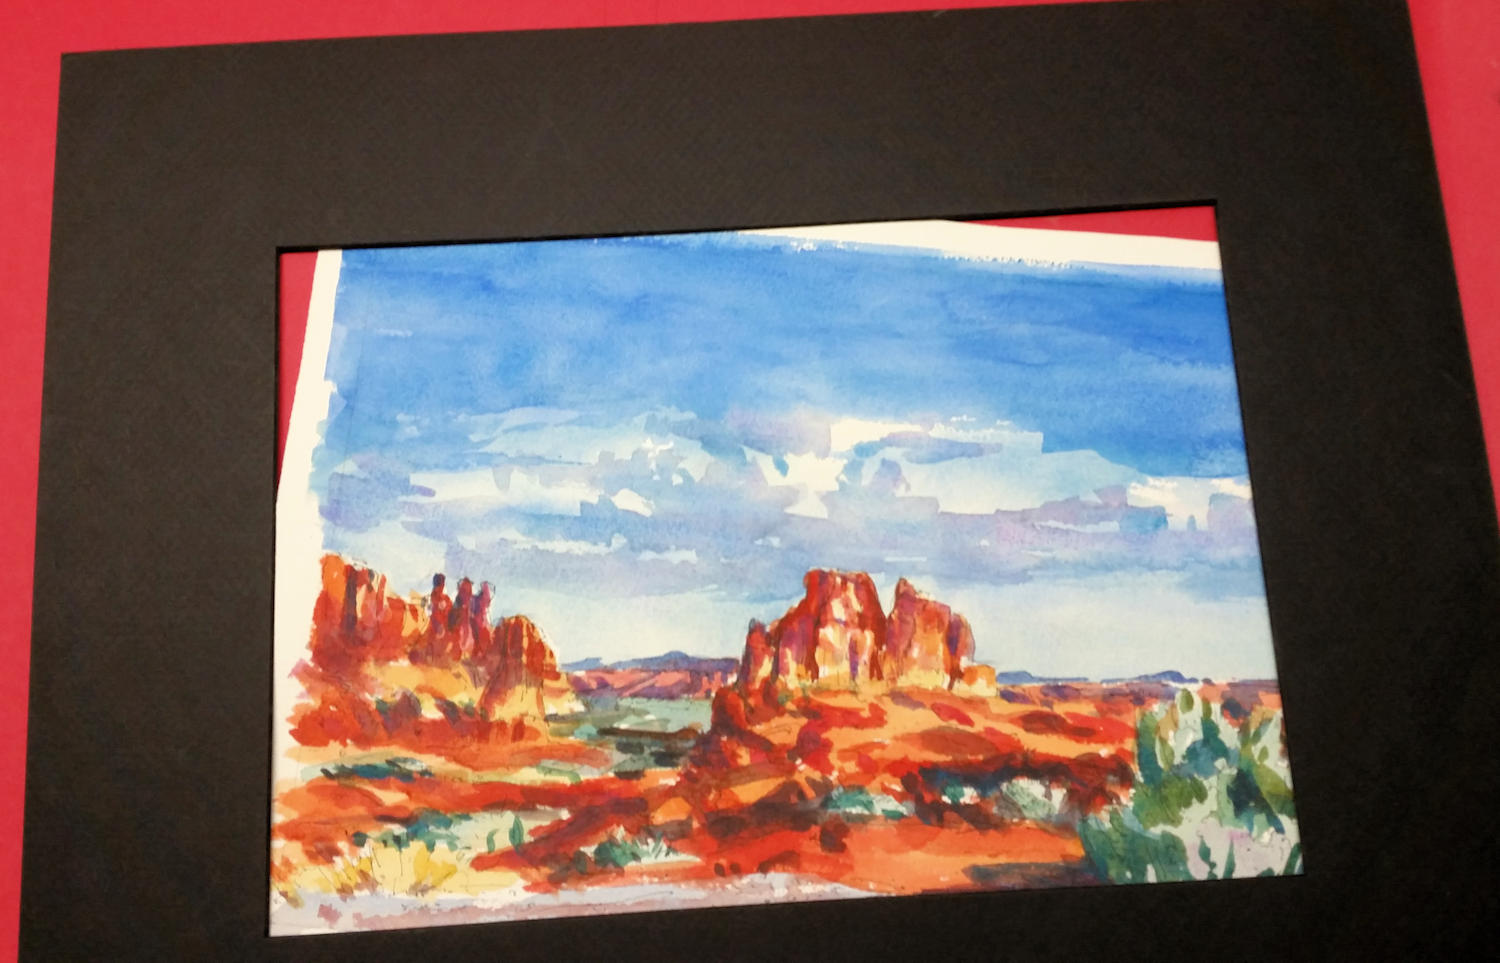
Matting a larger work. Here you see the border I have left which allows me to situate the painting behind the mat before I begin to work on it.
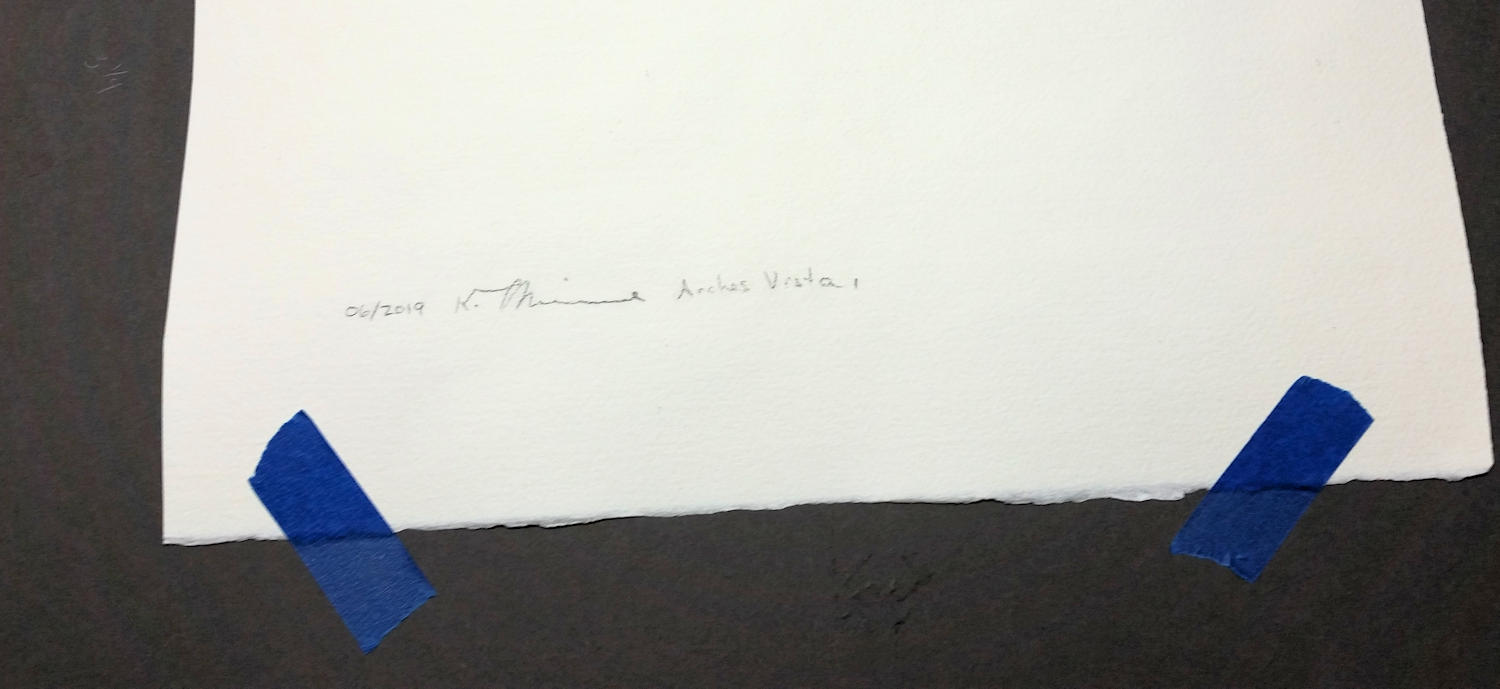
Use some removable painter’s tape at the bottom to hold the painting in place while you work on the hinges at the top. Remember to remove this tape after you are finished with the hinges.
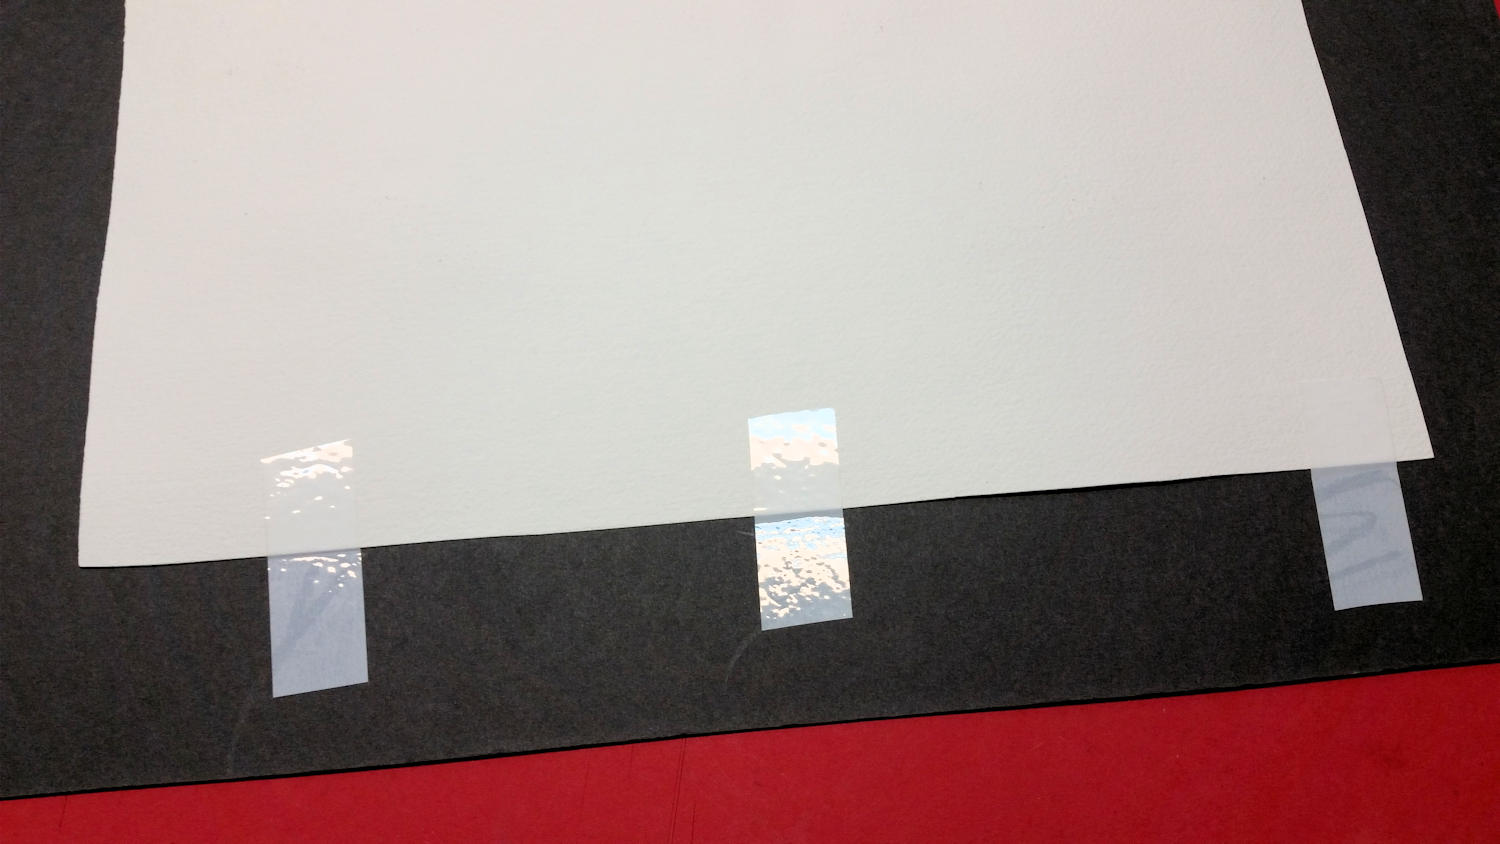
Large work with first set of vertical hinges.
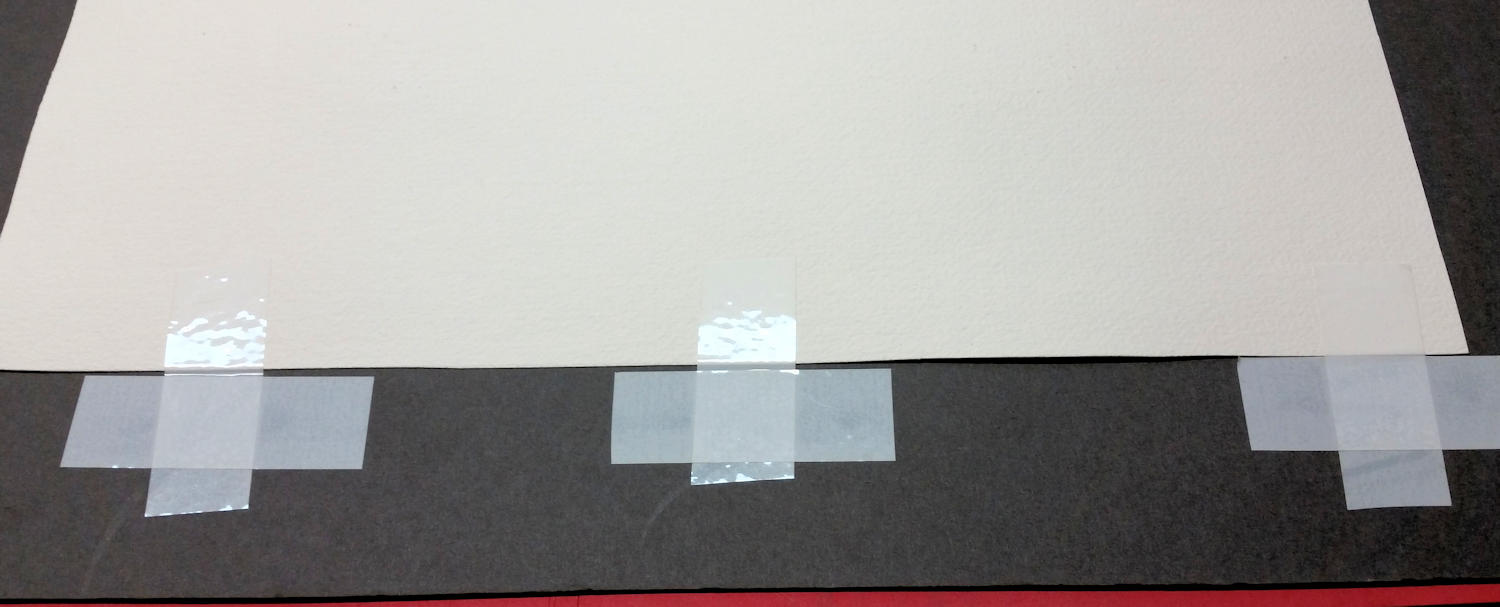
Large work, second set of hinges. The horizontal hinges hold the vertical hinges in place but do not actually go on the painting.
You can buy framer’s tape at most art supply websites or framer’s stores. A roll is relatively inexpensive and will last for years.
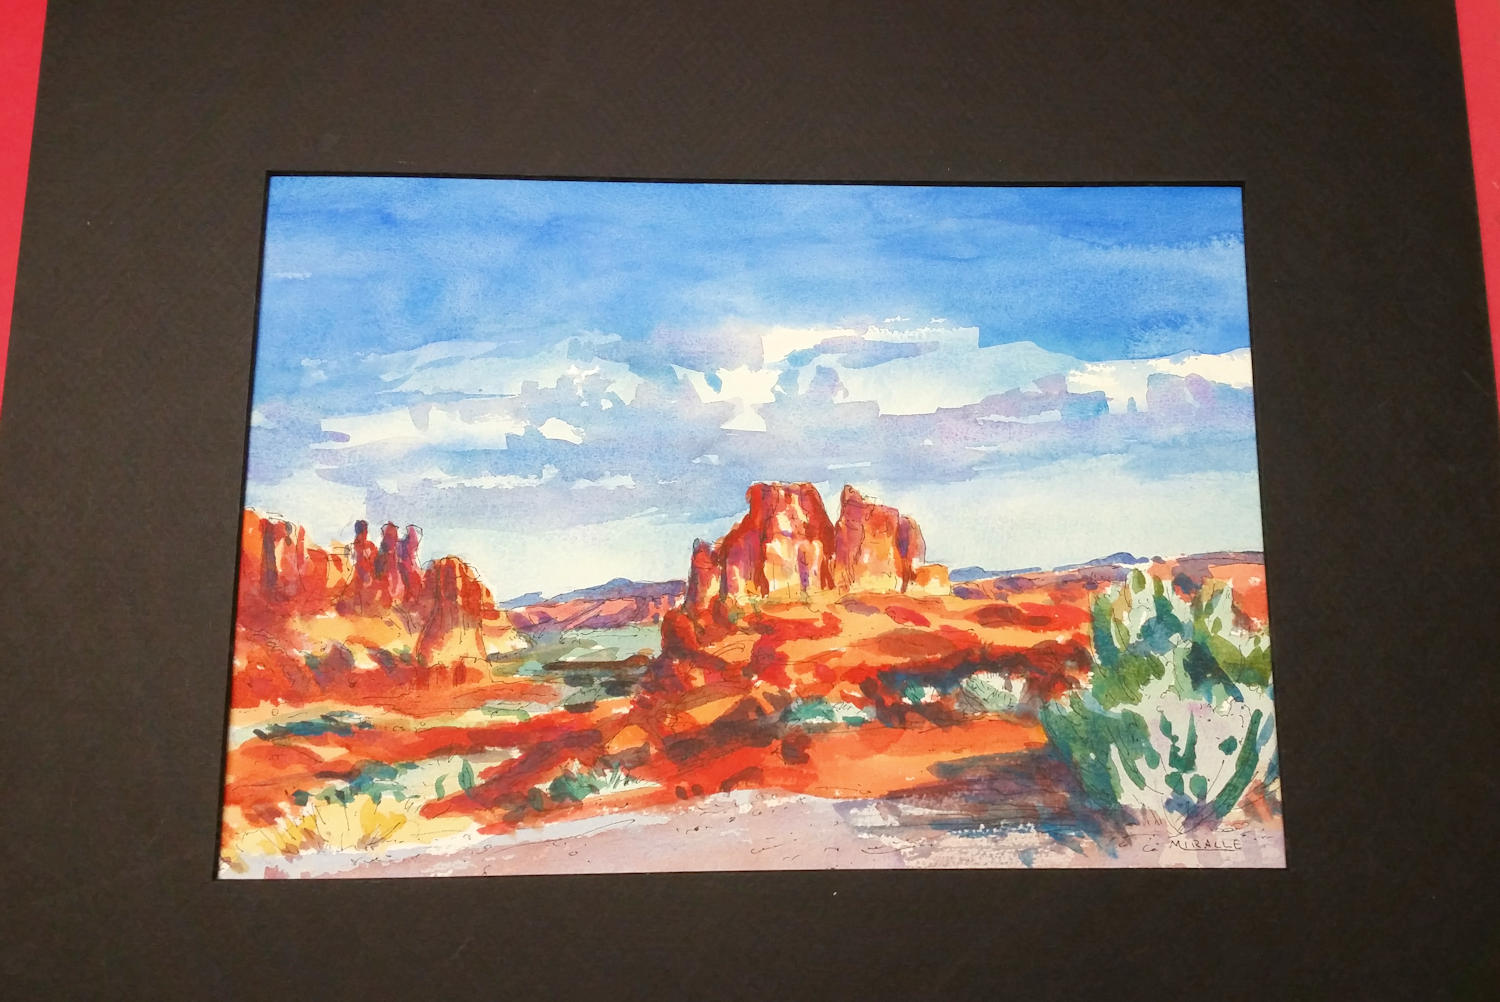
Large work completed mat. Remember, it is only hinged at the top of the painting which will allow the painting to “float” in the mat.

Mulberry paper is very fibrous and strong. It makes a good alternative to tape for making hinges. However, you will need a separate type of adhesive, usually something like Elmer’s school paste.
A final way to hinge your painting to a mat is to use mulberry paper. As you can see, this paper is very fibrous and strong. Just cut hinges in the shape and size as the tape demonstration above. I used this method extensively at the beginning of my art career. With larger paintings, such as full size watercolor paintings, you may need to use four or five sets of hinges across. Then use Elmer’s paste to adhere the hinges to both the artwork and the mat. Remember, do no harm and be able to undo your actions if you need to.
I hope this helps you to get your new artwork up on the wall. Please don’t hesitate to contact me with any questions.
Useful links:
