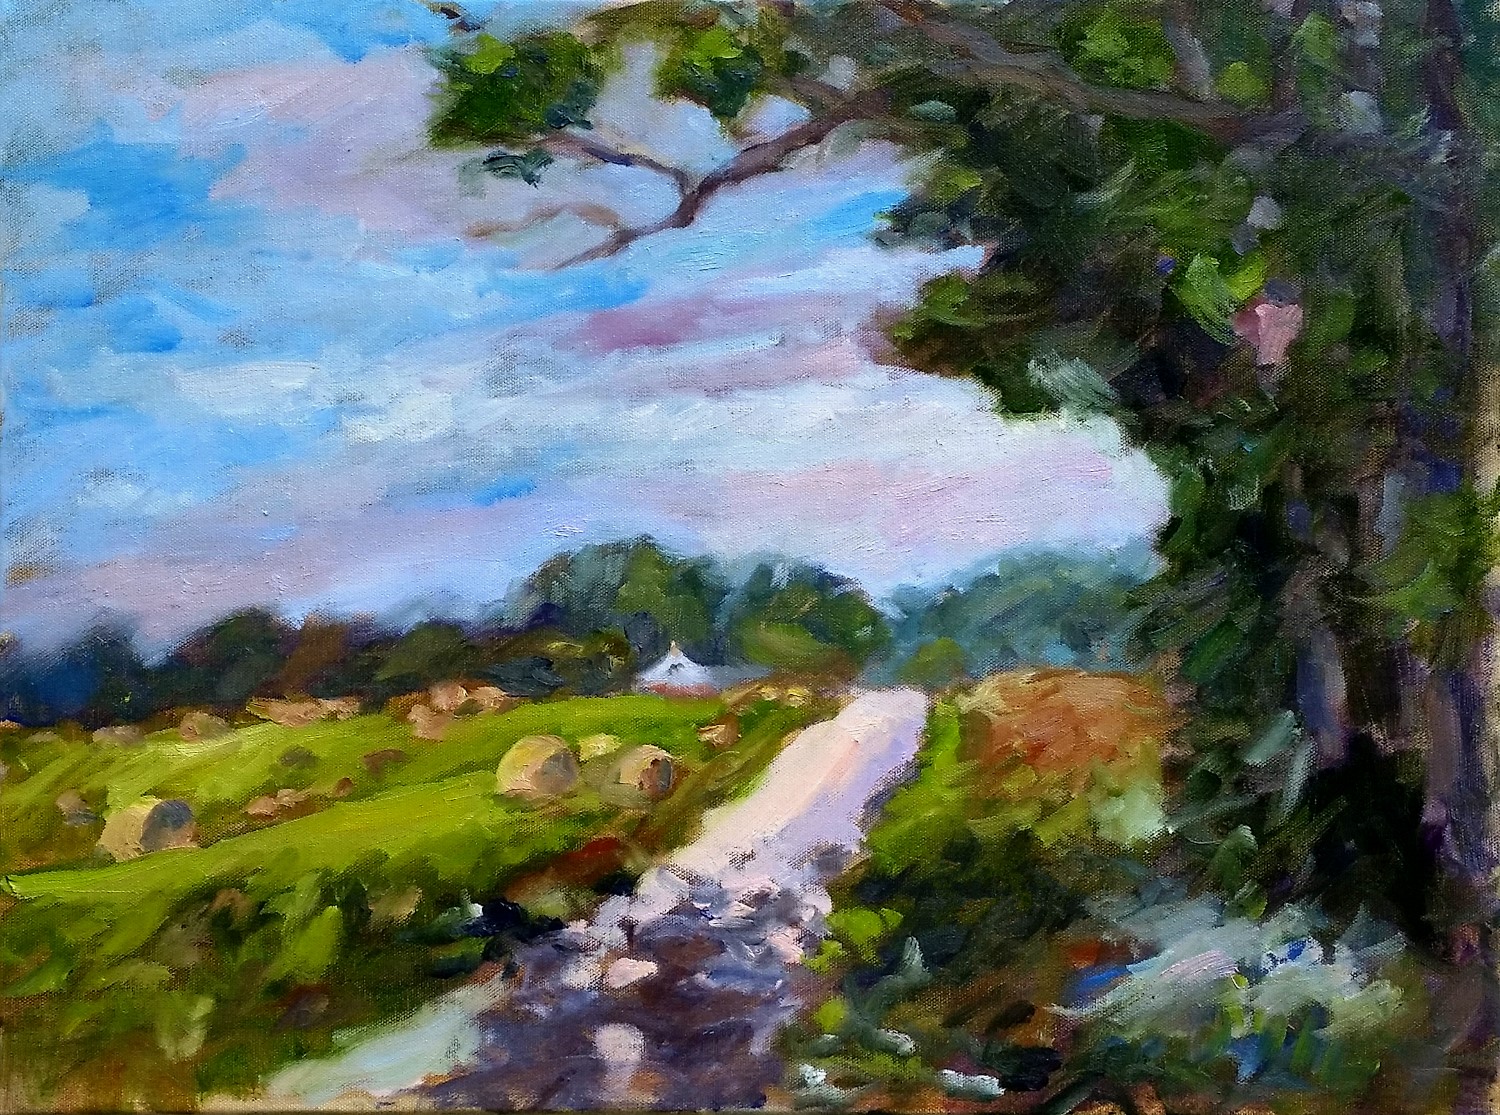
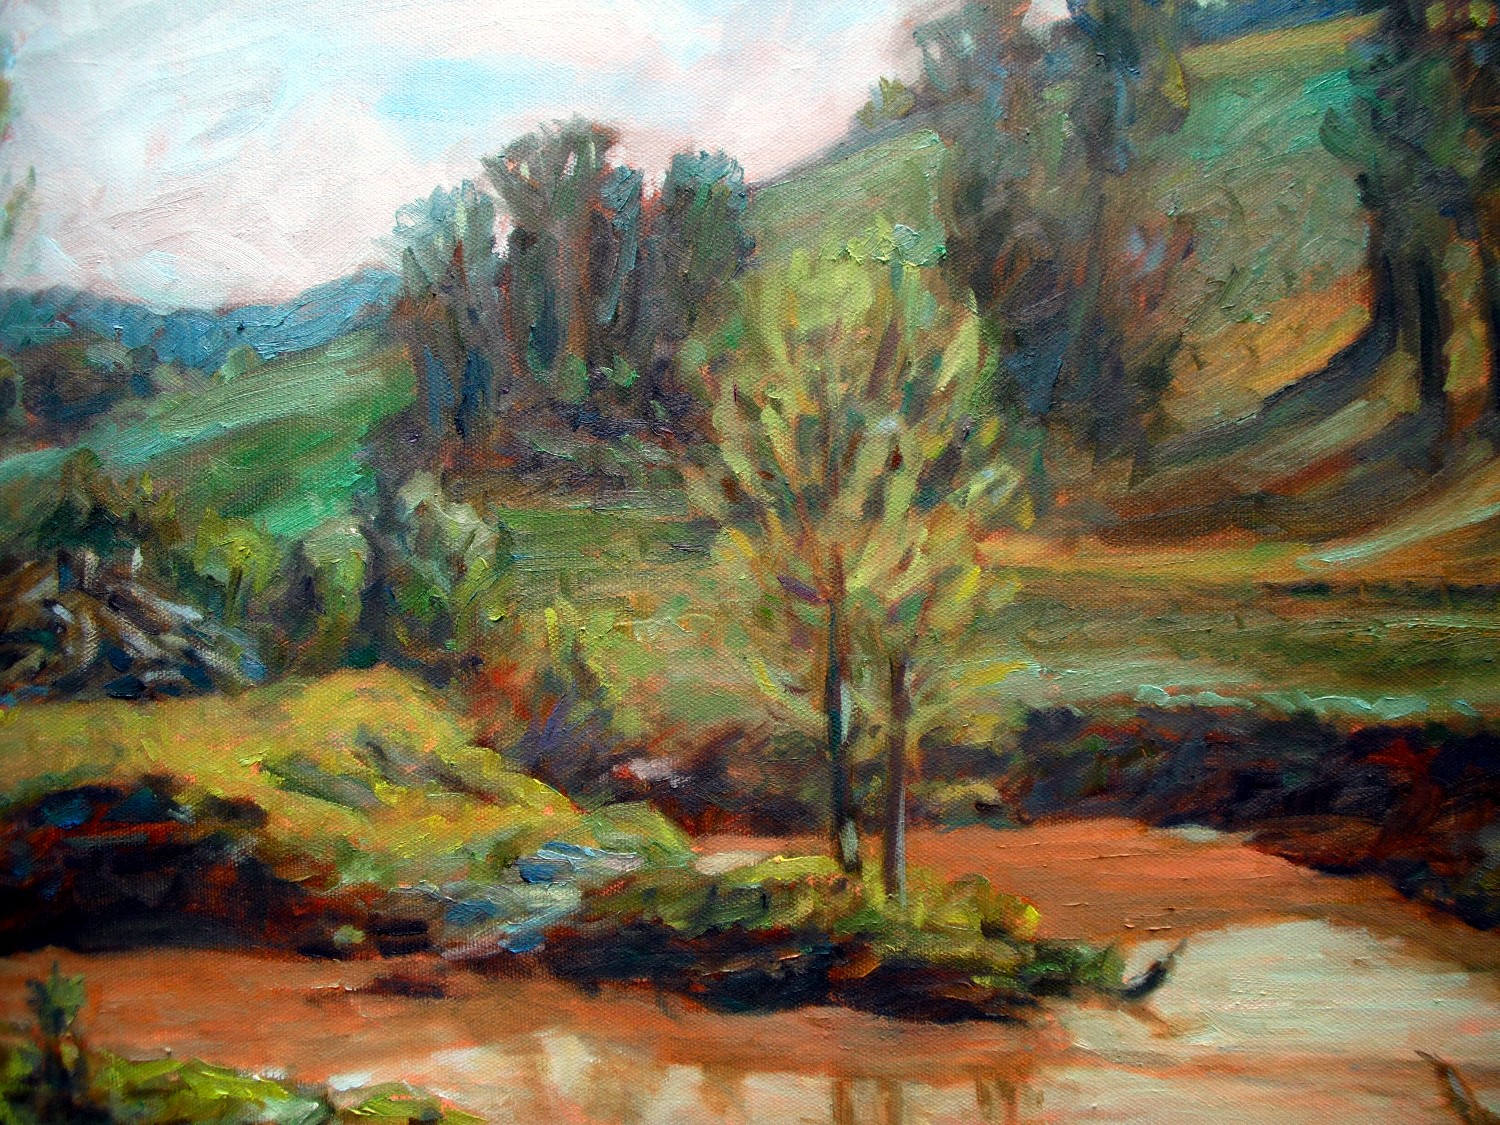
Mentor Road, Birdseye, Indiana, oil on canvas, 18 x 24, Kit Miracle
Writers are often advised to paint what you know. I believe that this advice holds true for artists, too. You know your own neighborhood best, the most attractive features, the back roads, and the best seasons to view the scenery.
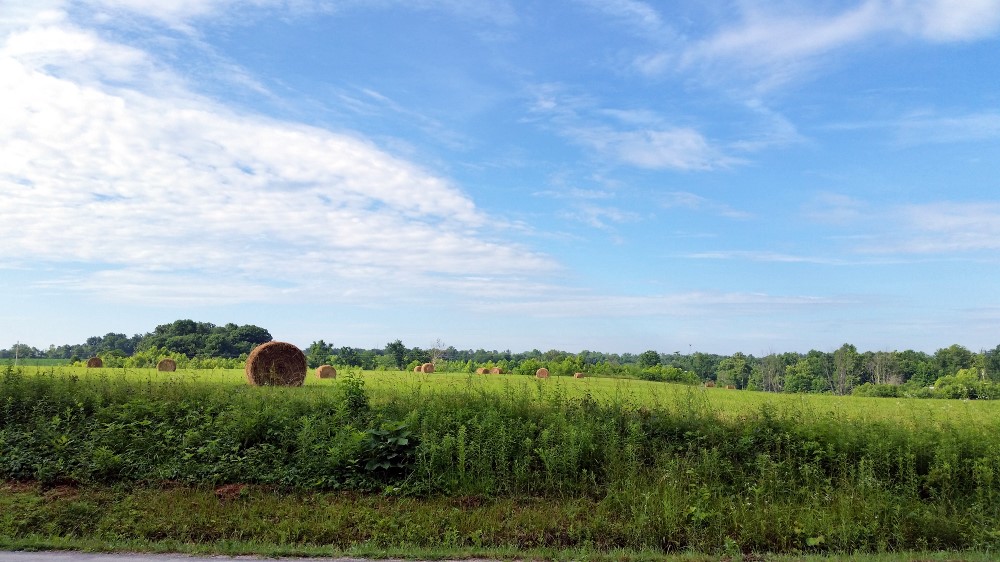
My neighborhood, as the title of my blog implies, is a rural one. This time of year the farmers are baling hay. Those big round bales often remind me of the wonderful haystacks of Monet, and their rotund forms litter the fields until they’re tidied away in neat rows.
A couple of days ago, I rode around the neighborhood looking for likely painting spots, especially with an eye to catching some hay bales still lying in the field. Other criteria for me are where can I park and will I need permission to go onto someone’s property. Most people are very gracious about allowing artists to venture on their land but it’s always best to ask if you can.
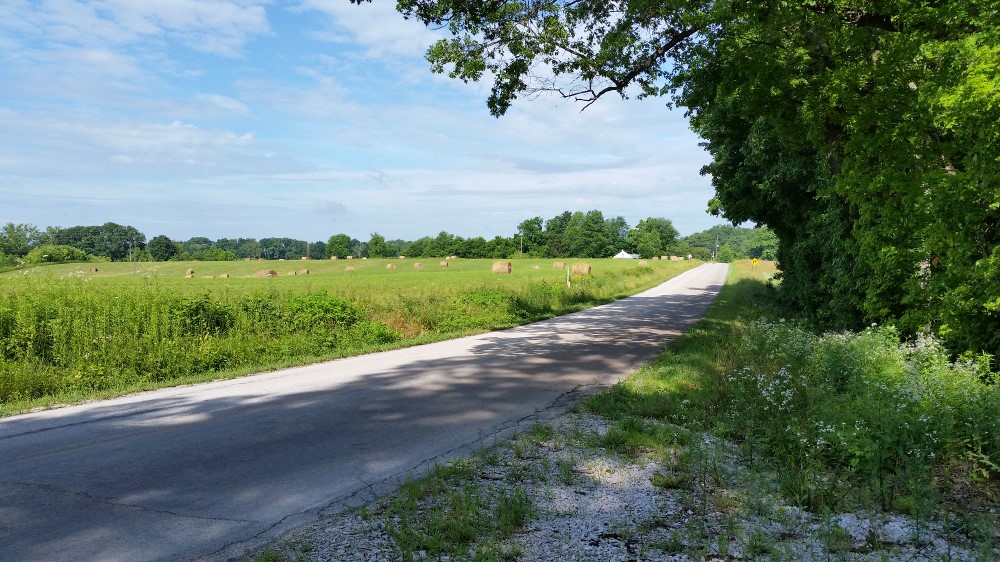
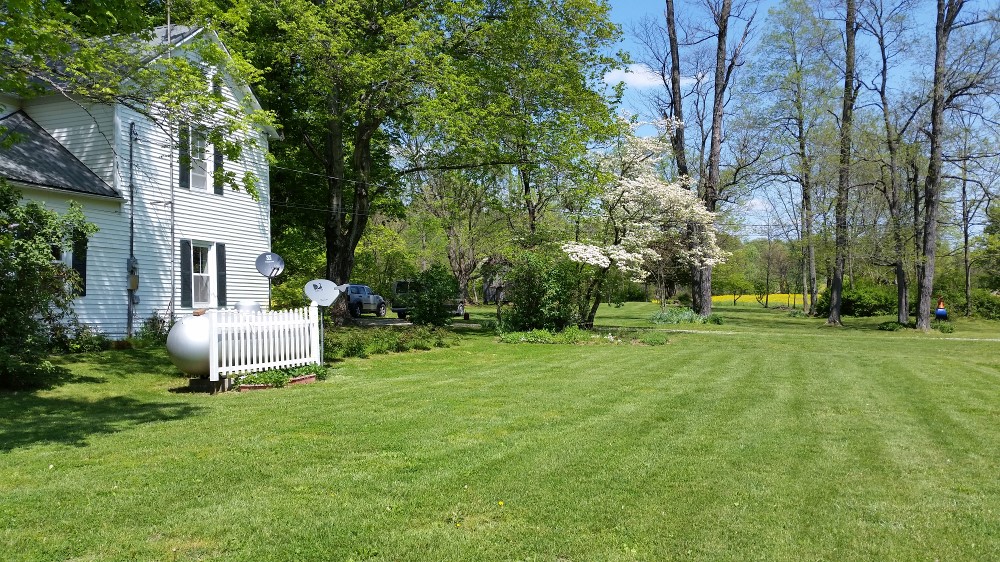
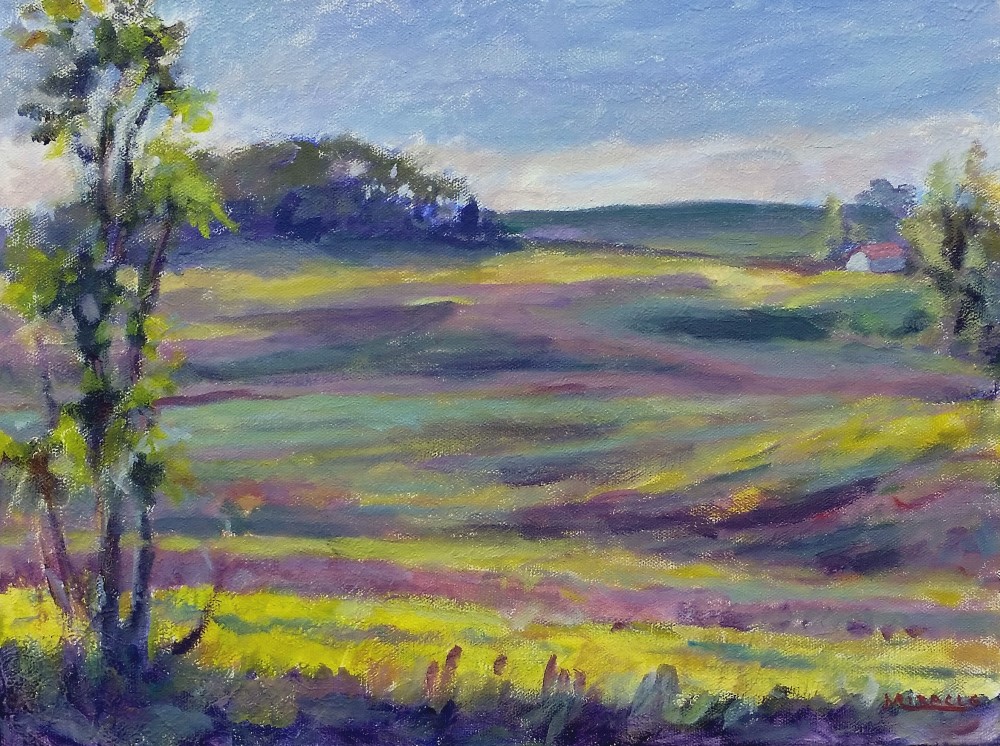
Today I returned to a likely spot. Actually, I had intended to climb into the field but found that I liked the view from the road better, especially with the roof of a house showing which added an interesting focal point. The painting went well and I came away with a pretty complete piece. Some challenges were the wind so I had to improvise a weight for my portable easel. Also, the flies were ferociously biting me. Glad to have brought bug spray which is always in my travel bag. And finally, I am positive that the manure spreader which passed my position three times, intentionally spilled a bit on the curve on which I was painting. Really!
Anyway, here is the final product and a few preliminaries. It was painted on a toned canvas, 18 x 24, and took about two hours. Feedback is always appreciated.

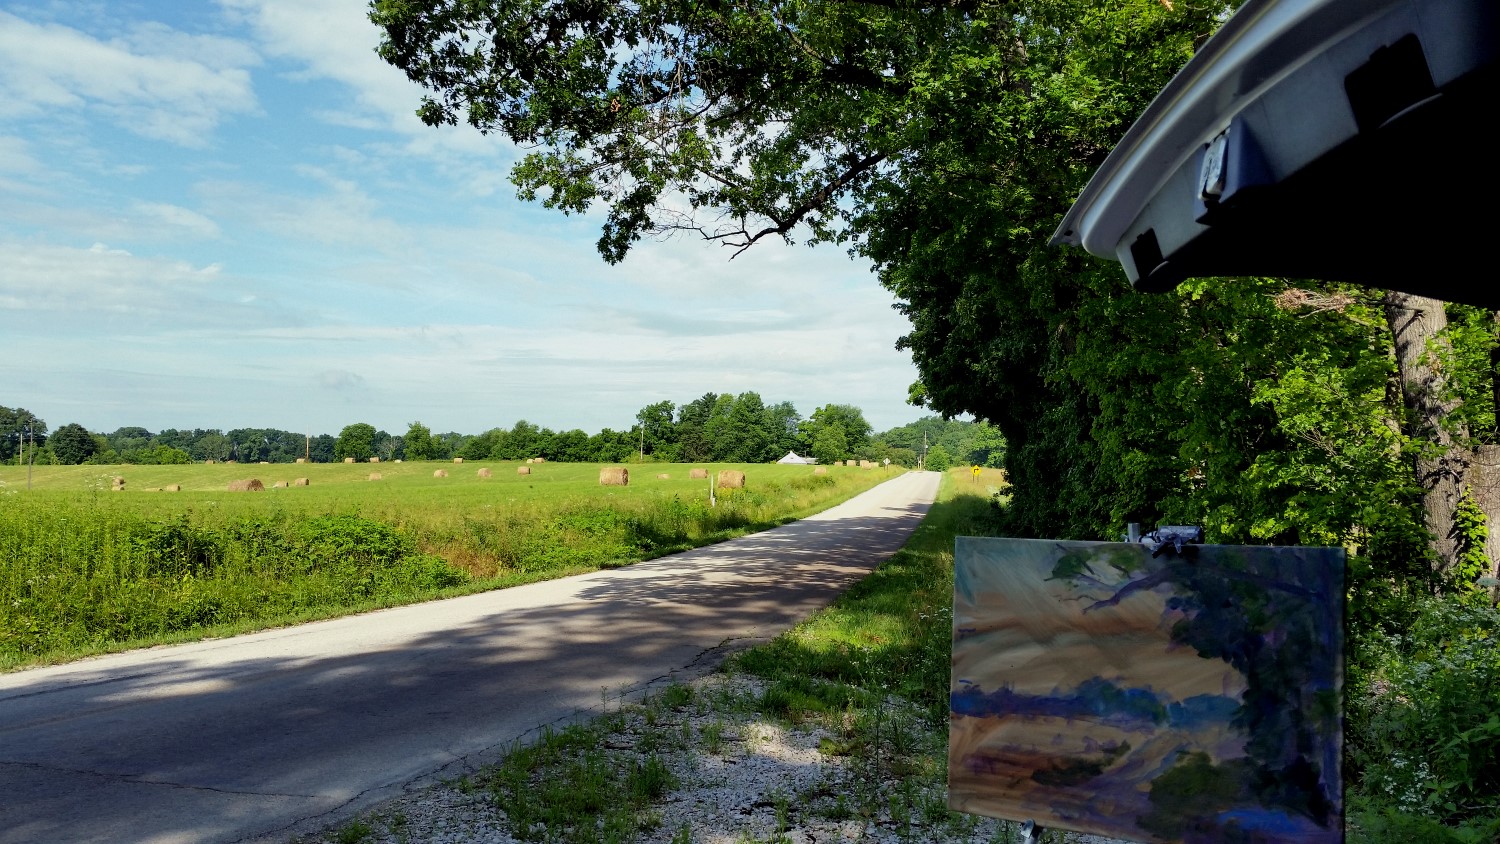
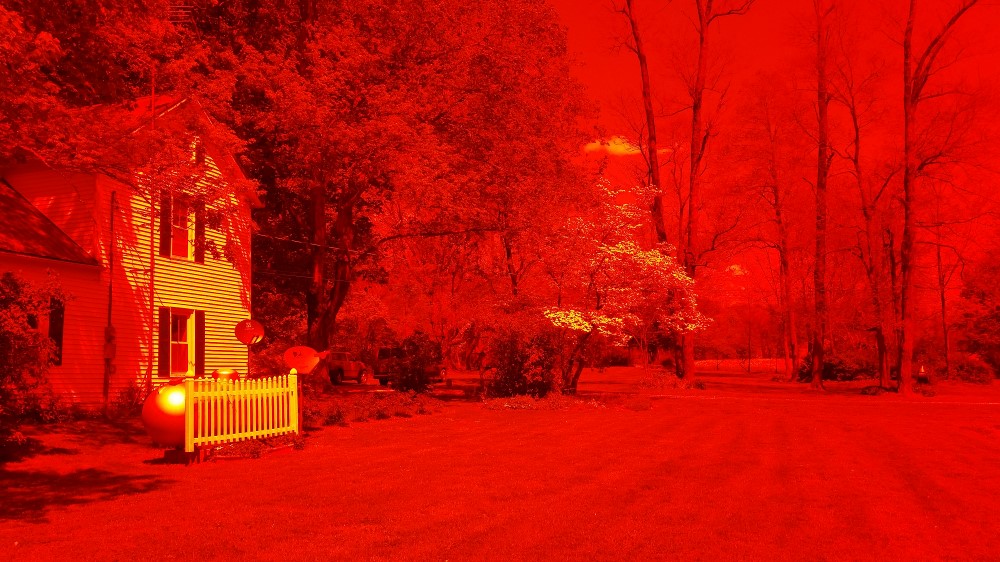
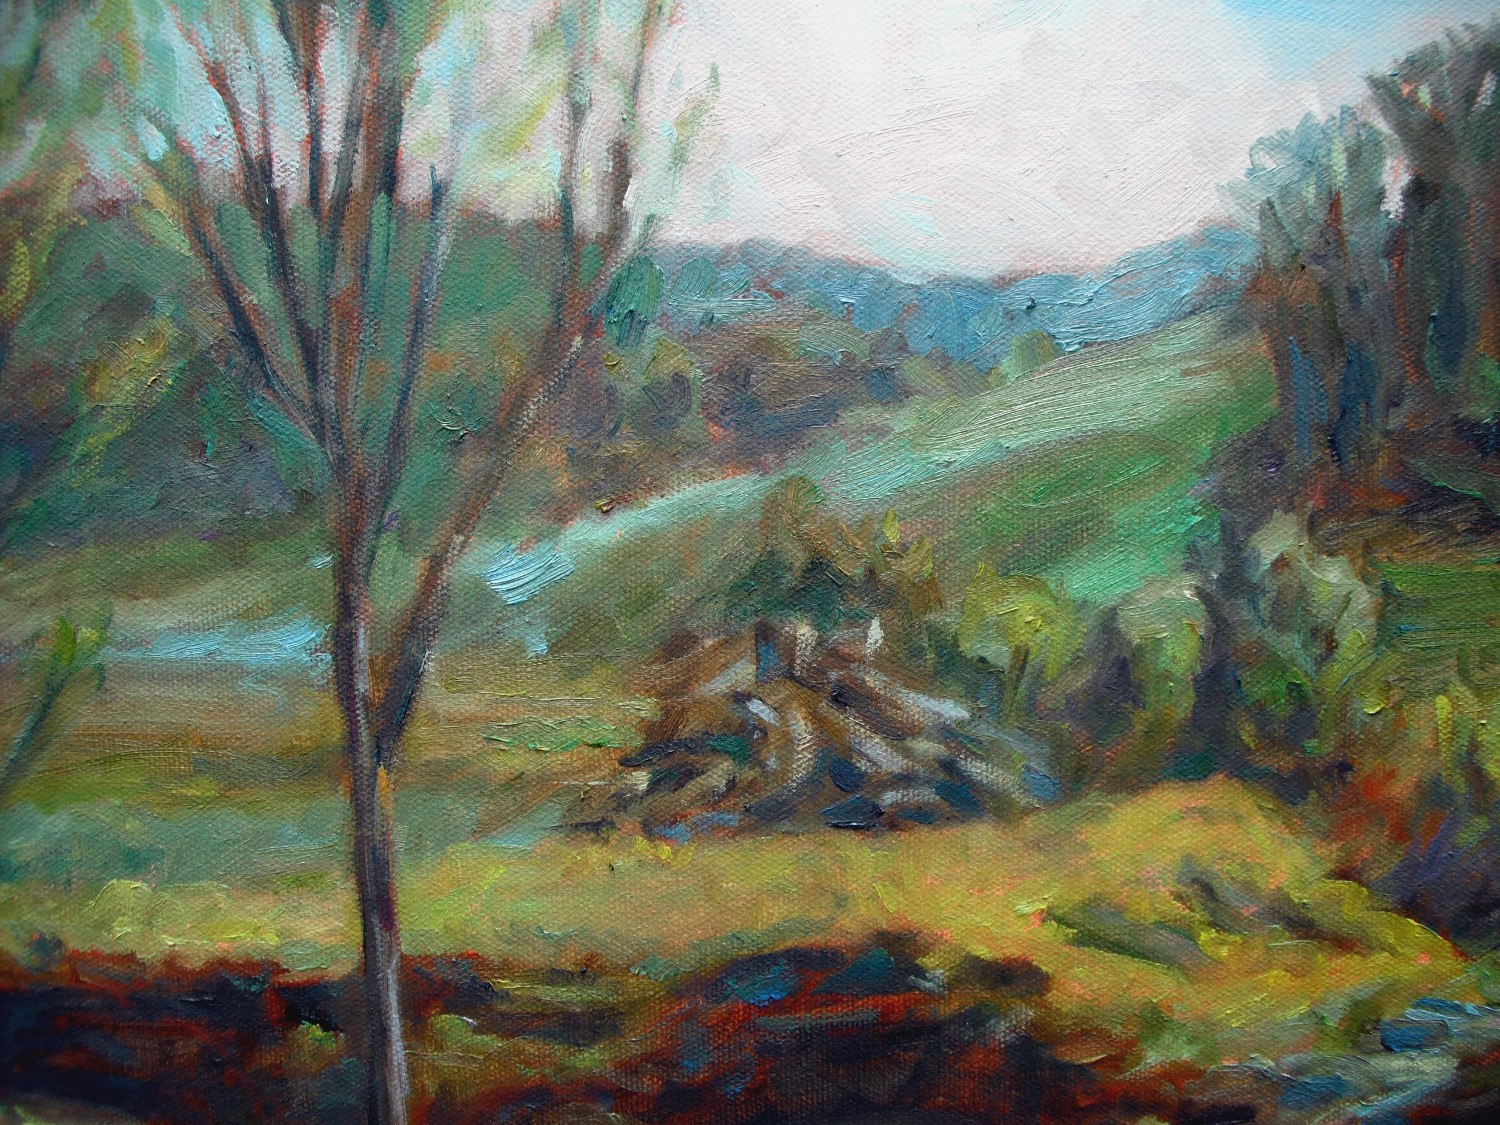
Hay bales, one potential view

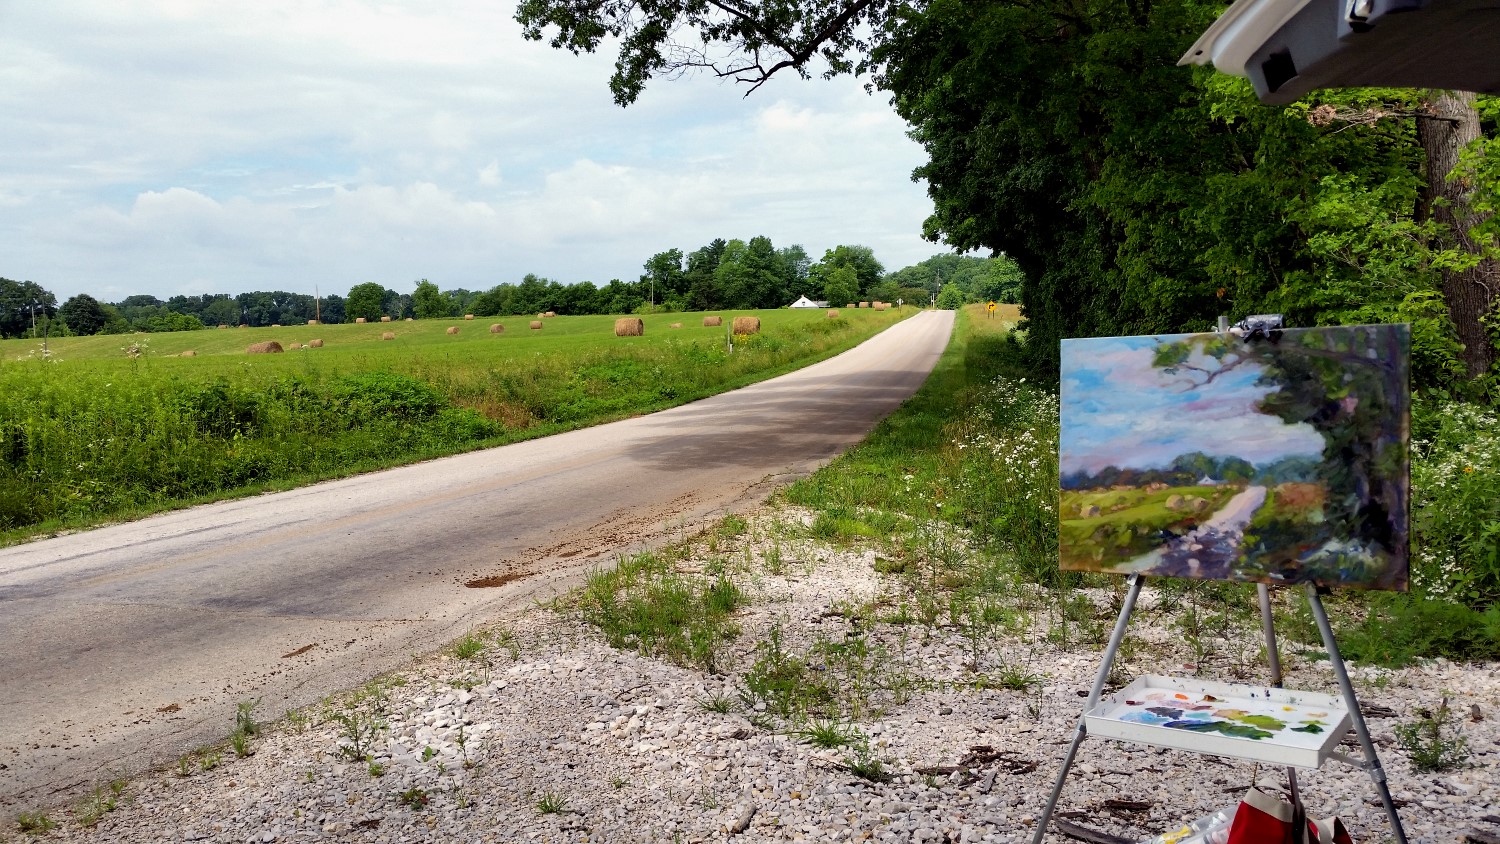
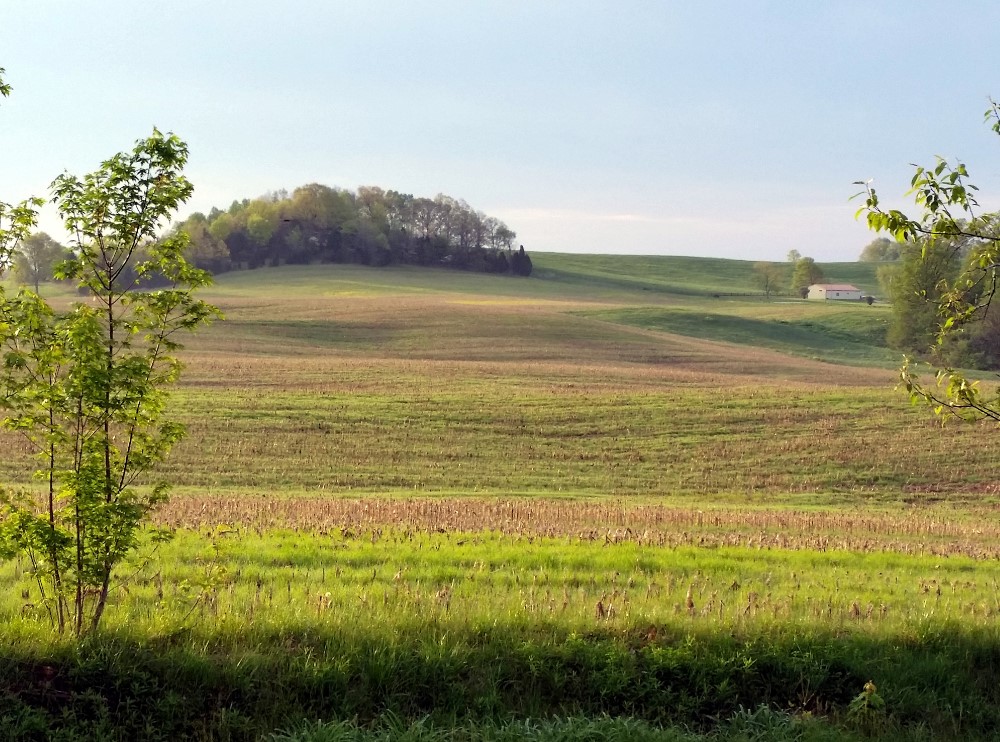
Final view chosen. Loved the overhanging tree, the shadows and the contrasts.

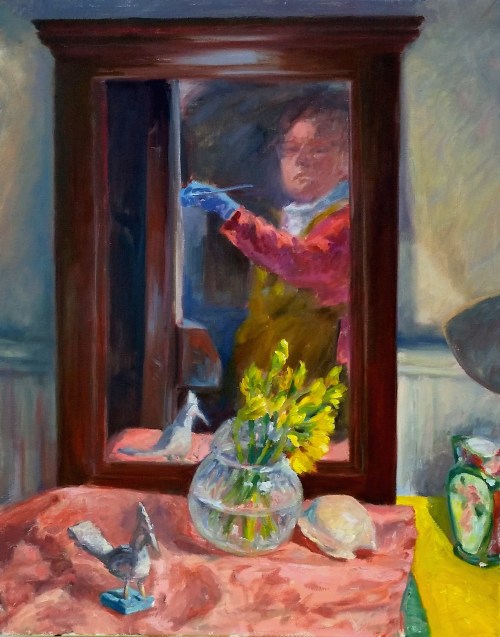
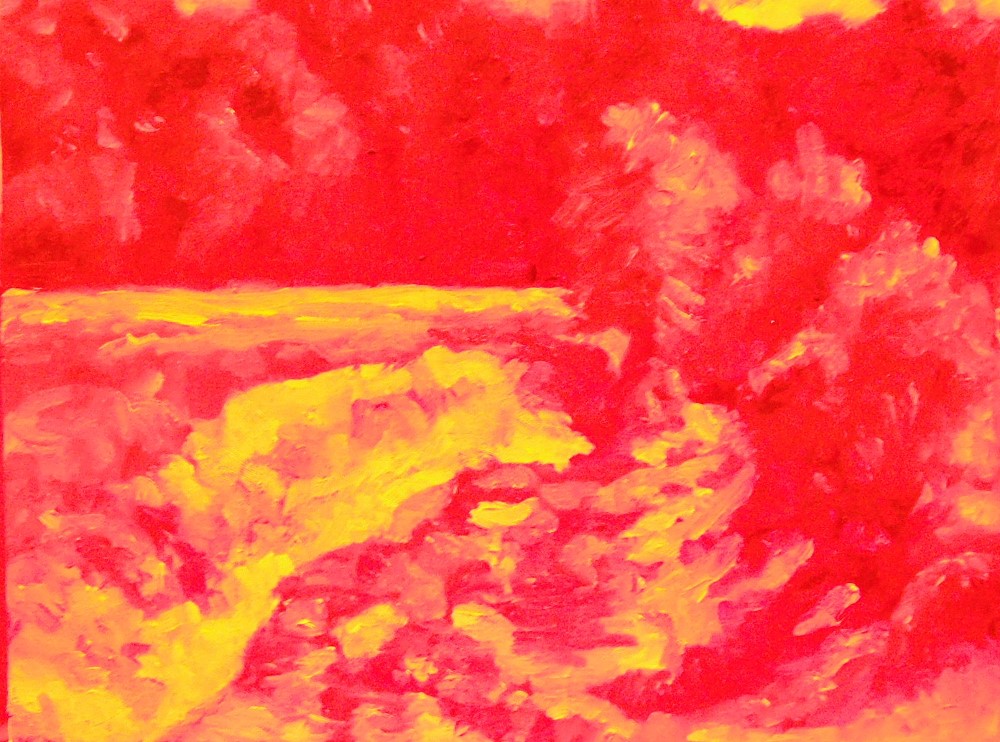
First laying in on toned canvas

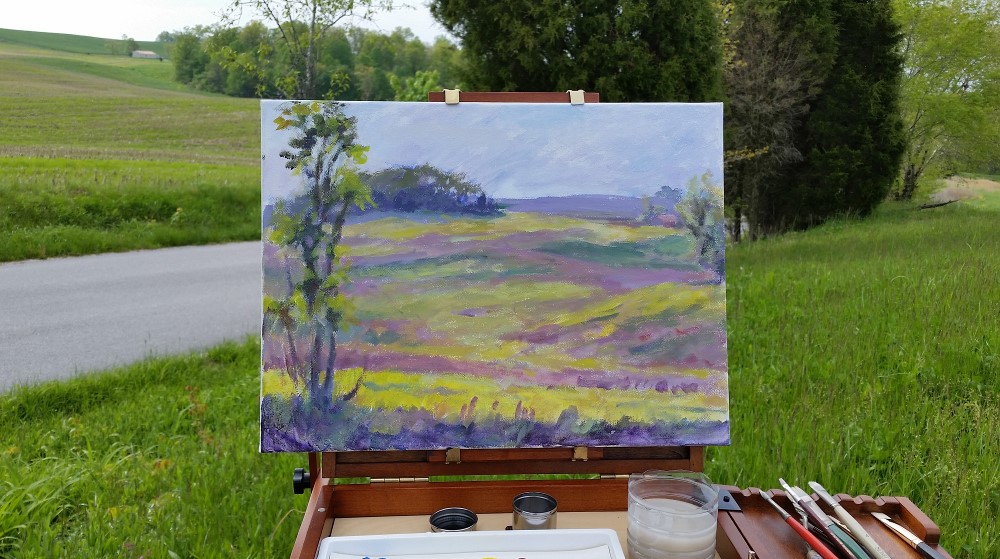
Final painting with scene behind. About two hours.

Improvised weight to hold my portable easel in the breeze.

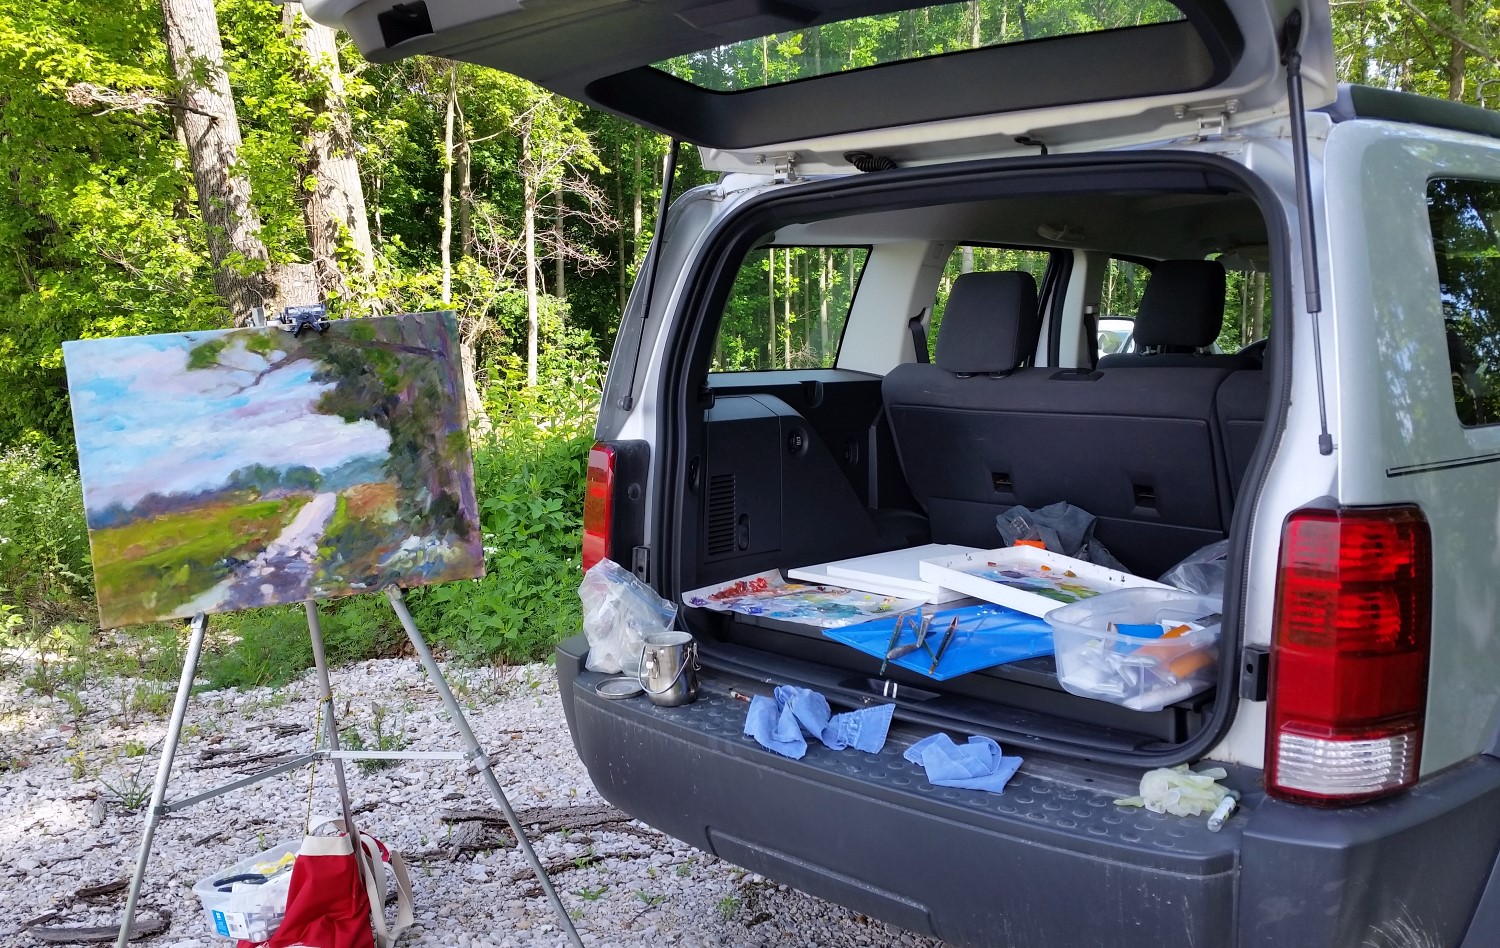
Car studio. Easier than packing everything and a lot roomier.