Cropping subject for landscape painting

Kit Miracle, Irises, 10 x 10 oil

Kit Miracle, Irises, 10 x 10 oil

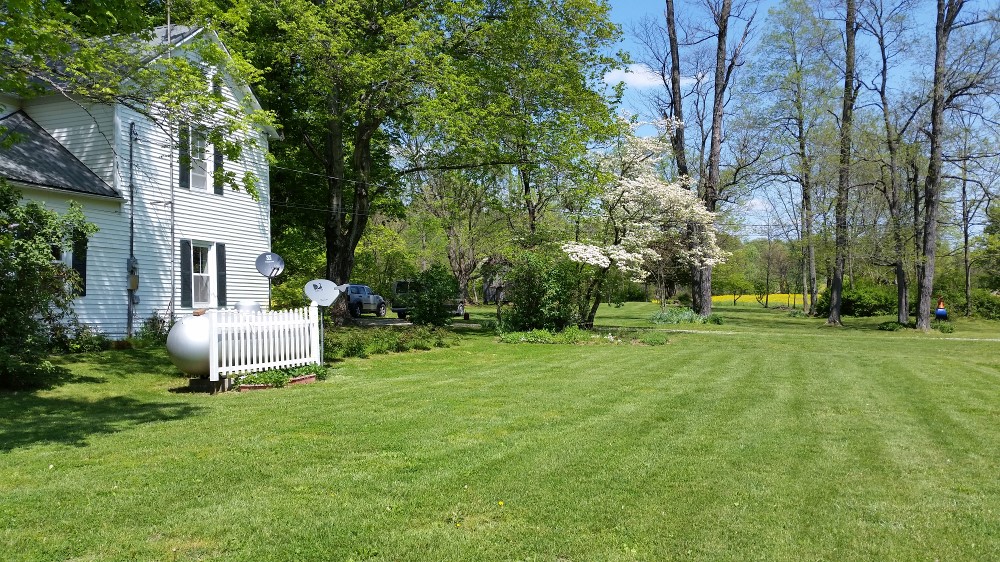
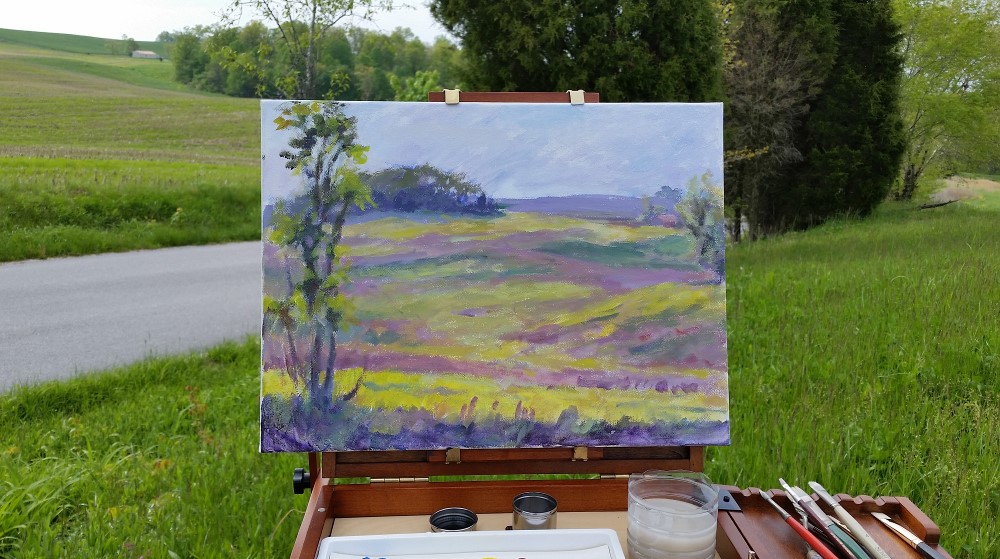
I was in my studio last Saturday evening and wanted to paint but I didn’t want to start something big.  So I went through some photos I had downloaded from my camera earlier this year.  I came across a scene of some irises in a backyard.  This is near where I park when I visit the library.  Lesson here:  always be prepared for a good photo op.

Street photo of irises in a backyard showing the part I cropped for the painting.

Street photo of irises in a backyard showing the part I cropped for the painting.

The variety of irises pictured here is beautiful.  At first I was going to do a long horizontal but reminded myself that I wanted to do something quick.  Hummm…. think smaller.  I pulled out a small prepared canvas, only 10 x 10.  Then I looked for a square composition in the canvas.  OK, so you’re really not supposed to paint to the canvas size but the other way around…but who cares?  It’s my painting and I’ll do what I want.  The composition wouldn’t have been the most apparent but I really think it turned out well.  This took about two hours to paint with a final touch up on Sunday.  What are your thoughts?

Cropped part of irises street photo

Cropped part of irises street photo

Ode to Van Gogh

Sunflower, 12 x 12, oil, Kit Miracle $175

Sunflower, 12 x 12, oil, Kit Miracle $175

Ode to Van Gogh, 12 x 16, oil  $225

Ode to Van Gogh, 12 x 16, oil $225

We have a very large garden and I always plant flowers in it for cutting.  Each year, I also plant a variety of sunflowers.  The tall Mammoth grow to 12 feet or more.  We save their large heads for the birds.  I also plant multi-stemmed and many colors ranging from orangey red to deep maroon.

Needless to say, I’m drawn to painting their cheerful faces and usually tackle a few sunflower paintings each summer.  Here are two of my recent works.  I will probably paint several more which I’ll show on my website.  KGMiracle.com   Check them out.

Plein Air Painting In the Neighborhood

Mentor Road, Birdseye, Indiana, oil on canvas, 18 x 24, Kit Miracle

Mentor Road, Birdseye, Indiana, oil on canvas, 18 x 24, Kit Miracle

Writers are often advised to paint what you know.  I believe that this advice holds true for artists, too.  You know your own neighborhood best, the most attractive features, the back roads, and the best seasons to view the scenery.

My neighborhood, as the title of my blog implies, is a rural one.  This time of year the farmers are baling hay.  Those big round bales often remind me of the wonderful haystacks of Monet, and their rotund forms litter the fields until they’re tidied away in neat rows.

A couple of days ago, I rode around the neighborhood looking for likely painting spots, especially with an eye to catching some hay bales still lying in the field. Other criteria for me are where can I park and will I need permission to go onto someone’s property.  Most people are very gracious about allowing  artists to venture on their land but it’s always best to ask if you can.

Today I returned to a likely spot.  Actually, I had intended to climb into the field but found that I liked the view from the road better, especially with the roof of a house showing which added an interesting focal point.  The painting went well and I came away with a pretty complete piece.  Some challenges were the wind so I had to improvise a weight for my portable easel.  Also, the flies were ferociously biting me.  Glad to have brought bug spray which is always in my travel bag.  And finally, I am positive that the manure spreader which passed my position three times, intentionally spilled a bit on the curve on which I was painting. Really!

Anyway, here is the final product and a few preliminaries.  It was painted on a toned canvas, 18 x 24, and took about two hours.  Feedback is always appreciated.

Hay bales, one potential view

Hay bales, one potential view

Final view chosen.  Loved the overhanging tree, the shadows and the contrasts.

Final view chosen. Loved the overhanging tree, the shadows and the contrasts.

First laying in on toned canvas

First laying in on toned canvas

Final painting with scene behind.  About two hours.

Final painting with scene behind. About two hours.

Improvised weight to hold my portable easel in the breeze.

Improvised weight to hold my portable easel in the breeze.

Car studio.  Easier than packing everything and a lot roomier.

Car studio. Easier than packing everything and a lot roomier.

Using red gel to determine values in your paintings

Sometimes using a piece of red gel (acetate)-  as in lighting gel – will help you see the values of your subject and painting better.  This seems to work best with landscapes as the red gel counteracts the greens, just leaving the values.

I’m not quite sure where I came across this idea but I always carry a piece of red gel with me.  You can acquire leftover pieces from most theaters in your area, even some universities. They use the gels to color the lights for the stage. Or you can buy it new on Amazon.com or at a theatrical supply store.  If you use a viewfinder, there is even a really neat gismo which you can buy at www.pictureperfectviewfinder.com which has the red gel built in, along with some value markers and different size openings for standard painting sizes.  Try it.  You’ll like it.

Piece of red gel, about 4 x 6

Piece of red gel, about 4 x 6

Folded over Picture Perfect View Finder showing the red gel and composition grids.

Folded over Picture Perfect View Finder showing the red gel and composition grids.

The Picture Perfect View Finder

The Picture Perfect View Finder

Back side of the viewfinder

Back side of the viewfinder

Landscape without the gel

Landscape without the gel

Landscape with red gel showing values

Landscape with red gel showing values

Using the red gel to look at computer photo

Using the red gel to look at computer photo

A landscape painting with the red gel

A landscape painting with the red gel

A landscape final version showing the values in the photo on the computer

A landscape final version showing the values in the photo on the computer

The value of temporary art

I spent today, Mother’s Day, gardening.  Last weekend I planted our considerable vegetable garden with the help of my granddaughter.  Today, I concentrated on flowerbeds, planters and hanging baskets.  The humidity was equal to the temperature so it was a hot, sticky day here in southern Indiana.

As I was dividing some ferns for the hanging baskets, it suddenly struck me how fugitive all my efforts were.  Why am I doing this? I asked myself.  Just because I love the results.  I felt as if I were channeling my mother and both grandmothers, who were all great gardeners.  A nice sentiment on Mother’s Day.

This led along a winding path of thinking about temporary art.  Many artists have made their reputations with creating artwork which isn’t meant to last.  Being the practical person that I am, I have always been a little skeptical.  But just as Christo’s art events to swathe bridges and canyons in fabric, and Gonzales-Torez’s piles of candy in museums are temporary art, so is planting flowers.  We do it for the sheer enjoyment and beauty.

My flowers will bring me great joy this summer until they are gone with the frosty fall.  That’s enough.  Isn’t it?

Plein air painting with acrylics

First of all I will admit that I am not an expert in acrylic painting.  Yes, I’ve painted watercolors for over 30 years and have tackled oil painting for about ten years.  But I’m pretty new to acrylic painting.

I got into acrylics painting artwork last year when I had some commissions which needed to be completed quickly.  Mainly I was looking for something durable but which dries more quickly than oils.  And after my last foray at a multi-day plein air event last month where I seemed to get Titanium white all over everything, I thought acrylics might be a good idea to try.

I have a beautiful little pochade box which I purchased last year but have never used so this was to be my designated acrylic box.  (For now.)  I loaded it up yesterday morning and drove out to a place down the road that I’ve been eyeing for a future painting site.  It was so peaceful and I arrived just before the sun arose.  I will say that the hardest part was attaching the quick release to my tripod, but after several attempts, I finally got it.  Not too thrilled as it wiggled a bit but otherwise it worked.  Then I unfortunately sat on my only plastic water container and smashed it.  Humph!  Artist ingenuity jumped up and I cut the bottom off a bottle of water.  Worked perfectly.

The next test was the new mini Stay Wet palette that I added too much water to the sponge.  The paper palette wrinkled a bit but I could work with it.  Lesson here:  try new equipment at home before you hit the road.

Here’s a photo of the beautiful rolling fields that I was trying to capture.  I find that I really only have two hours to make a go of a painting before I lose the light but this was enough.A sunny early morning photo 1000

And here’s a photo of the field painting at the time I packed up.A sunny early morning photo - 2-1000

When I got back home, I wasn’t quite satisfied with the colors or composition of the painting so decided to work on it some more.  You can see where I lowered the clouds to emphasize the dawn.  Then I pushed back some hills and brought forth some of the sunny highlights. A sunny early morning painting2-1000 I’m not totally satisfied with the overall painting but I usually have to live with them for a while.  It doesn’t seem to have the personality of the scene I was trying to capture but barring that, isn’t too bad.  What do you think?  Which one do you like best.

So, lessons learned from my first acrylic plein air painting adventure.

  1. Test out new equipment first before you take it into the field.
  2. Be adaptable.
  3. Acrylics are nice in that they dry much quicker than oils but are more opaque than watercolors.
  4. And….don’t sit on your water container!

How to convey a feeling in painting

Winter in Mentor, Final, 12 x 24, oil on Canvas, Kit Miracle

Winter in Mentor, Final, 12 x 24, oil on Canvas, Kit Miracle

Artists usually have some reason that they paint a subject.  This could be a desire to convey beauty, despair, record something historical, or whatever.  In this painting, I wanted to convey the bone-chilling cold one early morning this month.  Check out my step-by-step page.

Life happens

For those of you who follow this blog and may have wondered where I’ve been, I apologize for the scarcity of recent postings.  Life happens.

Amid all the end of the year activities – holidays, performances, painting events, etc. – we had a family emergency.  My husband had a second (and more severe) heart attack. In this case, it was a pretty scary situation to live in such a remote area.  We actually drove 15 miles to meet the ambulance rather than trying to direct them to our house. He is doing well, thank you for asking, but as you may imagine, this event turned the household on end.  He’s sticking with a strict vegan diet as touted by Dr. Caldwell Esselstyn in  Prevent and Reverse Heart Disease.  (Highly recommended, btw.)  A total change to vegan has not been a huge issue since we grow and eat lots of vegetables.  However, now there’s no meat or fish, no dairy, no eggs, no added fats.  But the results have been rewarding.  He’s lost 25+ pounds in the first six weeks and feels great.  Anyway, a new way of eating for the family.

And my day job as director of a multi-discipline arts center has been busy but rewarding.  Several performances, conferences to attend, booking for next season, and work on building expansion.  But I still manage to find time to paint or draw.

The bone-chilling cold of the winter in the midwest and north east has driven me to find relief in perusing gardening books (and ordering more, of course).  Before this most recent bout of snow and ice, I actually spotted the daffodils and crocuses poking up.  Can’t wait for spring.

Meanwhile, life is returning to normal…somewhat.  Back in the studio painting, reading, and…well…country living.

Life happens.

Painting New York

New York in January, Sunrise

New York in January, Sunrise

Each January I visit New York for conference.  Although I’m officially there for business, I never can seem to turn off my artist’s eye.  I’ve put  sketches up here before which I’ve done in museums, hotel rooms, night clubs.  Even just leaning against a wall in Times Square late at night.  Always interesting to me.  Most do not turn into finished artwork but are just memory notes.

This happens to be a painting that I did based on the view from my hotel room.  I love the early morning light dancing across the buildings with the cool colors of Central Park in the background.  There seemed to be some inversion layer going on which translated into a variety of impressionist colors.

When I create a painting like this, I’m often asked why I didn’t finish off the buildings.  But that wasn’t what attracted me to the scene, I reply.  It was the juxtaposition of hard and soft shapes, early morning light, a light dusting of snow on the roof tops.  I doubt the painting would have been improved if I had included every window, balcony, and detail.  This just leaves the soft feeling of a city wakening to a new morning.  What do you think?

Bobcat – Making a comeback

As I have mentioned in a previous post, we have great fun observing the wildlife in this rural area.  Our house sits in the middle of 90 acres (thus, My90Acres), and is a good mix of fields, streams and woods.  The county I live in is very rural and has an abundance of wildlife.

We move our deer cam around and I check the SD card every couple of weeks.  It’s always great fun to see what we’ve “caught.”  Its latest location is near our drive where it crosses a creek on a culvert.  Animals are a little lazy and will take the easy path across the culvert rather than wade through the creek so this location gets them going both across the creek and along the creek.  The cam is triggered automatically and records both day and night with the infrared part.  The animals can’t see it flash at night but they can hear the camera click.  Some of them come right up to the camera and I’m as likely to get a closeup of a deer nose as a flock of birds in the day.

This past month the camera recorded all kinds of deer, foxes, two cats I’ve never seen in daylight, turkeys, squirrels, coyotes, rabbits, possums,  birds of all kinds, my dog, and cars entering and leaving the property.  To my delight, I also recorded this large male bobcat this month.  I haven’t seen him since last year so was glad to observe him again. Based on comparing him to the size of my dog, I guess he’s about 30-34 pounds which is about tops for a male.  Bobcats have been protected in Indiana for a while now but they may come off the protected list soon as their population has grown.  They eat rabbits, possums, rats, and other small animals.  Oh, and chickens.  Not so good.  Nevertheless, it’s so nice to know nature is thriving in the not quite wilderness.  On the other hand, I really don’t want to record a mountain lion or bear in this area – as has been reported.  That would be a little too scary for my taste.

Bobcat in southern Indiana

Bobcat in southern Indiana

Bobcat - arrow points to stubby tail

Bobcat – arrow points to stubby tail

Third photo of Bobcat

Third photo of Bobcat