Category Archives: painting instruction

Simplify your backgrounds

Often, when we venture into the great outdoors to paint, we are assaulted with visual overload.  There’s just too much out there!  I find that a good way to approach the problem of too much is to simplify my backgrounds.  In this recent plein air painting of June lilies, I could have added a lot of trees and stuff in the background but decided to emphasize the flowers instead.  I chose to do this by painting the background with a muted variety of purples and blues.  As you can see, this really makes the flowers pop.  By the way, the orange day lilies grow wild in great masses along the country roads this time of year.

June Day Lilies, oil on canvas, 12x16, Kit Miracle

June Day Lilies, oil on canvas, 12×16, Kit Miracle

The original area with a busy background.

The original area with a busy background.

Painting Main Street

Main Street House #1, oil on canvas, 12x16, Kit Miracle

Main Street House #1, oil on canvas, 12×16, Kit Miracle

I went out painting this past Sunday morning in town.  Sundays are usually pretty quiet if you’re painting an urban setting.  There is a row of old houses on Main Street which have been renovated and provide some pretty interesting subject matter.  The first house, with all the gingerbread and roses is almost too saccharine but I thought I’d give it a stab.  I was actually planning to paint it from the other side (south) but since I arrived pretty early, I caught this morning light on the north side. There are some who would like to see every little detail but I believe that you should let the viewer’s eye fill in some of the details.  If I tried to paint a photo-realist painting…what IS the point, eh? …then I think the painting would have lost a lot.

Main Street House #1 en plein air, Kit Miracle

Main Street House #1 en plein air, Kit Miracle


Main Street House #2, oil on canvas, 12x16, Kit Miracle

Main Street House #2, oil on canvas, 12×16, Kit Miracle

A friend went with me this morning but she had other obligations and had to leave.  I wasn’t ready to pack up so I turned around and then painted the neighboring house.  I really like the light in both of them.  I could probably find subject matter for several paintings in a few blocks of Main Street, especially if I come back at different times of day.

What does YOUR Main Street look like?

Main Street House #2, en plein air

Main Street House #2, en plein air

Plein air painting from memory and from life

I have a beautiful drive to work every day, through the gently rolling hills of southern Indiana.  This is a valley that I frequently pass which changes throughout the seasons.  About a week ago, I was so taken with the freshly washed sky after a rain and the glancing sunlight through the valley, that I had to paint it when I got home.  This is totally from memory and was painted primarily with palette knife.

Kyana Bottoms from memory, oil on canvas, 12 x 16, Kit Miracle

Kyana Bottoms from memory, oil on canvas, 12 x 16, Kit Miracle

Then this past weekend, I went out early on Saturday morning to paint it from life.  Due to the severe winter, I haven’t been out plein air painting much this winter so I was aching to get outdoors.  Plein air painting poses its own challenges – weather, changing sunlight, where to park.  In this case the people who live back the lane stopped on their way out to town that morning, then later on their way back in.  Also, as you can see, I was really close to the train tracks.  And just when I was concentrating, I heard this noise behind me.  Some neighbor had spotted me from her house but I hadn’t heard her drive up due to the earphones I was wearing to cancel out the traffic noise.  I worked a couple of hours and then finished it up in the studio.

Kyana Bottoms, final, 16 x 20, oil on canvas, Kit Miracle

Kyana Bottoms, final, 16 x 20, oil on canvas, Kit Miracle

So…which do you like best?  The painting from memory or the one that was done on site?

More of the steps below…including the train!

The valley as it looked early in the morning.

The valley as it looked early in the morning.

Working out of the back of my car, initial washes.

Working out of the back of my car, initial washes.

Uh oh, here comes the train!

Uh oh, here comes the train!

And THIS is how close I was to it!

And THIS is how close I was to it!

Last painting step before I packed up for the morning,  The light had changed too much.

Last painting step before I packed up for the morning, The light had changed too much.

Lucky Red 3


Lucky Red 3 - final, oil on canvas, 18 x 24, Kit Miracle

Lucky Red 3 – final, oil on canvas, 18 x 24, Kit Miracle

This is the third in the Lucky Red series.  Another jade dragon but not the same one that I posted last time.  For some reason, this one took a lot longer.  Not quite sure why. There is a fine line between painting every detail of the jade or emphasizing the shape of the dragon.  I was having a little more trouble with conveying the sinuousness of the dragon than previously.  There also weren’t as many distracting details but total focus on the dragon shape.  Check out the link for the step-by-step links.  https://my90acres.com/artwork/lucky-red-3-step-by-step/

Lucky Red 2

Lucky Red 2 - final.  18 x 24, oil on canvas, Kit Miracle

Lucky Red 2 – final. 18 x 24, oil on canvas, Kit Miracle

In keeping with the red and good luck symbols, I created this still life after the first one.  There are a couple of common elements to Lucky Red the first, such as, the bamboo plant and the small fish glass paperweight.

Here you see a large jade dragon signifying the year of the Dragon and a jade/silver/gold bracelet with the I-Ch’ing symbolizing Ta Yu or number 14.  Unfortunately the bracelet wasn’t so lucky as it was damaged in a bike wreck.  Humph!  I also have a sleeping cat from Provence suggesting my name – and the cat sleeps with one eye open.  The gold cup is from my mother and the tea is Yogi brand (Detox).  I always like to incorporate a sense of humor or irony in my work if I can do it very subtly.  The seashell doesn’t represent anything in particular; I just like it.  And the red cloths for the background – one a kind of orangey-red batik and the other a medium dark red.

Lucky Red 2 - initial still life set up.  Notice the peach gel to diffuse the light.

Lucky Red 2 – initial still life set up. Notice the peach gel to diffuse the light.

Lucky Red 2, initial drawing on the canvas

Lucky Red 2, initial drawing on the canvas

Lucky Red 2 - first washes

Lucky Red 2 – first washes

Lucky Red 2 - more blocking in major colors

Lucky Red 2 – more blocking in major colors

Lucky Red 2 - adding more colors

Lucky Red 2 – adding more colors

Lucky Red 2 - step 6, adding more details, color corrections

Lucky Red 2 – step 6, adding more details, color corrections

Lucky Red 2 - adding more details.  This is the 85% mark when all that is left is to tweak the details.

Lucky Red 2 – adding more details. This is the 85% mark when all that is left is to tweak the details.

A view of the painting with the still life set up behind it.

A view of the painting with the still life set up behind it.

Lucky Red 2 - cup detail.  Notice how abstractly this gold cup is painted.

Lucky Red 2 – cup detail. Notice how abstractly this gold cup is painted.

Lucky Red 2 - detail of shell.  Notice how loose the brush strokes are.  It is a real accomplishment to get the effect with just one pass.

Lucky Red 2 – detail of shell. Notice how loose the brush strokes are. It is a real accomplishment to get the effect with just one pass.

Lucky Red 2 - detail, sleeping cat

Lucky Red 2 – detail, sleeping cat

Lucky Red 2 - final.  18 x 24, oil on canvas, Kit Miracle

Lucky Red 2 – final. 18 x 24, oil on canvas, Kit Miracle

Real or illusion?

Many years ago I read that when Andrew Wyeth was complimented on the realism of his paintings that he responded, “All realistic art is an optical illusion.  You’re taking paint, applying it to a two-dimensional surface and tricking the eye into believing that they’re seeing a real object.” Although this didn’t quite sink in at the time, over the years I’ve come to understand what he was saying.

When I paint a subject in a realistic manner, I am literally fooling the eye.  My son was looking at the painting, Lucky Red, and went up close to examine it.  After a while, he commented that there really wasn’t much there.  I just laughed.  “You’re right,” I said.  “It’s all an optical illusion.”

While I admire artists who have the tenacity to paint every little hair on a rabbit, I really wonder why they are doing that.  Isn’t the entire object of the painting to convey the mood and feeling of the artist?  Personally I believe in letting the viewer become part of the painting by bringing their own knowledge and imagination to the work.  The hard edges certainly define some critical points, but soft edges let one area slide into another, creating a cohesiveness that cannot be obtained photo realism.  My personal opinion, anyway.

Go back and look at some of the original paintings that I’ve posted on here – Lucky Red, Grand Canyon at Moran Point, and Blue Bottles with Lemons.  Then look at these close-up.

Detail - Lucky Red.  Notice how abstractly the fish and seaweed are painted in this glass paperweight.

Detail – Lucky Red. Notice how abstractly the fish and seaweed are painted in this glass paperweight.

The golden Buddha is also painted very loosely.  Notice the sparkles of the ribbon, too.

The golden Buddha is also painted very loosely. Notice the sparkles of the ribbon, too.

This Mediterranean glass paperweight is a mash of swirling colors.  Again, the sparkles on the blue ribbon.

This Mediterranean glass paperweight is a mash of swirling colors. Again, the sparkles on the blue ribbon.

Notice the lost edges of this paperweight blending into the folds of the cloth.

Notice the lost edges of this paperweight blending into the folds of the cloth.

This tree in Grand Canyon at Moran Point is very loosely painted when viewed in detail.

This tree in Grand Canyon at Moran Point is very loosely painted when viewed in detail.

Again, the viewer's eye is blending the colors in this yellow lemon.

Again, the viewer’s eye is blending the colors in this yellow lemon.

Lucky Red

I don’t know quite why I started this painting but it’s something that has been rolling around in my head for awhile.  Sometimes I’ll think about a work for years before I get around to painting it.

Lucky Red is a challenge of red on red on red.  Shiny and soft.  Clear objects, reflective, see-through.  Some of the symbols are pretty obvious.  The lucky Buddha, three Chinese coins, a WINNING lottery ticket.  Some are less obvious.  The lucky bamboo plant.  Two of the glass paperweights have fish swimming in them.  Fish are a lucky Chinese symbol.  And swirling throughout the still life is a lucky blue ribbon that I won at a holiday party.  (Thank you, Joan!) Topping the set up off is another glass paperweight called Mediterranean which celebrated the completion of a bike ride through France several years ago.

We all have lucky symbols in our lives.  What are yours?

Lucky Red - the initial still life set up

Lucky Red – the initial still life set up

First step, drawing on the canvas

First step, drawing on the canvas

Second stage, blocking in major shapes

Second stage, blocking in major shapes

Third step, laying in base colors of the objects

Third step, laying in base colors of the objects

Fourth stage.  Almost finished.

Fourth stage. Almost finished.

What my palette looks like with a variety of reds.  Using black to tone some of them down.

What my palette looks like with a variety of reds. Using black to tone some of them down.

The painting compared with the still life.  Notice the gel I have taped over the light.

The painting compared with the still life. Notice the gel I have taped over the light.

Lucky Red, final.  Oil on canvas, 18 x 24, Kit Miracle

Lucky Red, final. Oil on canvas, 18 x 24, Kit Miracle

Tips for Setting Up A Still Life

A flea market find, this silver teapot and sugar bowl cost less than $10.

A flea market find, this silver teapot and sugar bowl cost less than $10.

I just purchased this silver-plated teapot and sugar bowl at a flea market for $10.  It was heavily tarnished and wouldn’t be anything I would want to actually use, but it will make a great addition to my arsenal of items for still life set ups.  To check out more recommendations, from how to set up, objects to consider, to my large cupboard of items, visit my page for Tips for Setting Up A Still Life.

What is your painting style?

At some point in your painting career, you’ll wonder if you’ve got a painting style.  Would someone be able to point to one your paintings and say, “Oh, that’s a John Smith!”  It’s always nice to be known for a certain style but many of us find it difficult to recognize our own.  The following are some of my thoughts and observations about this.

  • Your style is like your signature, a certain way of handling your materials, your brush strokes, maybe your palette, or your subject matter.
  • It may take years to develop a recognizable style.  In the meanwhile, most artists experiment with many types of painting, often copying our favorite painters.  This is a great way to see what excites you and to test the waters.  How did Monet capture that light?  How did Picasso make the most of his materials?  Eventually you’ll find a style that suits you.
  • Your style may…and probably will…evolve over time.  It’s pretty unusual for an artist to find one particular way of painting and to never change again.
  • While your work may change over time and while you are having fun learning how other painters create, at some point it’s a good idea to focus on one style for a while.  When an artist shows me a portfolio with a mishmash of subject matter, techniques, and mediums, and who exclaims, “I can paint anything!” the first thought I have is “amateur.”
  • You need to focus.  What are you passionate about?  What is your emotional connection?  What reaches into your chest and grabs your heart?  That is what you need to paint.  At least for a while.
  • Build up a body of work.  Do maybe twenty paintings that are similar in technique, subject matter, medium, etc.  Some people say to create as many as 100, which seems a little excessive to me but, well, whatever works for you.  You just need to prove that you have the tenacity to focus to create a body of work.
  • Stand your paintings around the room and ask a trusted friend, preferably a knowledgeable artist or teacher to give you their honest opinion.  How would they describe your work?  What are its strengths, weaknesses?  Close relatives are usually not good at this because they love everything you do.  And beware of someone who may have an ax to grind.  You definitely do not need their opinions to undermine your self-confidence.
  • Listen to what they say.  If someone says, “That’s an awful lot of yellow in your work,” maybe you need to reevaluate.  Or if you’re aiming for super realism, and your friend says, maybe the shape on that bottle could be worked on, that means you need to work on your drawing skills some more.
  • And finally, as I have said before, be kind to yourself.  Your work is continually evolving and that’s OK.  You may still be sailing for the horizon which continually moves beyond you.  Sometimes you need to stop and take a reckoning of how far you’ve come already.

There is a lot of other advice about how to identify or create your style, but these tips will provide you with the basics.  Please let me know if this posting is helpful to you or if you have any other questions.

How to find time to paint

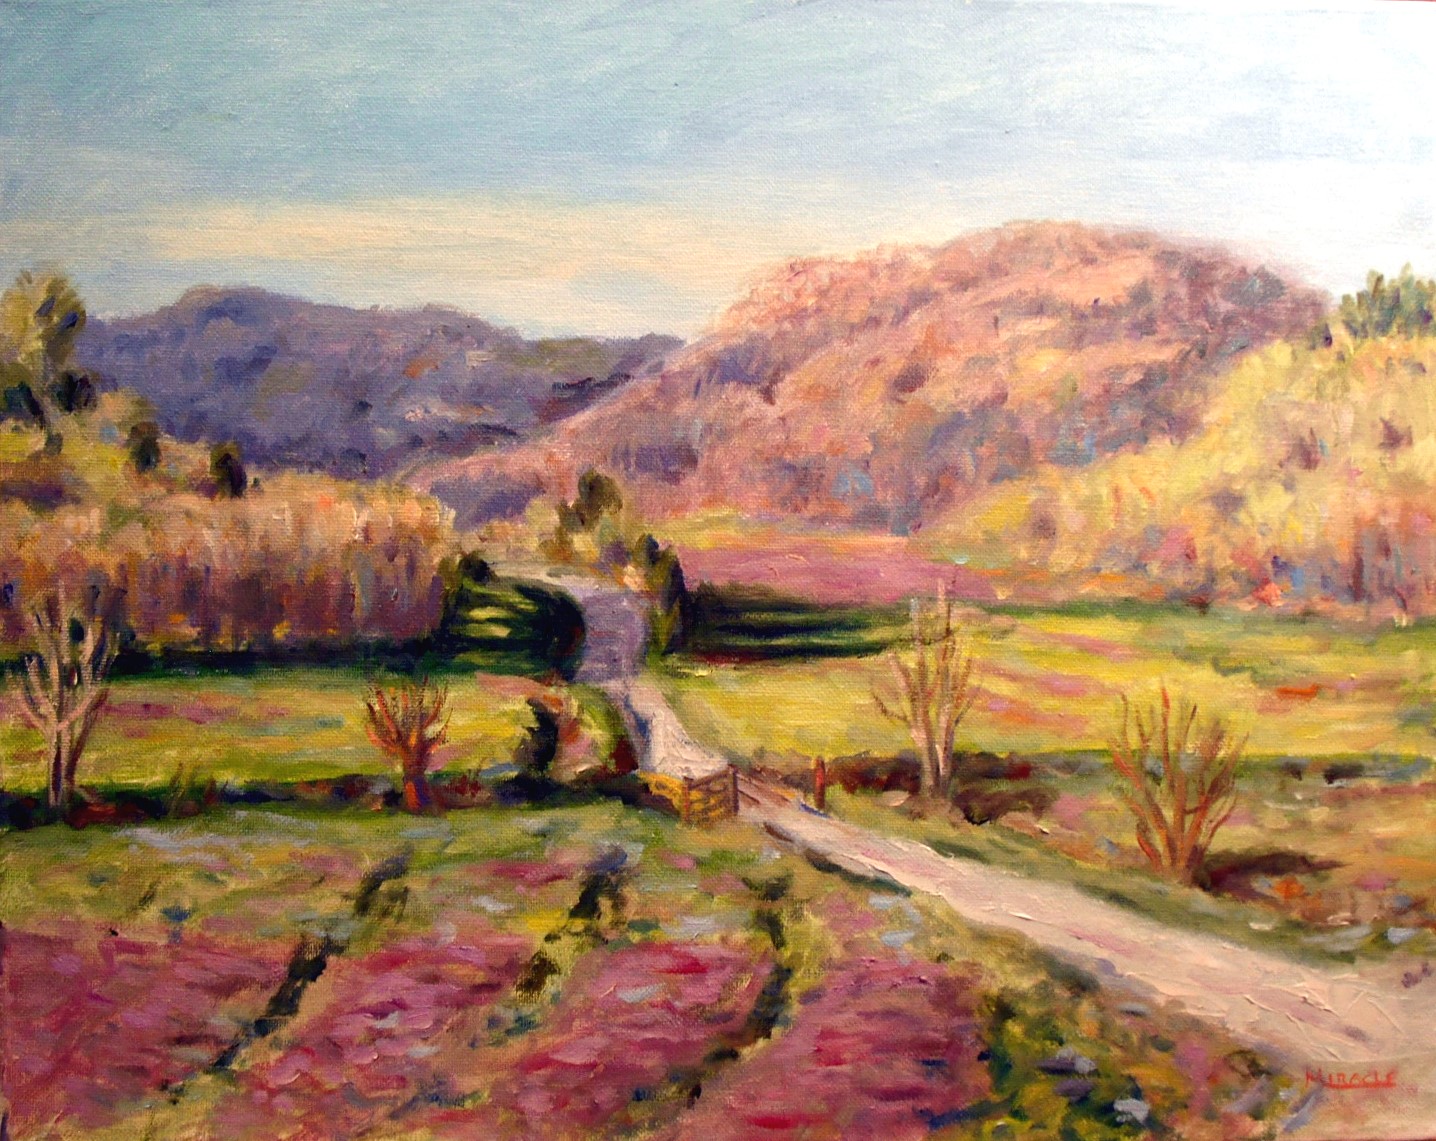
“I’m so busy.  I don’t have time to paint.”

I hear this excuse more than any other when people are telling me why they aren’t creating.  Really?  Although I don’t chastise anyone when I hear this excuse, I often wonder how much time they’re spending on other less productive activities.   I work full time in a demanding job with irregular hours, have a large garden and often have a grandchild here.  I usually paint a couple of hours every evening and maybe ten hours on a weekend.  This is the equivalent of a part-time job!  I have a friend who gets up a couple of hours early every day to do her painting.  She’s working on her MFA and also has a full-time job. If you want it badly enough, you’ll find the time.   So I thought I’d compile a list of my top five suggestions for finding time to paint.

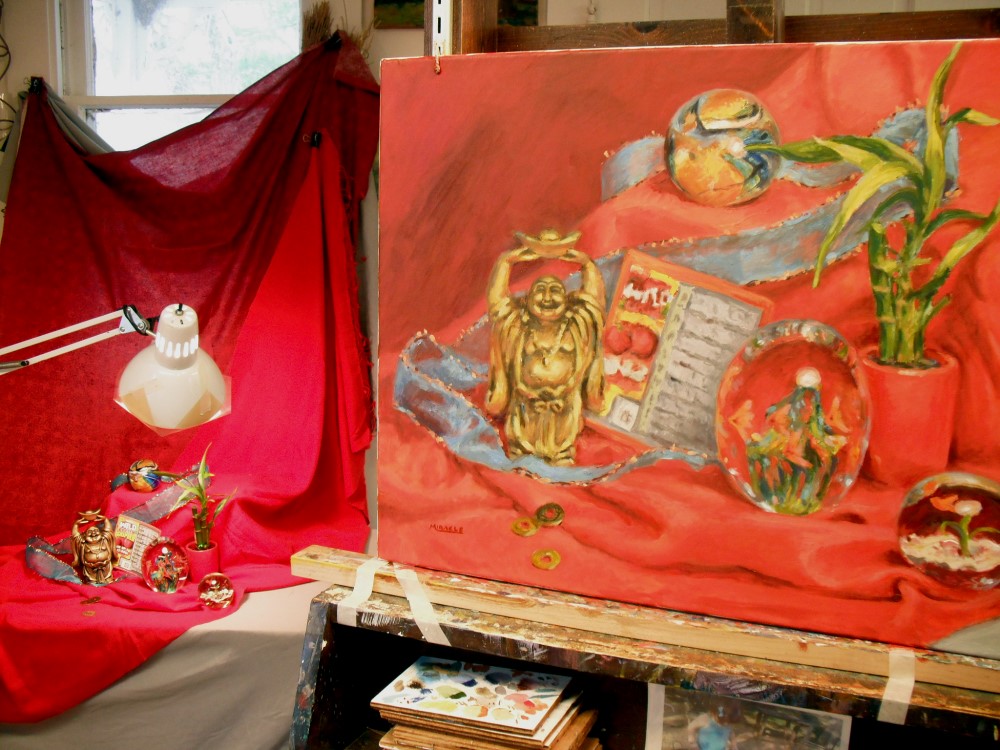
1.  Find a place to be able to keep your materials at the ready. If you have to unpack and repack your painting gear every time you want to use it, you’ll probably not do it as often. I am fortunate that I have a studio which is detached from the house but there are many other ways to carve out a bit of space.  Do you have a spare room, corner of the basement or attic, or even a closet which can be converted to a studio?  Even a corner of a room with a screen to hide your “mess” will make it more convenient for you to work.

2.  What can you give up?  For me, it’s TV.  I honestly watch very little TV every week.  Maybe the news and Antiques Roadshow, maybe a movie once in a while.  But I couldn’t tell you who is on Dancing with the Stars or what the new sitcom is.  And this is in a house with satellite TV and a kazillion channels!  But…do you have too many hobbies?  Maybe you will have to cut back somewhere else to concentrate on your most important creative work.  Do you stop at the local tavern after work every day to unwind?  How much time does that waste?  No one expects you to become a hermit but you have to set some priorities somewhere.  You have to make choices.

3.  Look for small nuggets of time which you can use fruitfully.  Can you head to the park on your lunch hour?  How about pulling out your sketchbook on the way home if you are a train commuter?  (I have an hour drive every day so I listen to books on tape.)  Waiting in line, at the theatre, or in a restaurant are other places you can do a few quick sketches.  Check out Urban Sketchers for some great ideas.

4.  Do a little bit of art every day.  This will keep your juices flowing and keep you in the creative mindset.  Keep a small sketchbook in your pocket or purse.  Add a few colored markers or a mini watercolor set and you’re good to go.  These are often inspiration for larger pieces later.

5.  Ask for some help.  If you have small children, hire a babysitter or enlist the help of a significant other, friend, spouse.  Maybe even trade time with another creative person who is looking for some alone time.

6.  Be easy on yourself.  Even if you can’t stick to a perfect schedule, as long as you’re moving in a positive direction, you’re making progress.