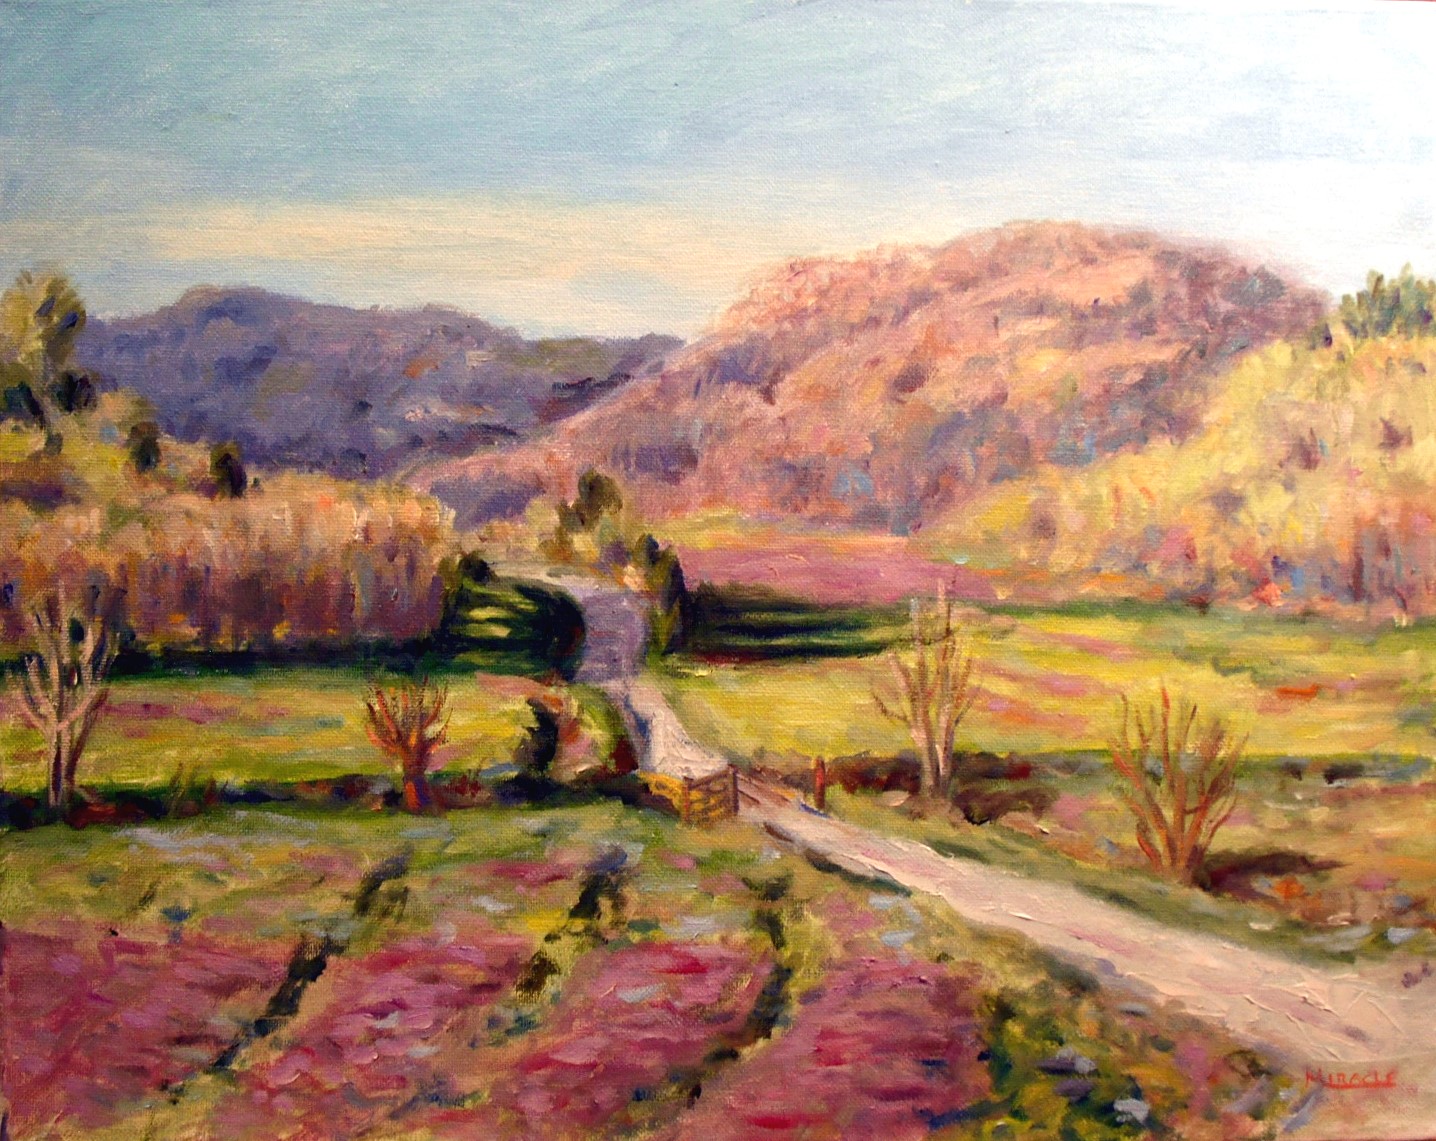
I have a beautiful drive to work every day, through the gently rolling hills of southern Indiana. This is a valley that I frequently pass which changes throughout the seasons. About a week ago, I was so taken with the freshly washed sky after a rain and the glancing sunlight through the valley, that I had to paint it when I got home. This is totally from memory and was painted primarily with palette knife.

Kyana Bottoms from memory, oil on canvas, 12 x 16, Kit Miracle
Then this past weekend, I went out early on Saturday morning to paint it from life. Due to the severe winter, I haven’t been out plein air painting much this winter so I was aching to get outdoors. Plein air painting poses its own challenges – weather, changing sunlight, where to park. In this case the people who live back the lane stopped on their way out to town that morning, then later on their way back in. Also, as you can see, I was really close to the train tracks. And just when I was concentrating, I heard this noise behind me. Some neighbor had spotted me from her house but I hadn’t heard her drive up due to the earphones I was wearing to cancel out the traffic noise. I worked a couple of hours and then finished it up in the studio.
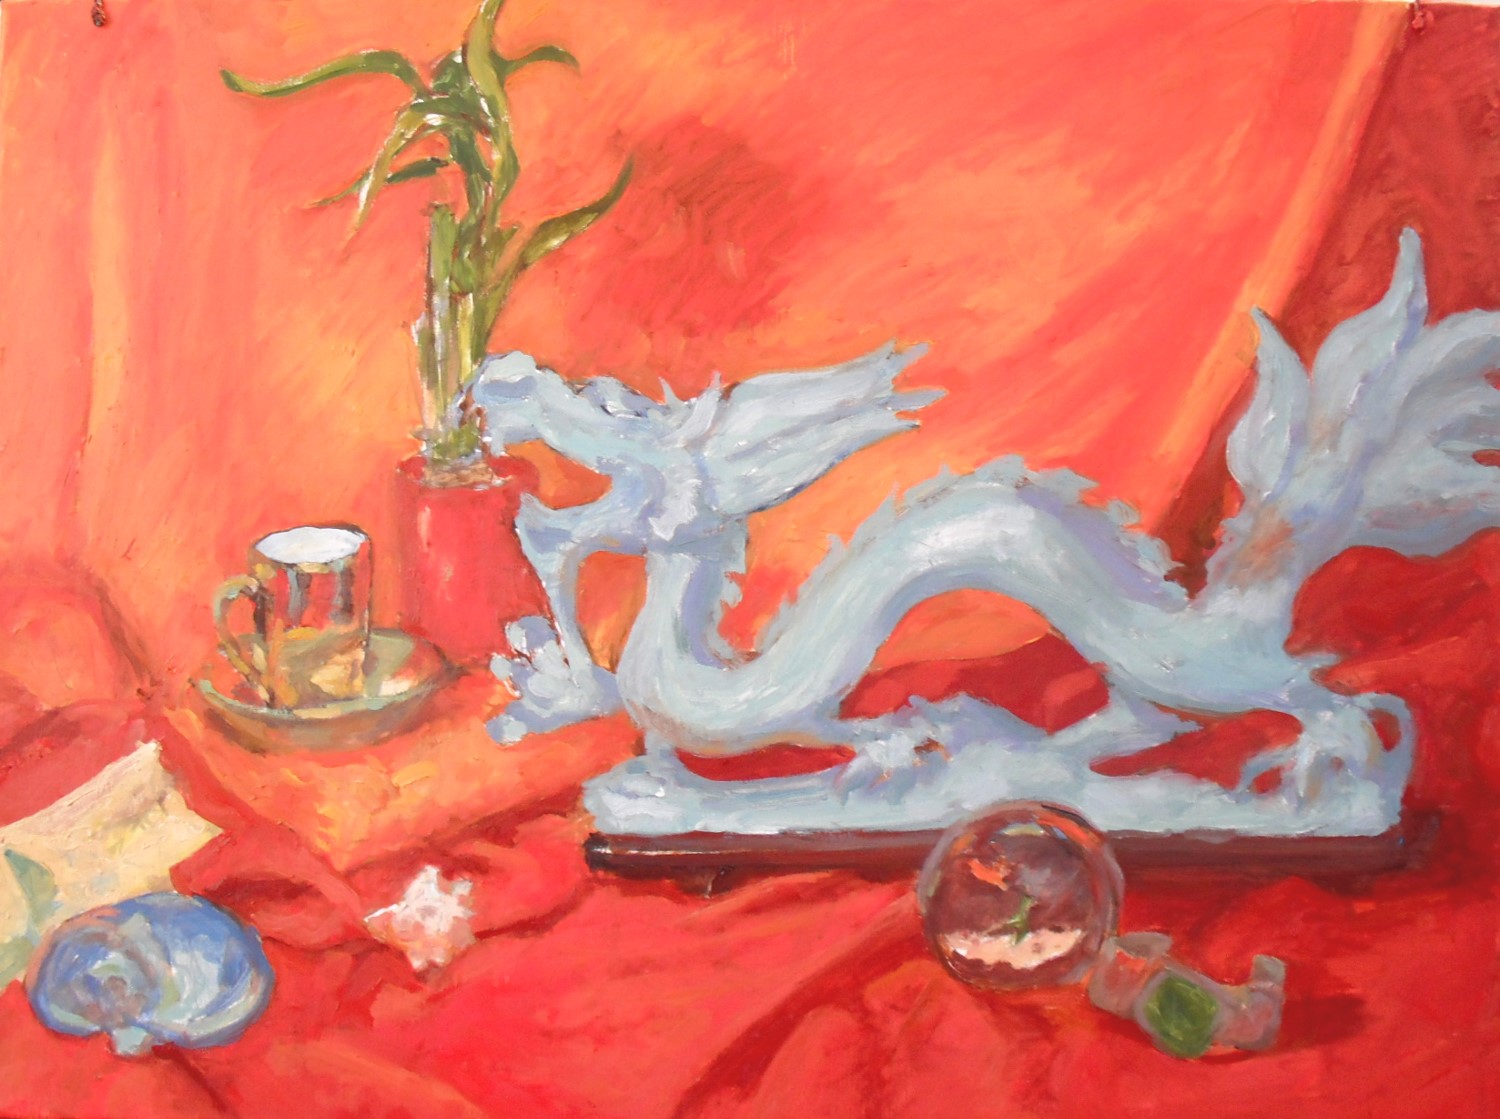
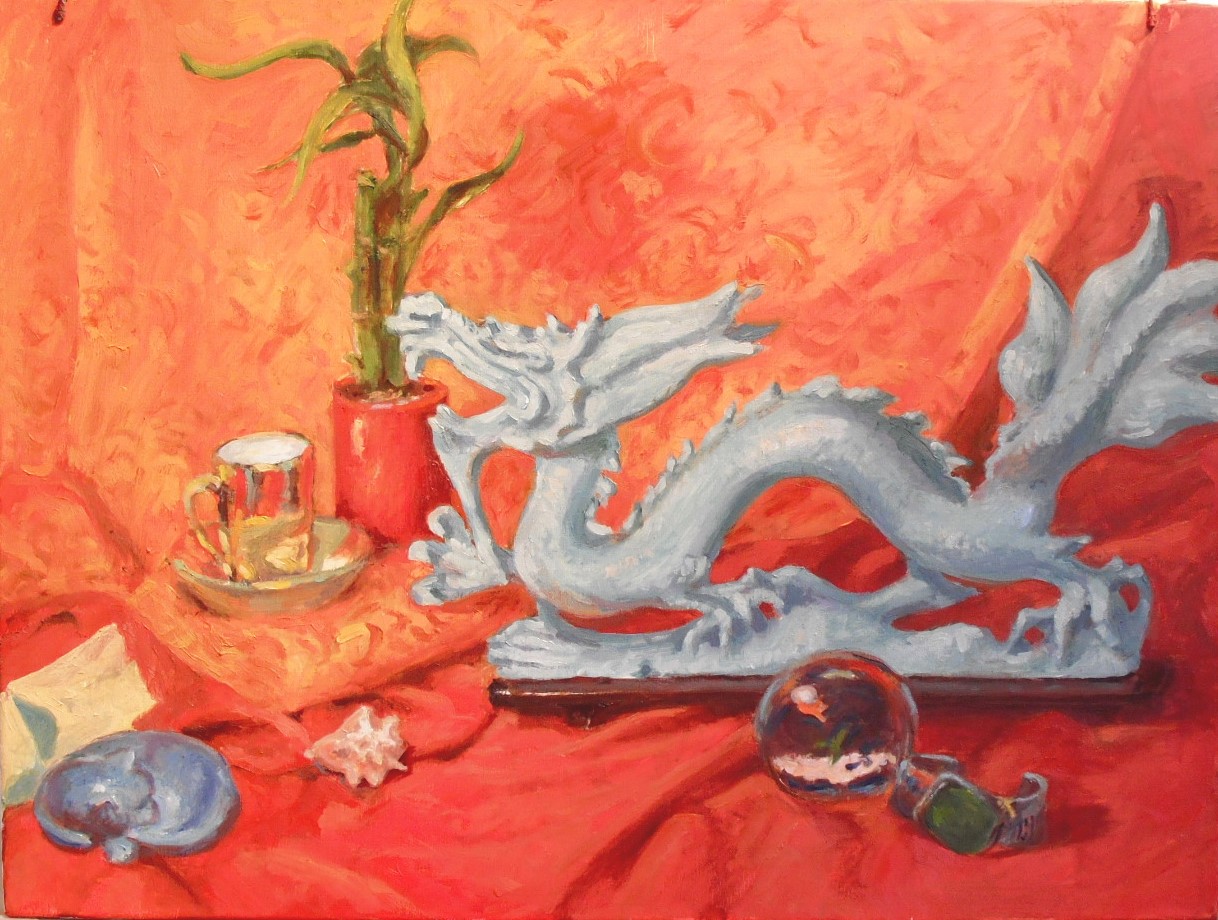
Kyana Bottoms, final, 16 x 20, oil on canvas, Kit Miracle
So…which do you like best? The painting from memory or the one that was done on site?
More of the steps below…including the train!

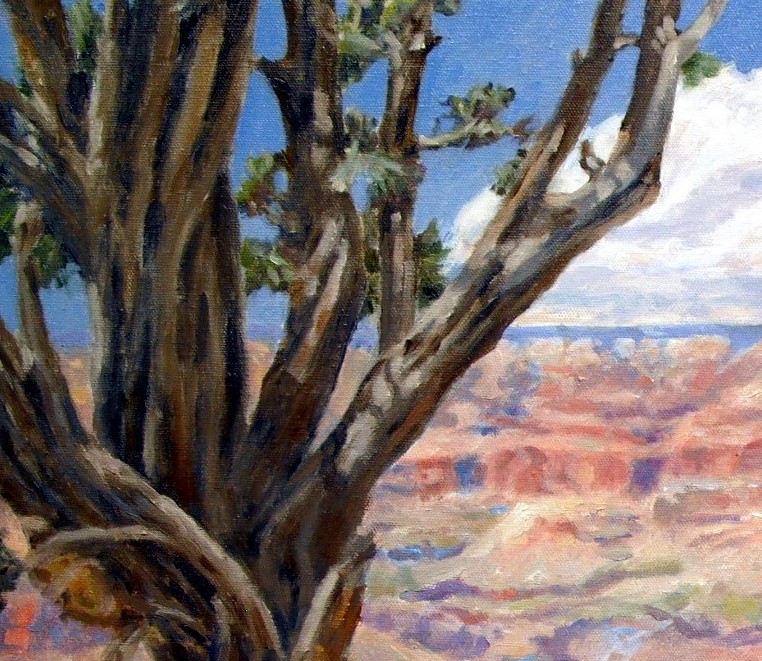
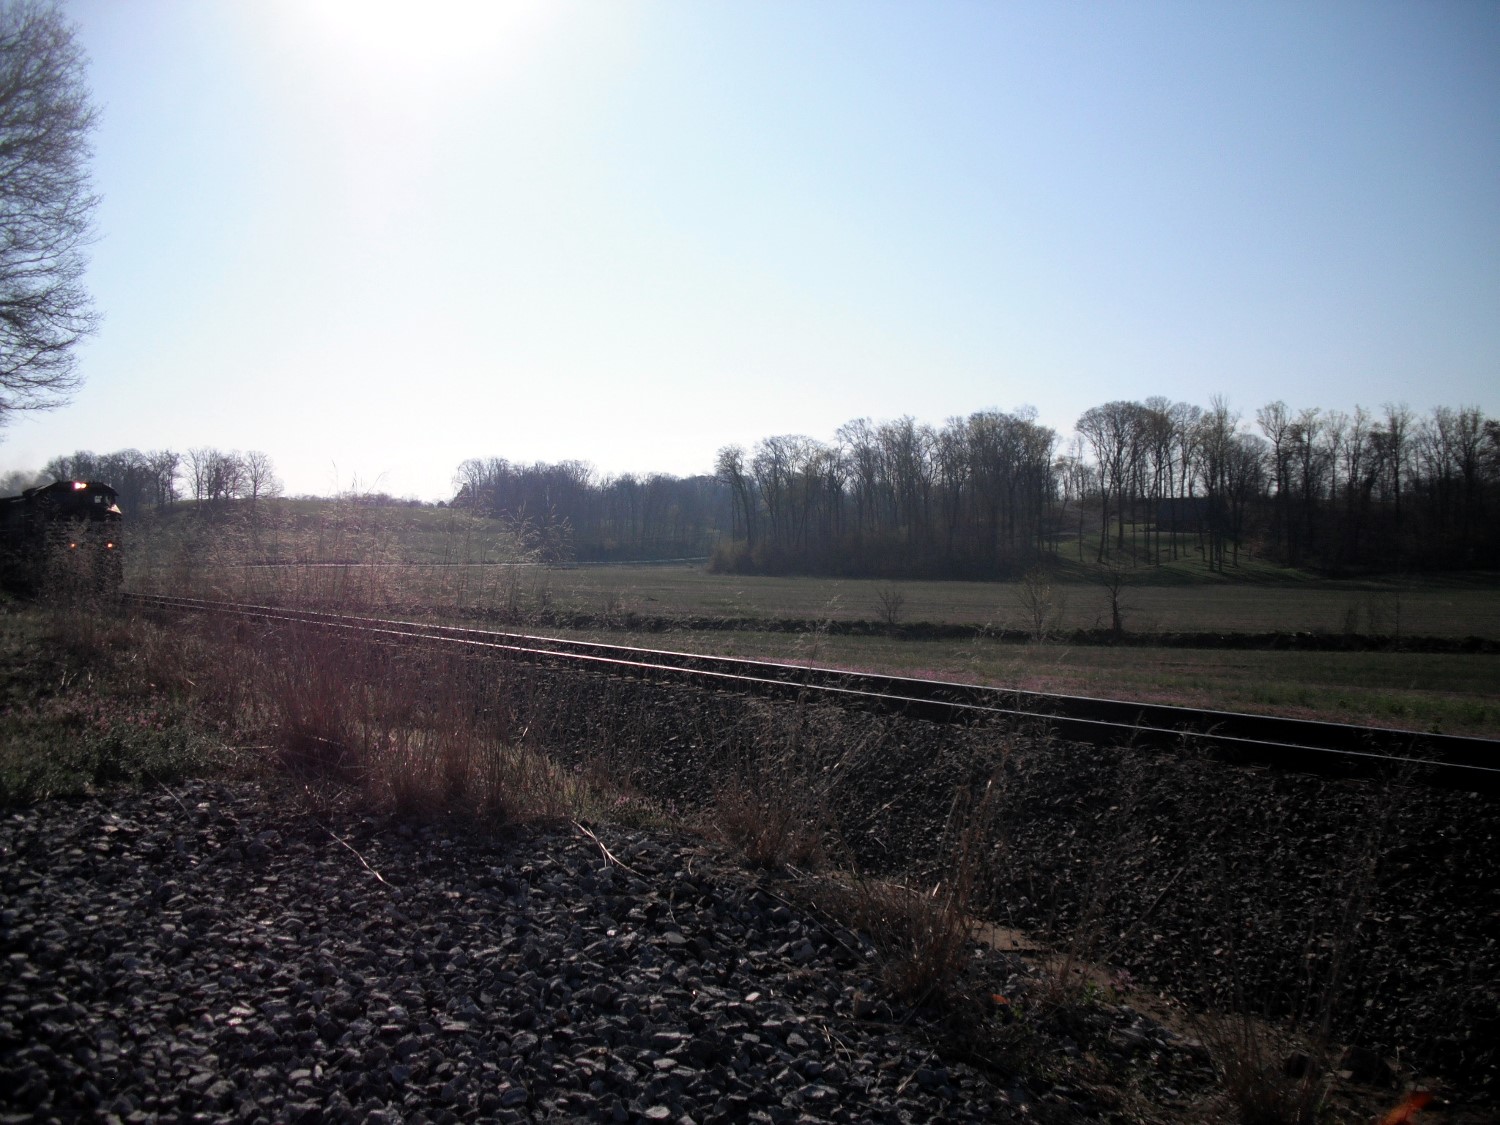
The valley as it looked early in the morning.
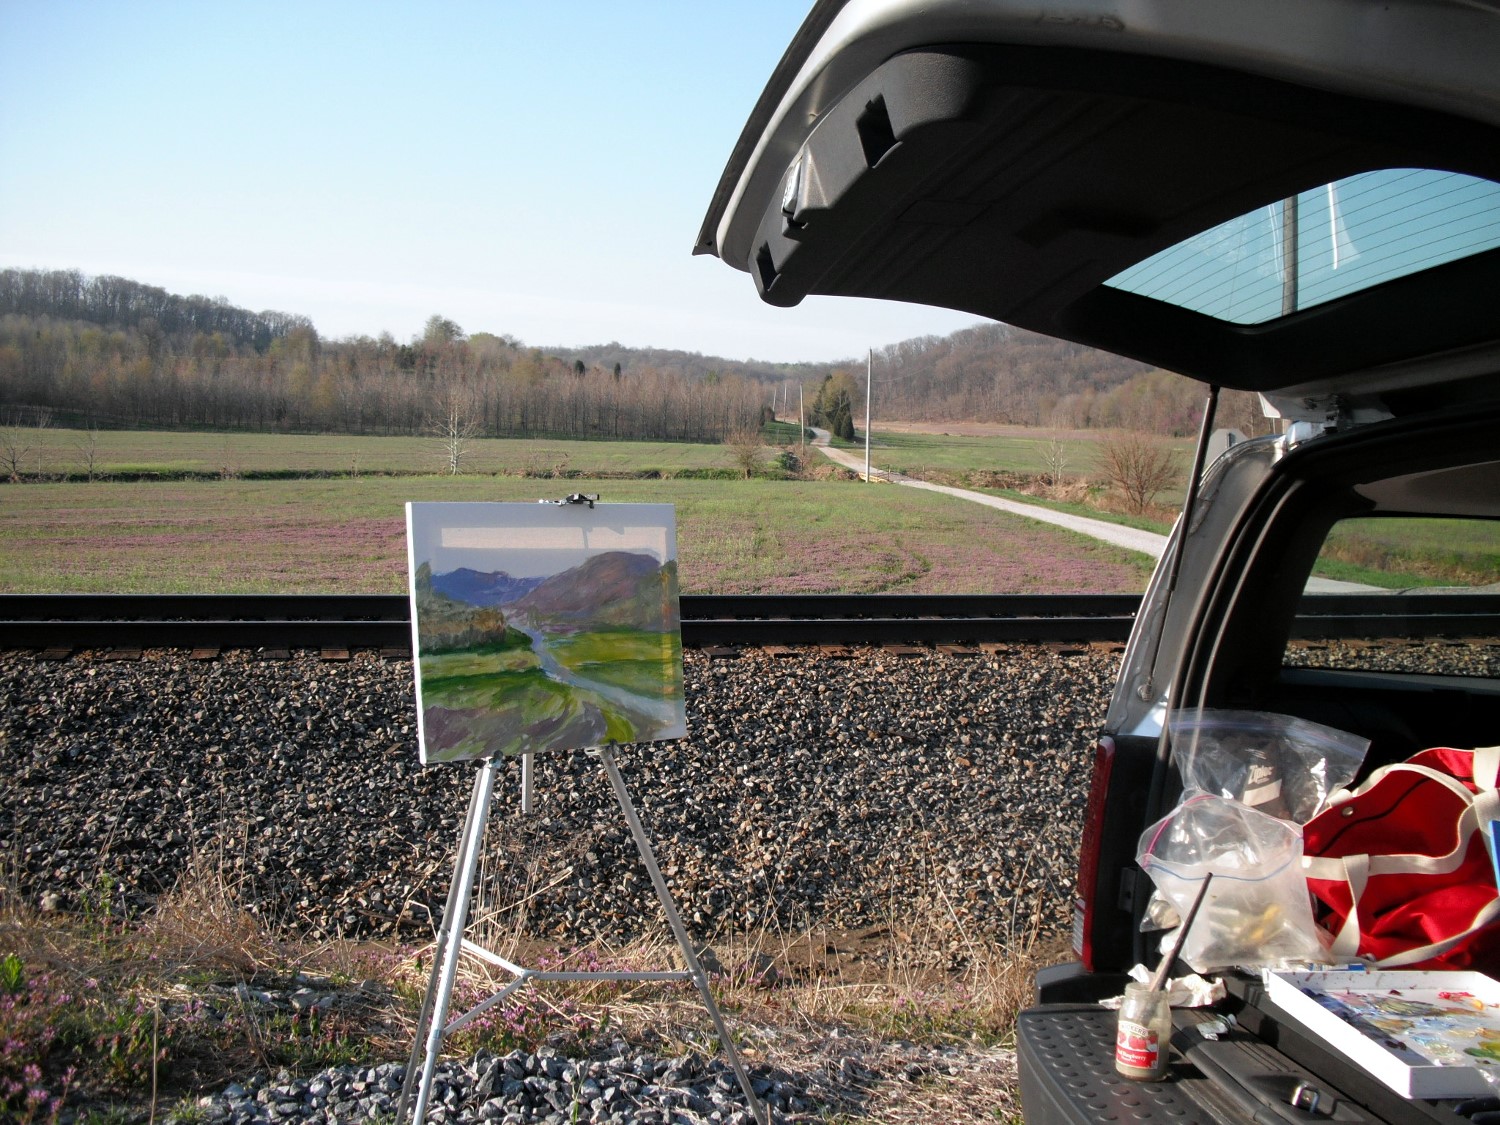
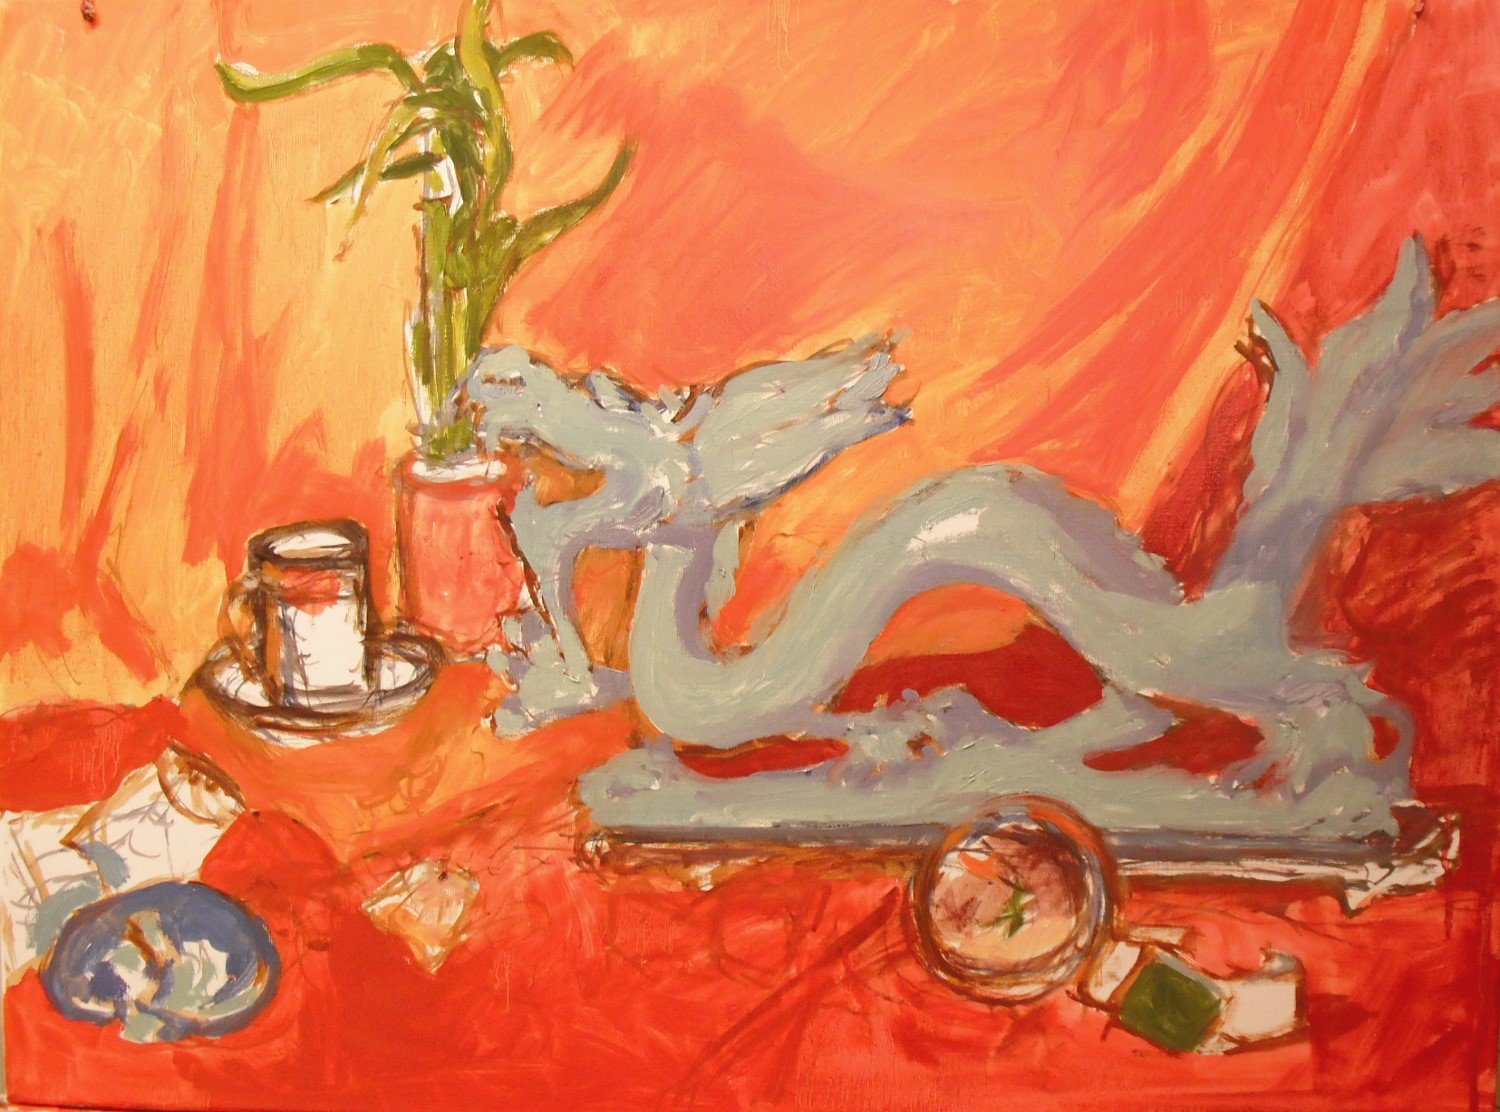
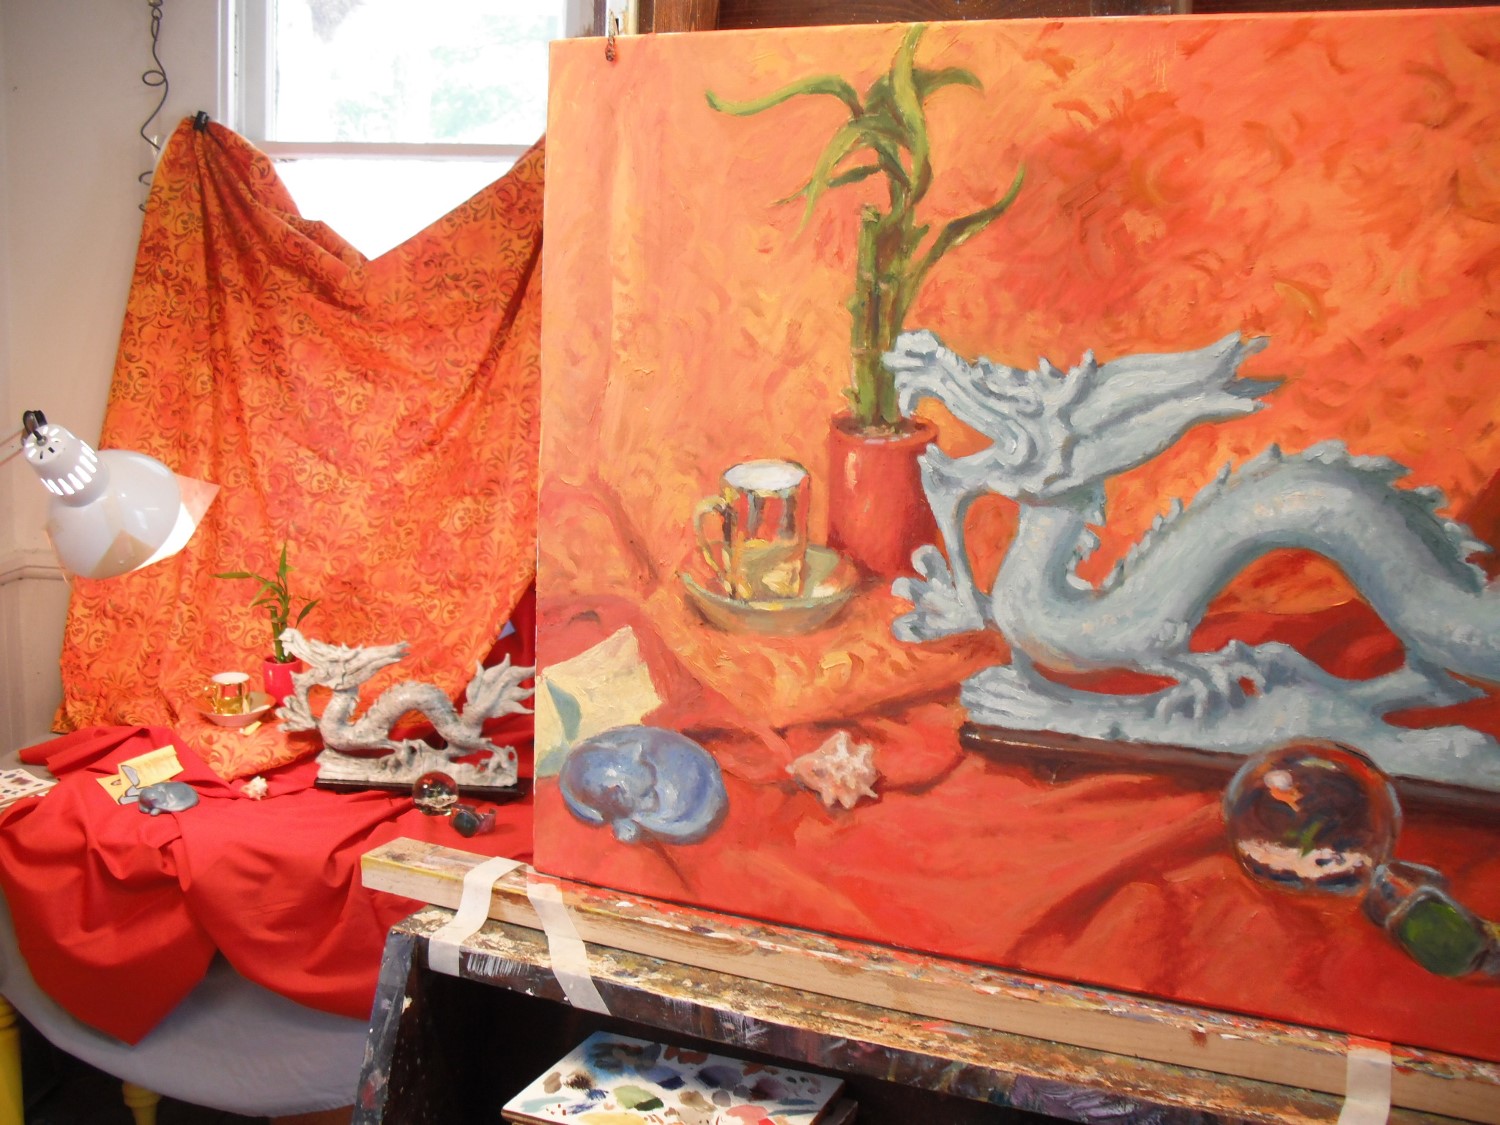
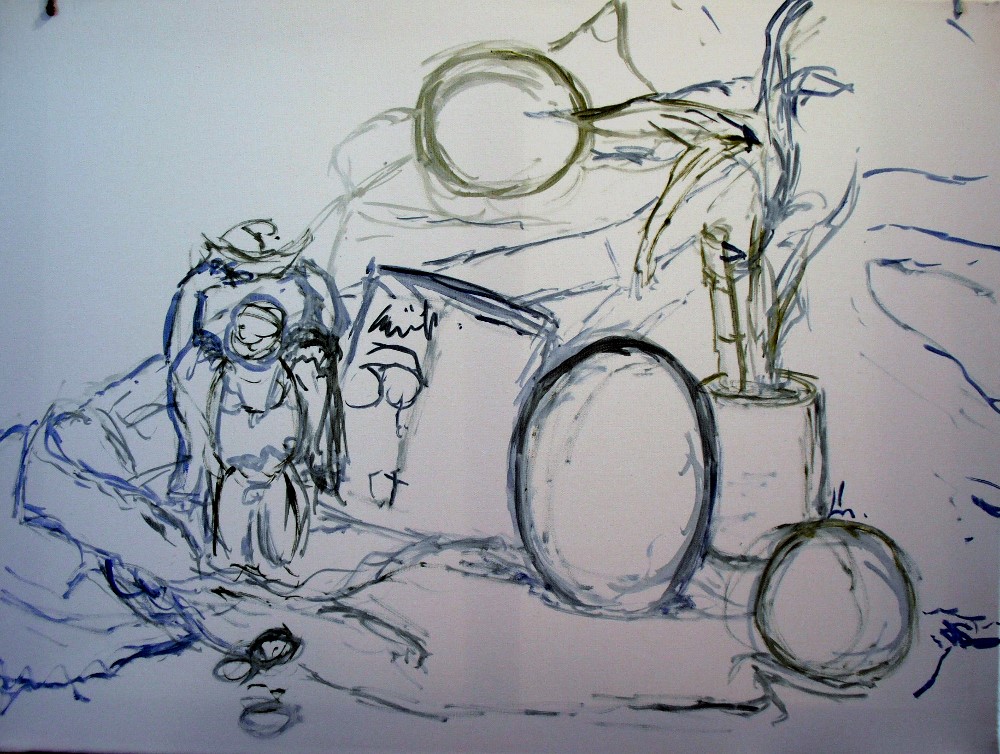
Working out of the back of my car, initial washes.
Uh oh, here comes the train!
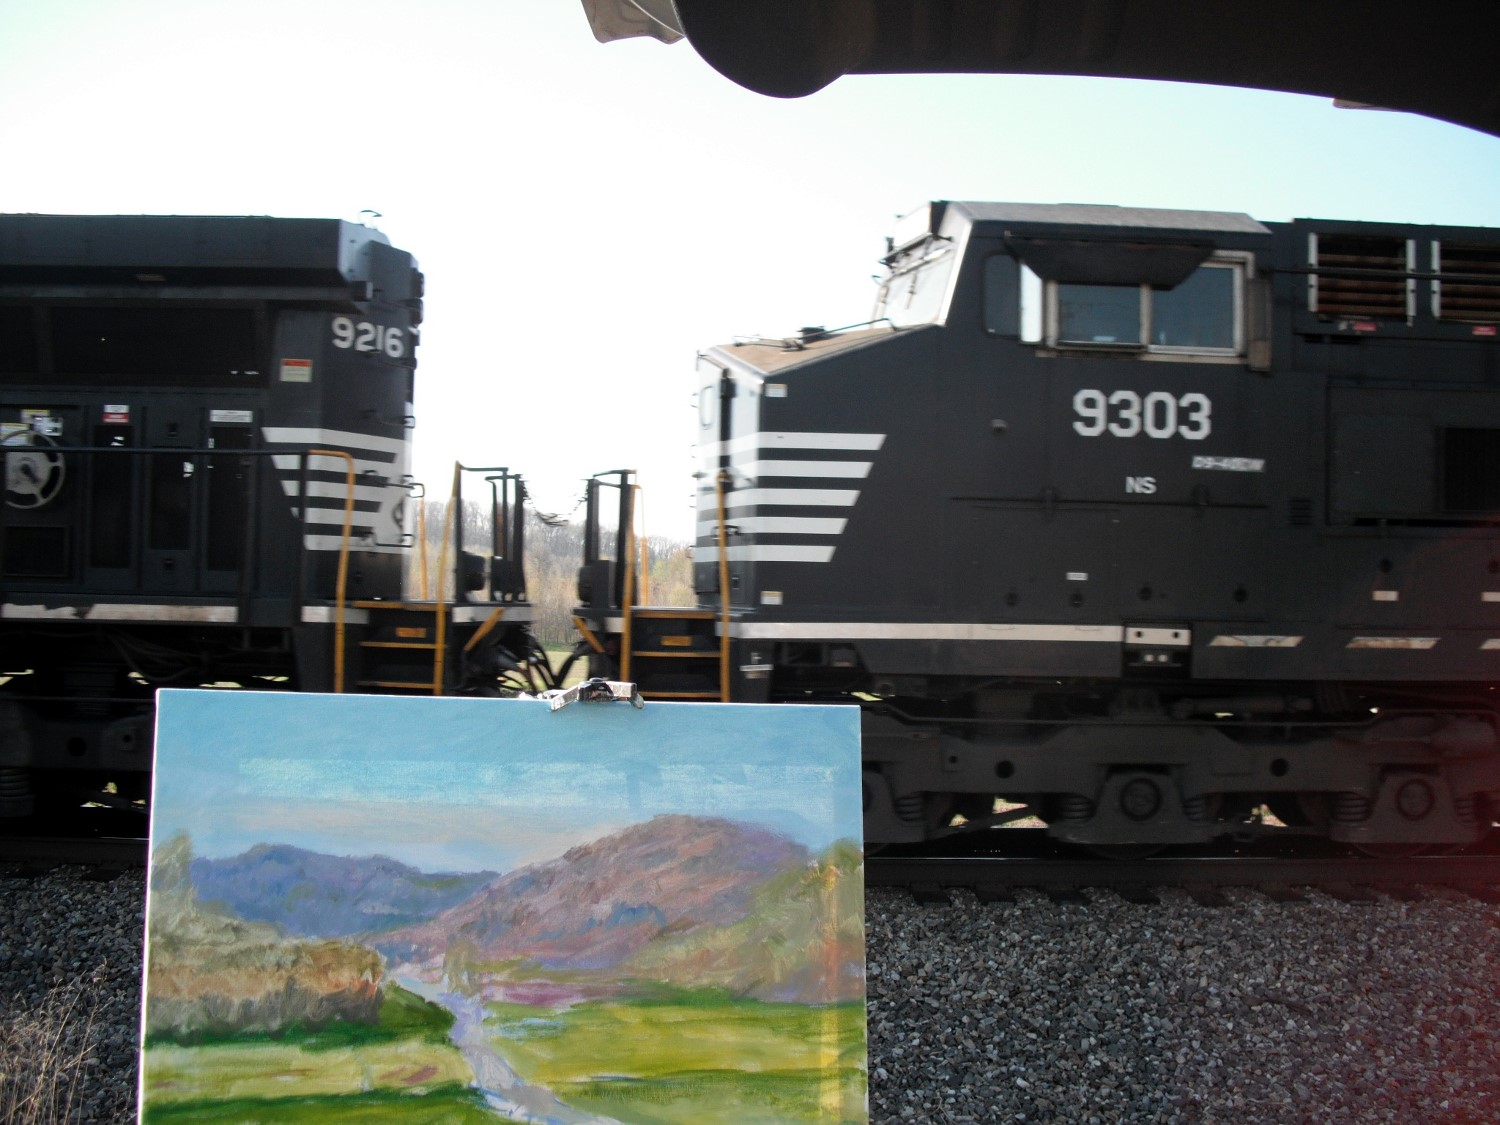
And THIS is how close I was to it!
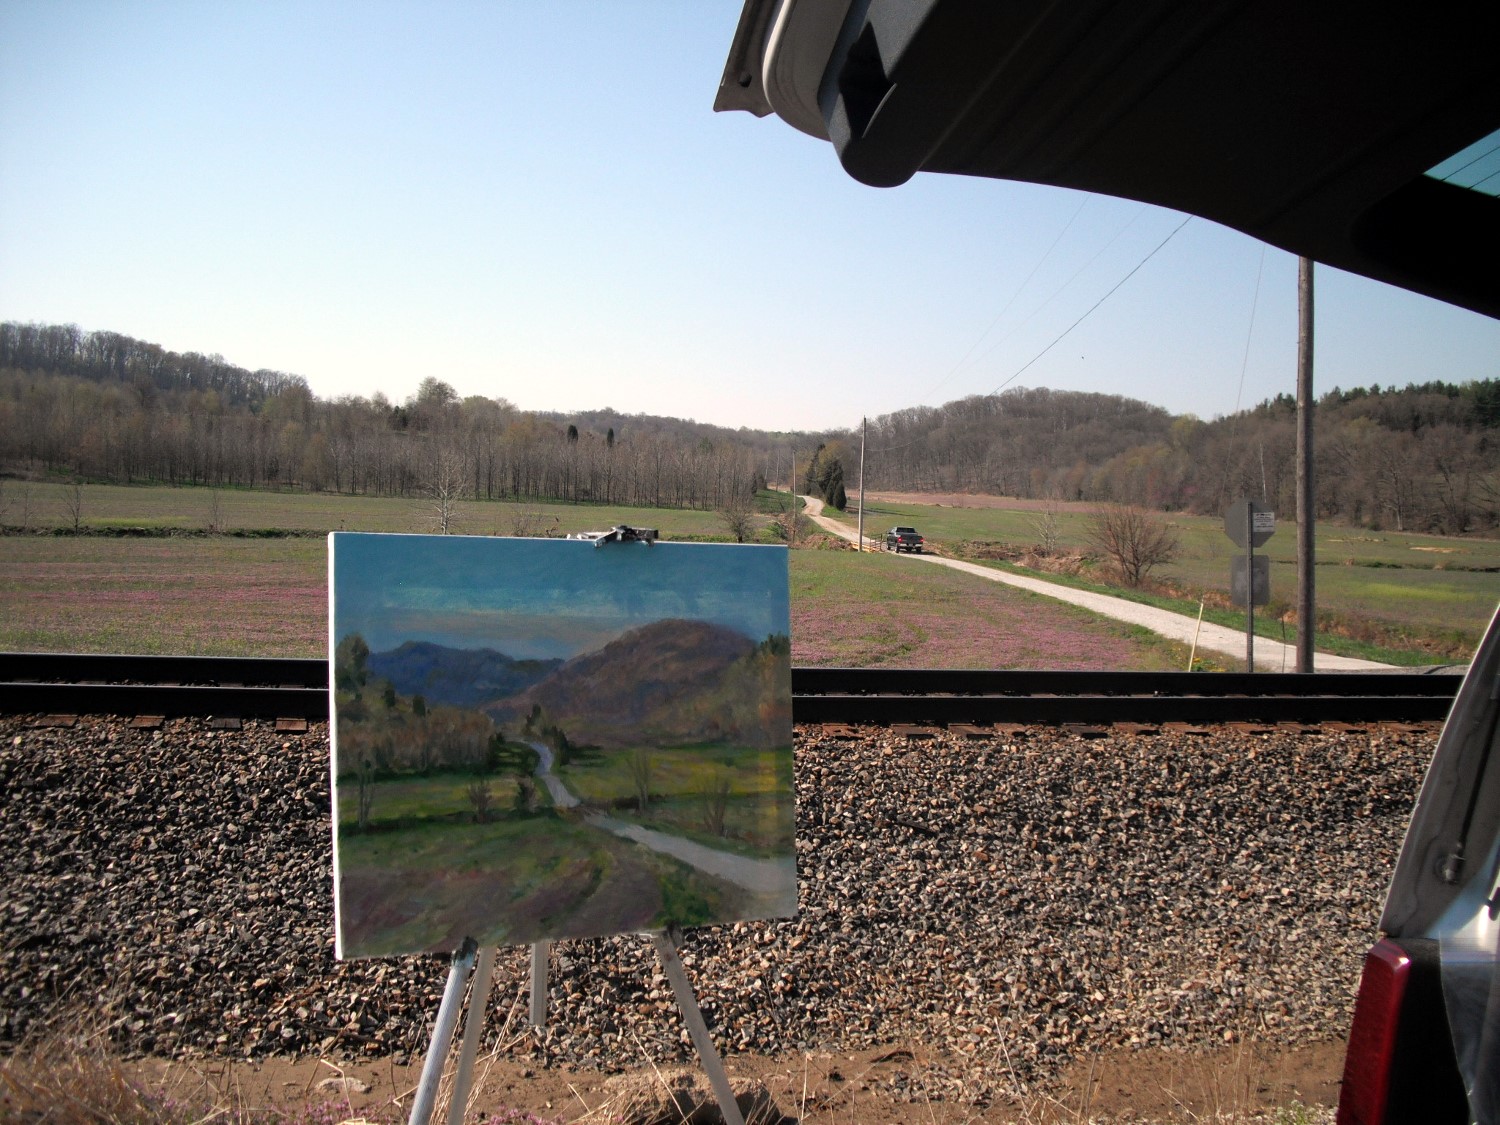
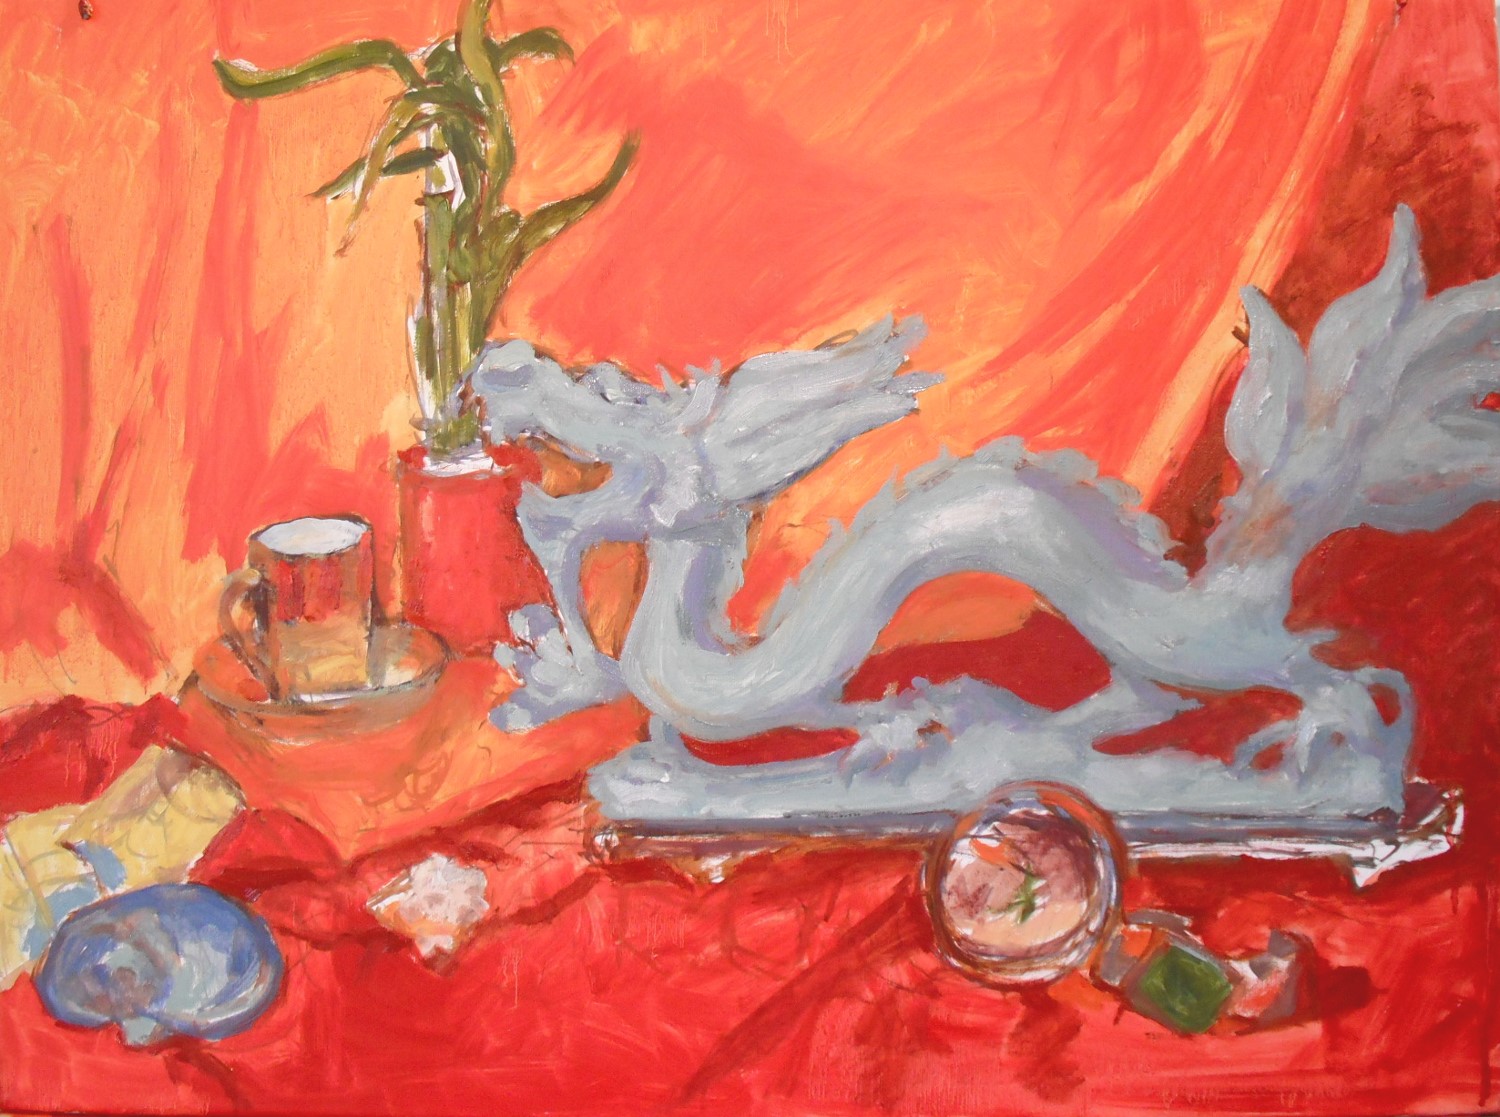
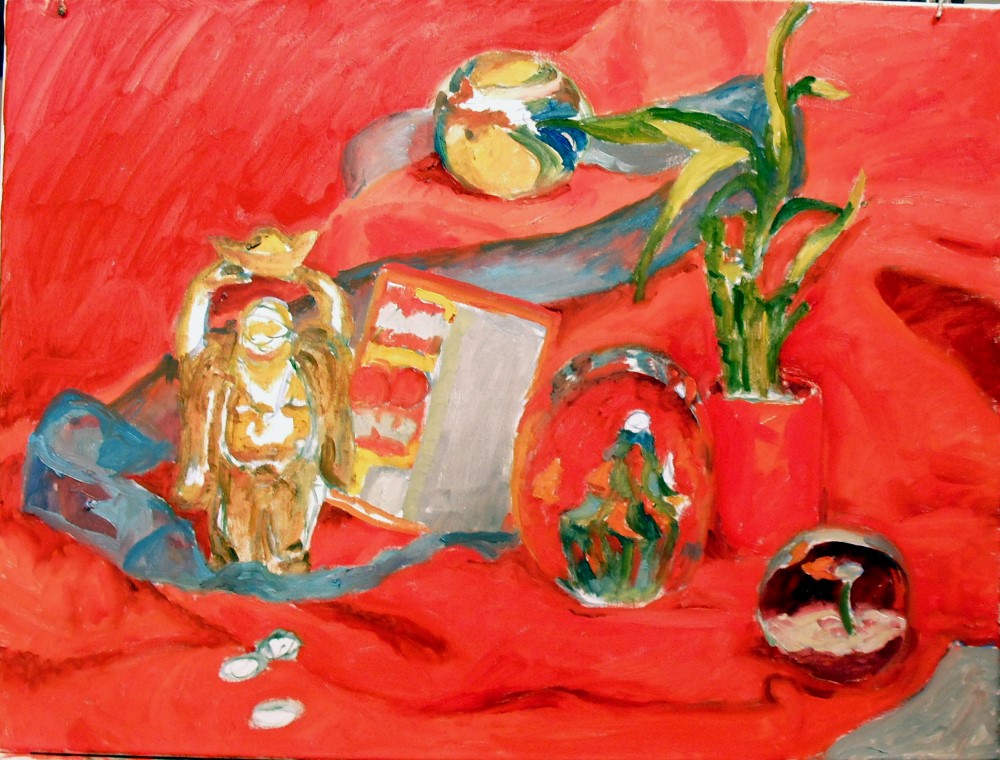
Last painting step before I packed up for the morning, The light had changed too much.