
The current series of paintings that I’m working on calls for some unusual sizes of canvases. I could have ordered ready-made canvases but decided to spend some time stretching my own. I already had plenty of rolled canvas so I just ordered stretcher bars of the sizes I needed.

Stretcher bars awaiting assembly. You need two of each size unless you’re doing a square, then you need four the same size.

Assembled stretcher bars and tools, scissors and rubber mallet.
Stretcher bars can be ordered in various widths, depths and lengths. These are 1 ½ inch bars. The canvas that I’m using is cotton duck. I also use linen for some of the really special pieces. This canvas is already preprimed which I would not recommend or order in the future. I’d prefer to gesso and prime my own canvas.
The tools for stretching canvas are pretty basic.
- Rubber mallet
- Scissors
- Tape measure
- Staple gun (electric) and staples (1/2 inch)
- Tack hammer or framing hammer
- Canvas pliers (not shown) I don’t usually use these, just grip the canvas and pull really hard

The bars are prenotched and will fit together with a little effort.

This is what the corner should look like after assembly.
Assemble your stretcher bars by aligning the grooves and using the rubber mallet to pound them together. This might take a little trial and error until you get the hang of it, but don’t be afraid to put some muscle into the pounding to make the bars go together. Of course, if you’re assembling a rectangular canvas, remember to use the two short and the two longs on opposing sides. After you’re happy that the bars are assembled, measure diagonally from corner to corner to make sure they’re pretty square.
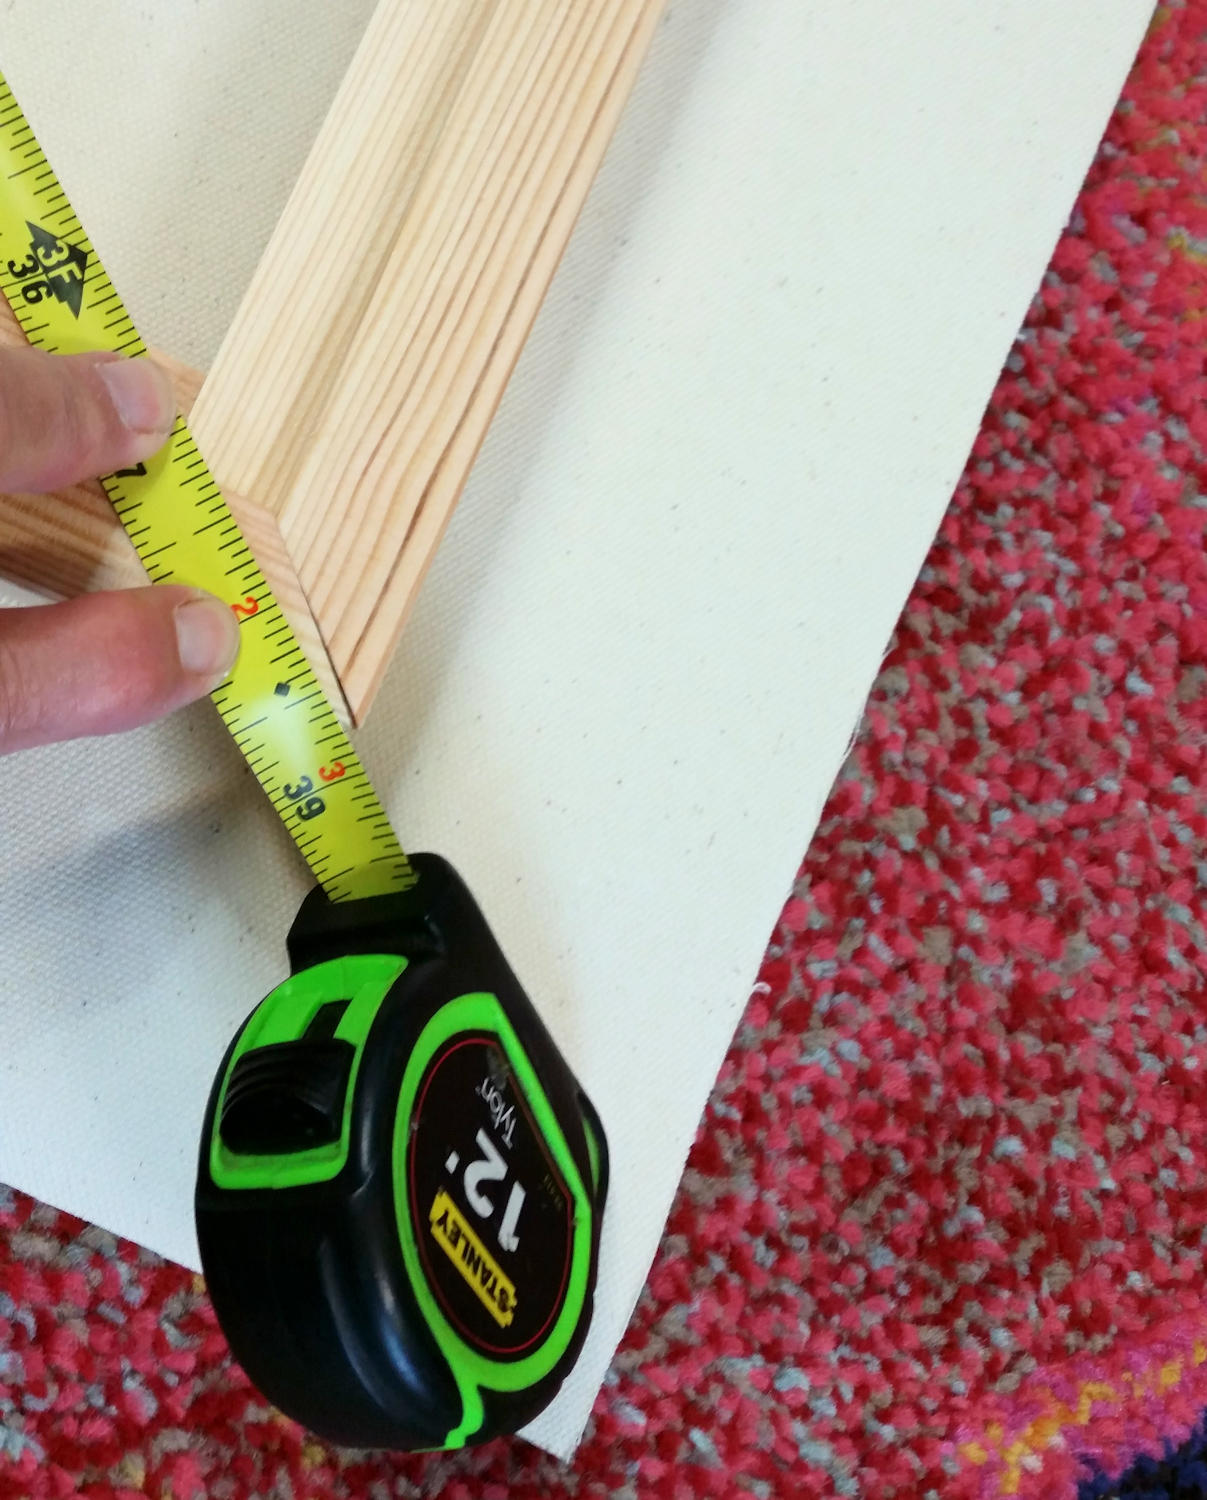
Measure diagonal corners to ensure the canvas is square.
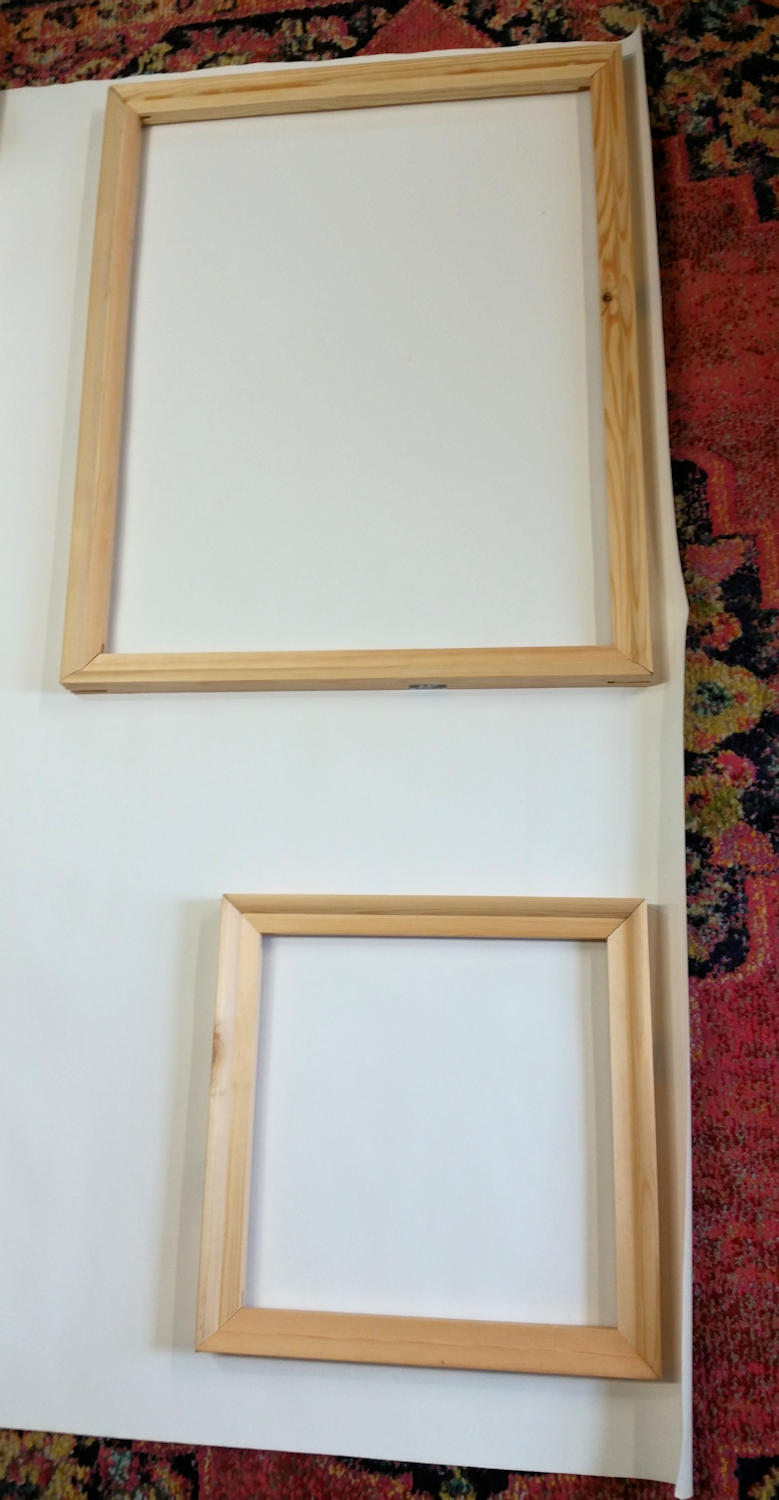
Lay your assembled stretcher bars on the canvas and cut around. Leave a few inches in all sides, enough to wrap around to the back of the bars.

A roll of pre-primed cotton duck canvas. I prefer the unprimed canvas but was using this up.
Lay the assembled stretcher bars on your canvas and cut around leaving enough canvas to wrap around to the back of the frame. This depends upon the depth of the frame you are assembling. Then, making sure that the primed side is out, lay the assembled bars on the canvas face down. Make sure the canvas has the same border all around the bars. Starting in the middle of one bar, add a staple. Then on the opposite side, pull the canvas really tight, making sure it’s not puckering, and add another staple. Then do the two sides.

More tools for actually stretching the canvas. Electric staple gun, 1/2 inch staples, tack hammer, tape measure.
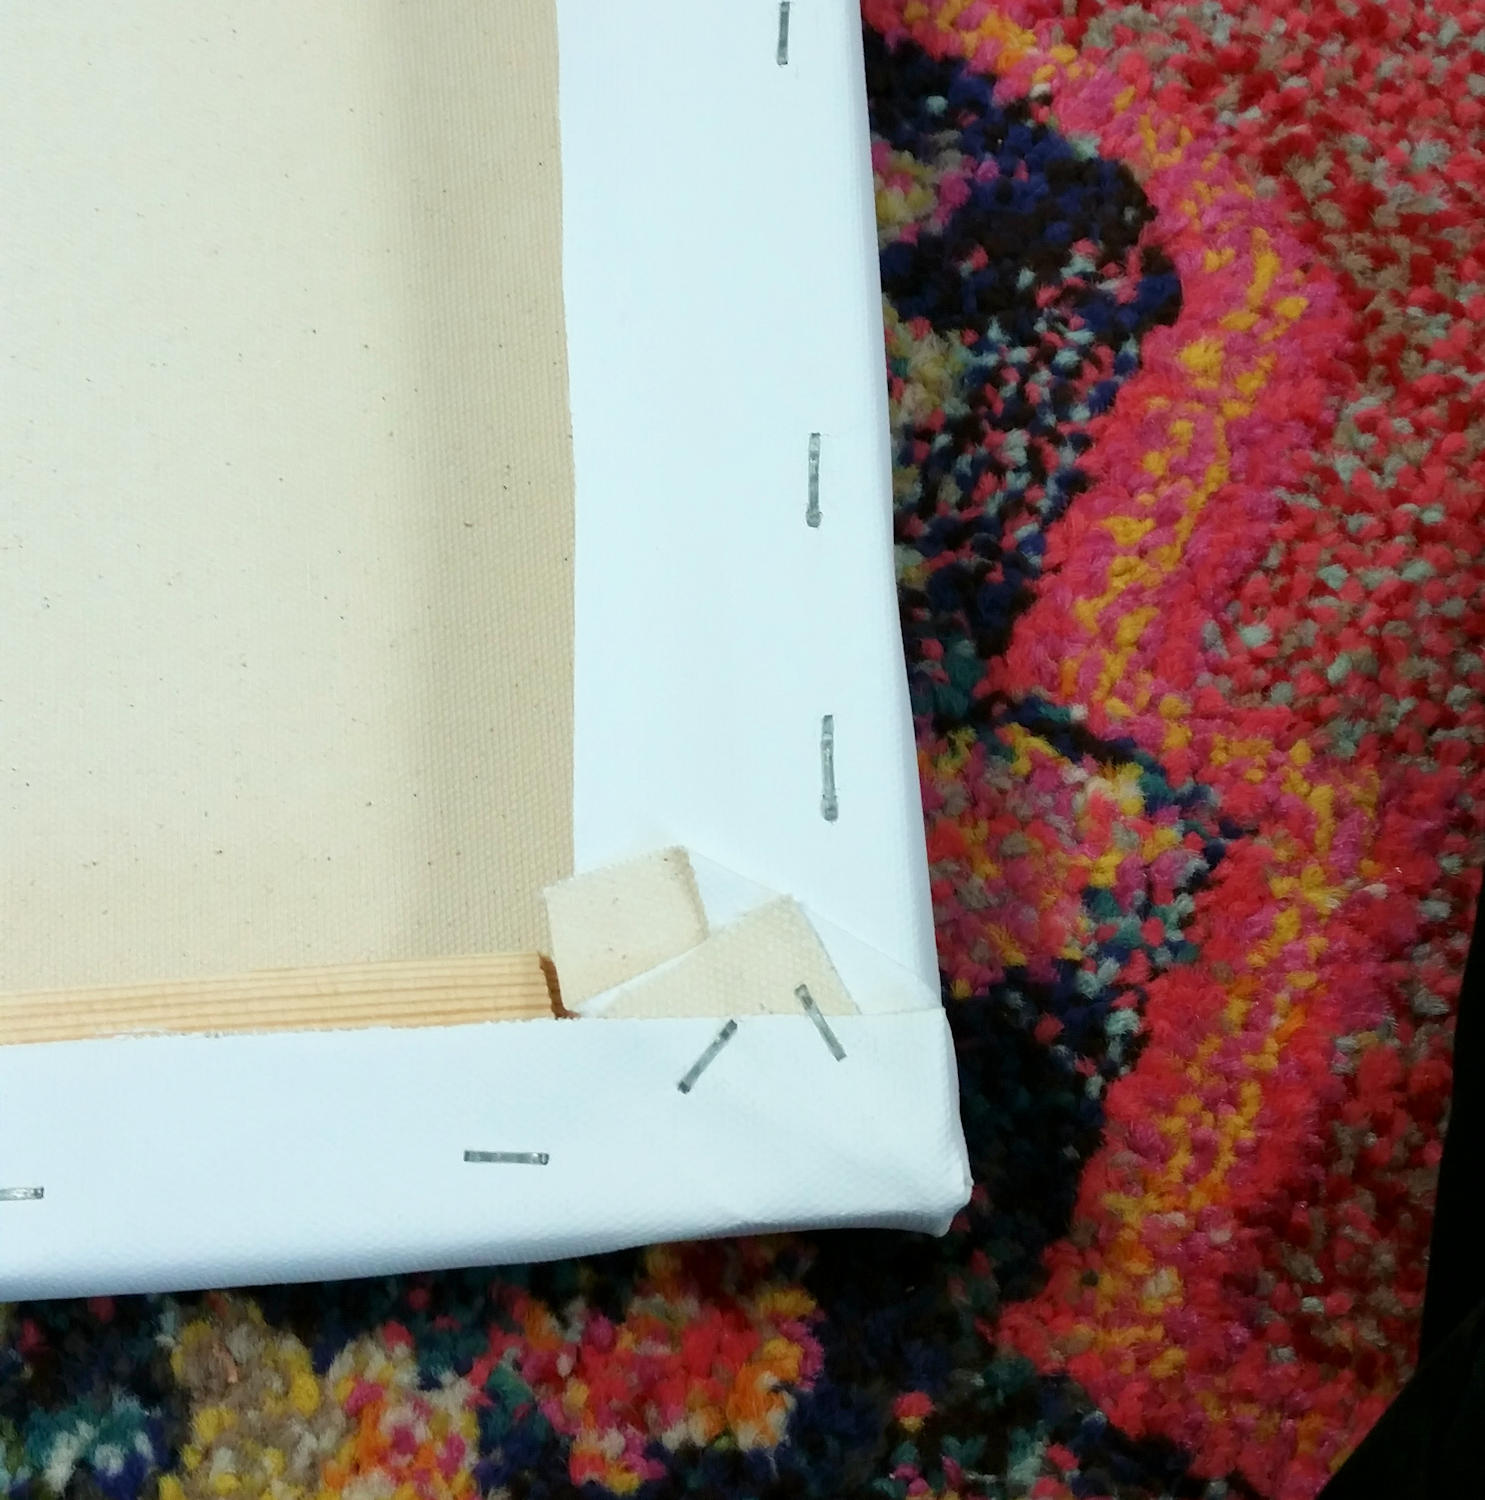
Start in the middle of one side, put a staple in. The do the opposite side, pulling tightly. Then do each end, same thing. Then go back and add a couple of staples on either side of the first staples. Keep working around the frame, always pulling tightly. When you get to the corners, neatly fold the corners in. You don’t want a bunch of canvas on the corners as that will hinder framing.
Work your way out to the edges all the way around until you get to the corners. The corners are a little tricky but try to wrap the canvas as neatly as you can. Then go around the canvas and set in the staples with the tack hammer.
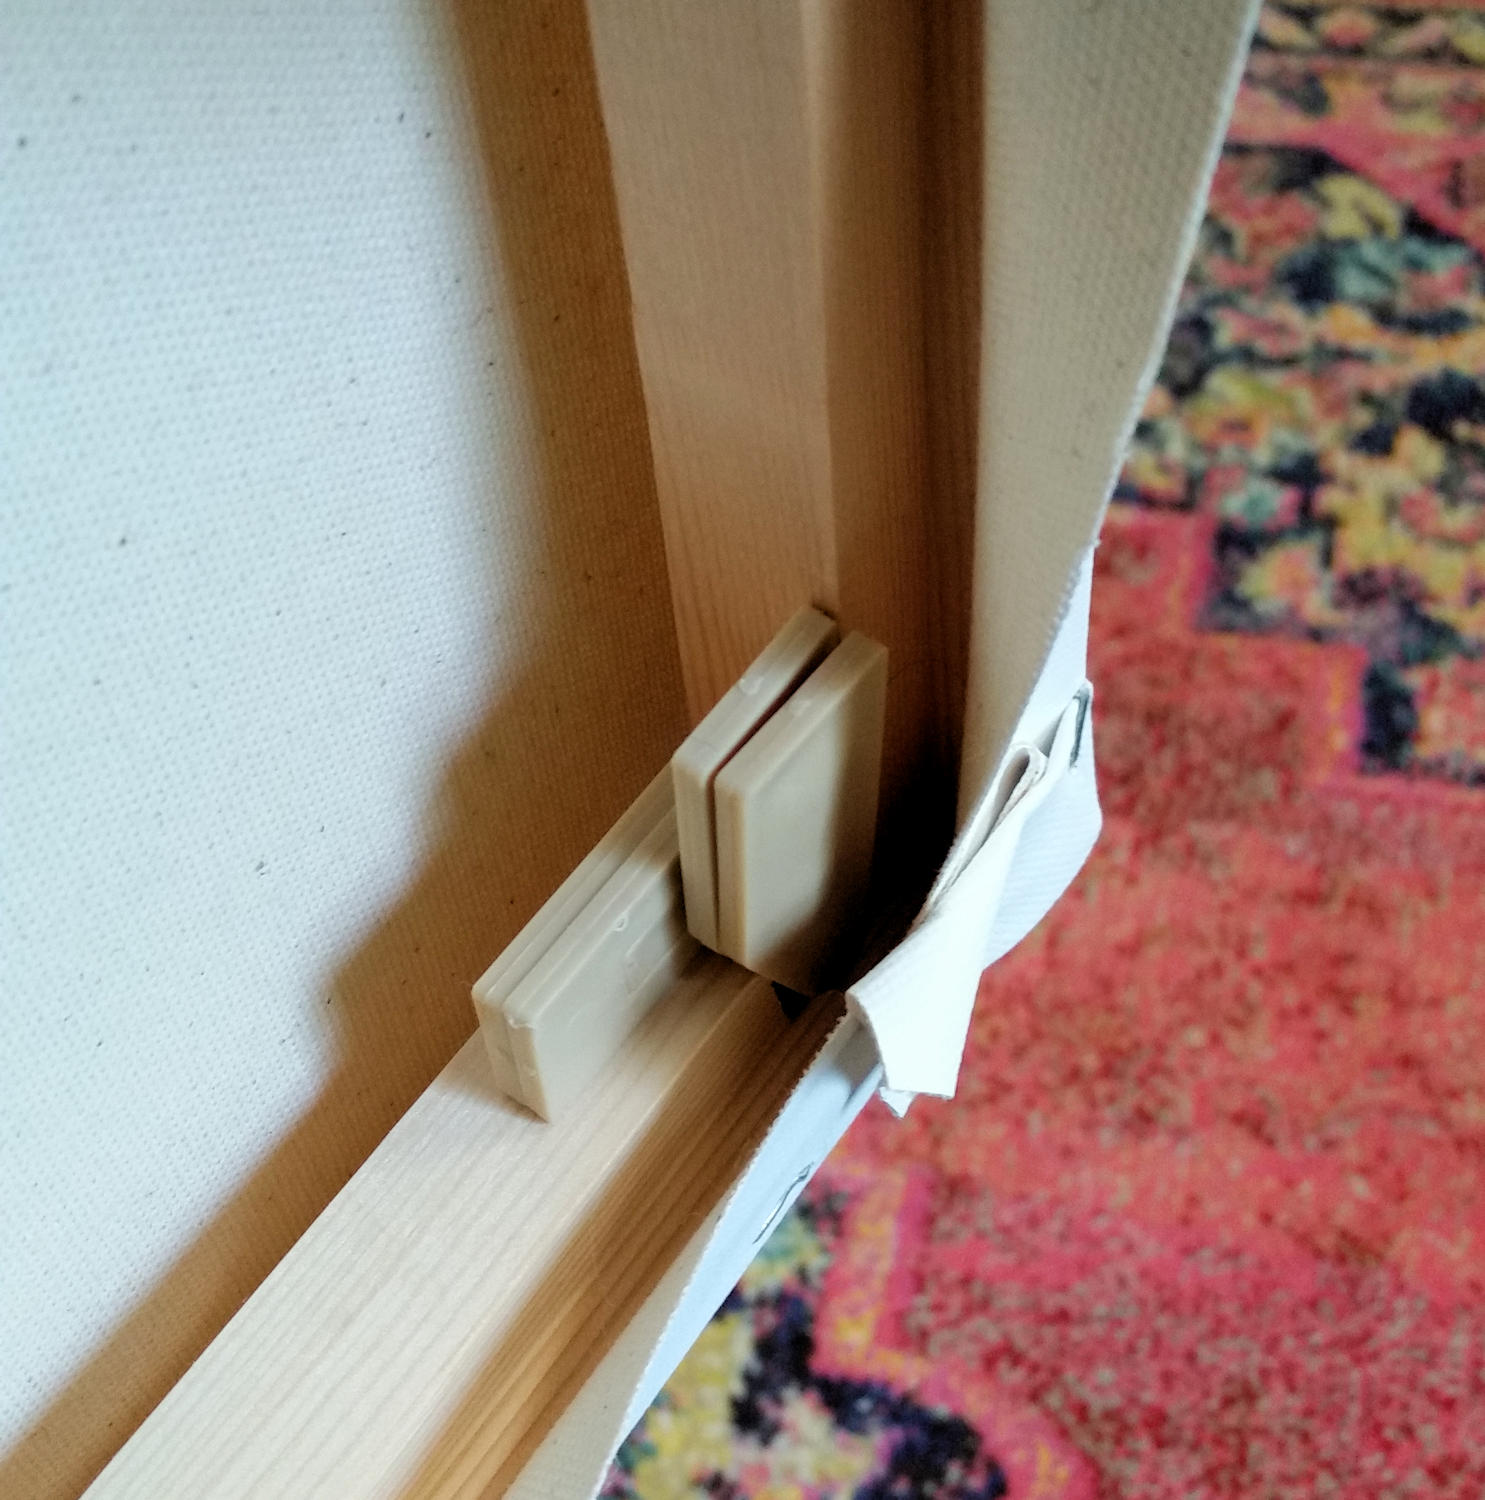
Drive the frame wedges into the slots in the corners. These are plastic wedges but they also come in wood and in various sizes. You will need to pound them in with the rubber mallet. They should be pretty tight and your canvas will be very tight.
The canvas will appear pretty tight but you need to tighten it even further by driving in the wedges into the corners with the rubber mallet. Align the straight edge of the wedge with the corner frame as pictured. Then put in the other one going the opposite direction. This will really tighten the canvas. If it should loosen over time, you can readjust the wedges or even re-stretch the canvas. As you can see here, I am using plastic wedges but they also come in wood. You will need eight pairs per frame.
If you have never tried stretching your own canvas, I urge you to give it a try. It seems a little complicated at first, but you will end up with a better product and save some money in the long run.
